


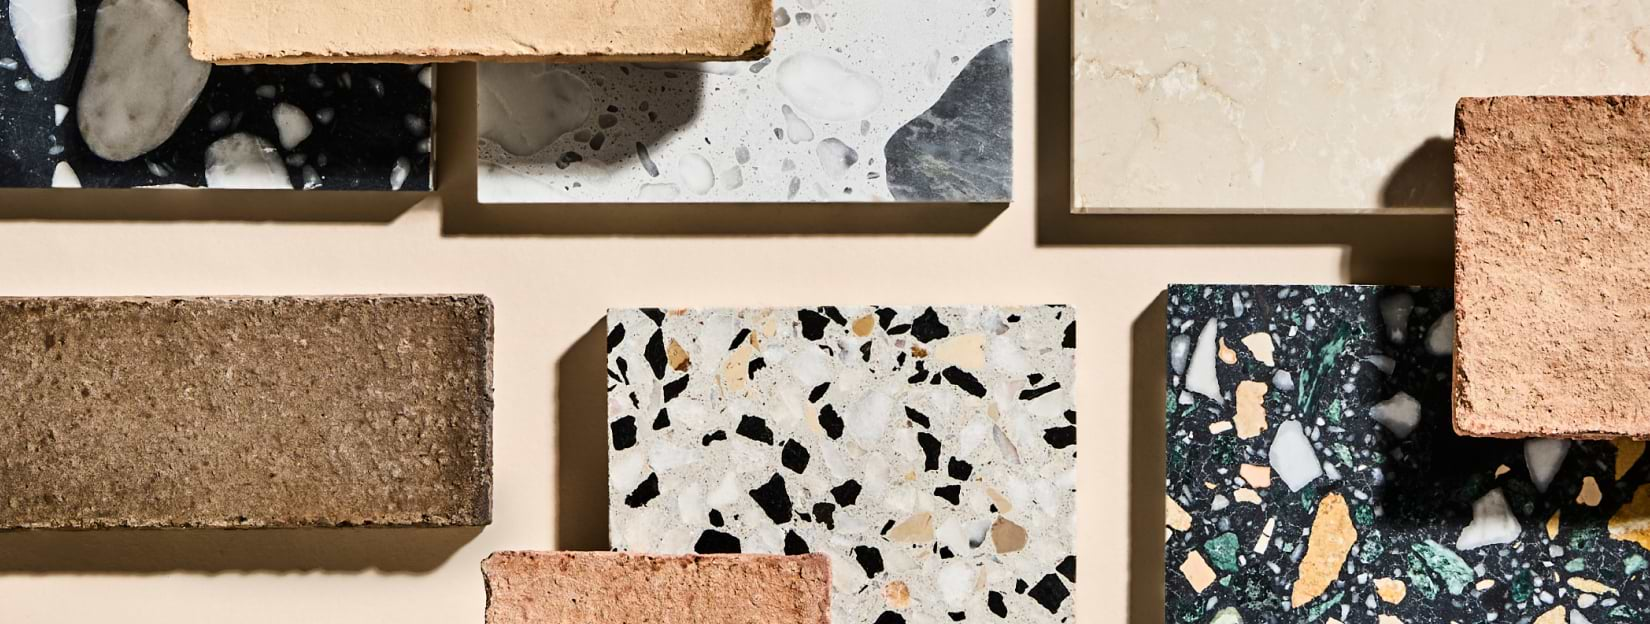
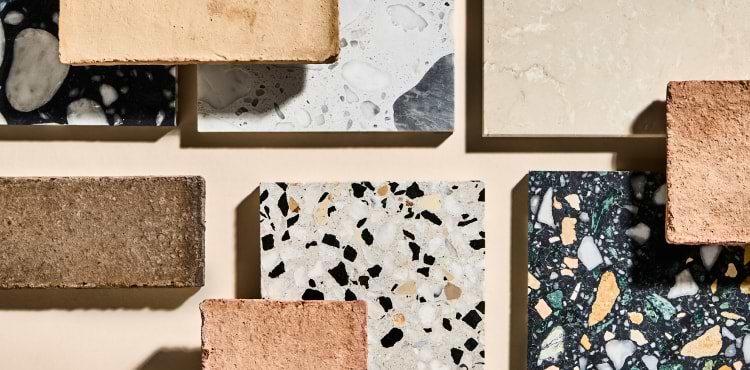
Visualize it in your space with samples. You can pick your own or order a curated bundle.
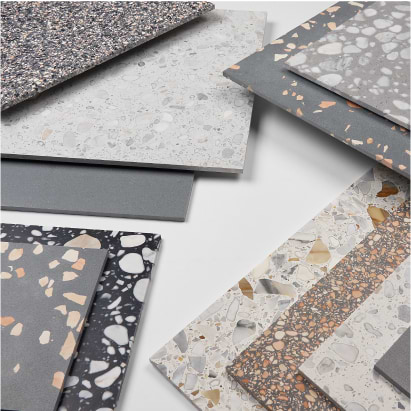
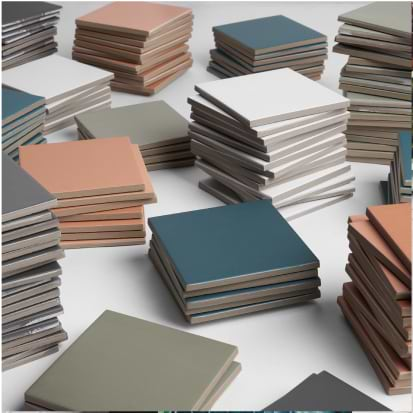
Order SamplesThe materials and finishes you’re looking for.
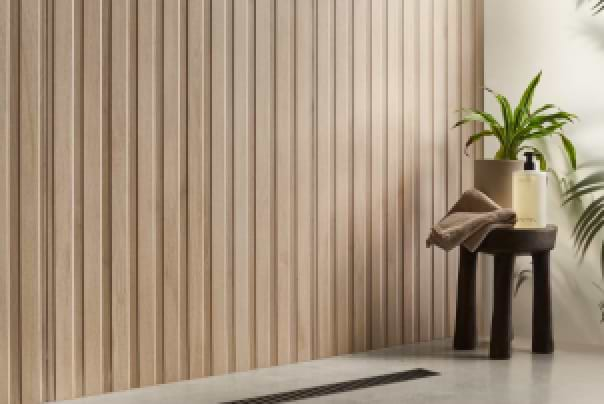
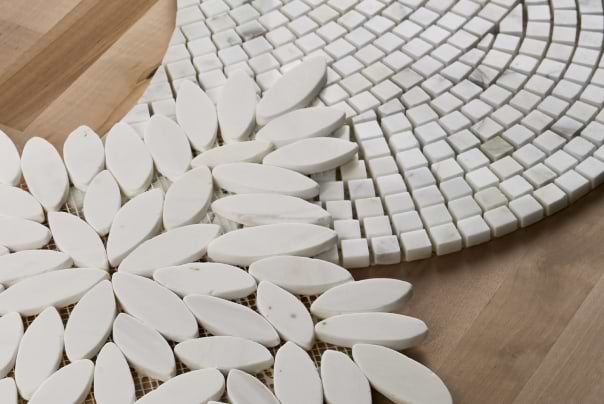
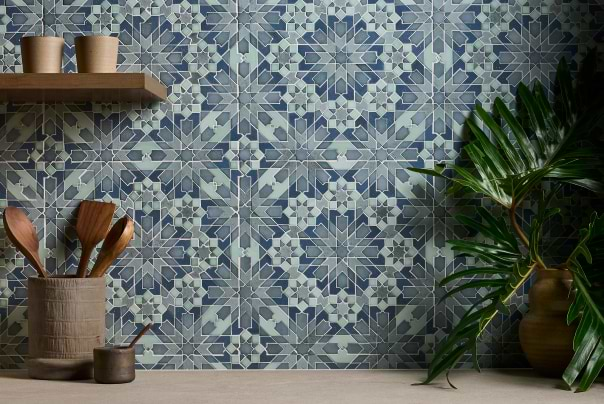
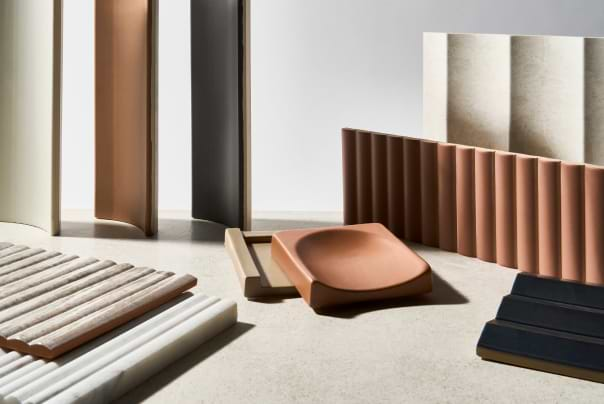
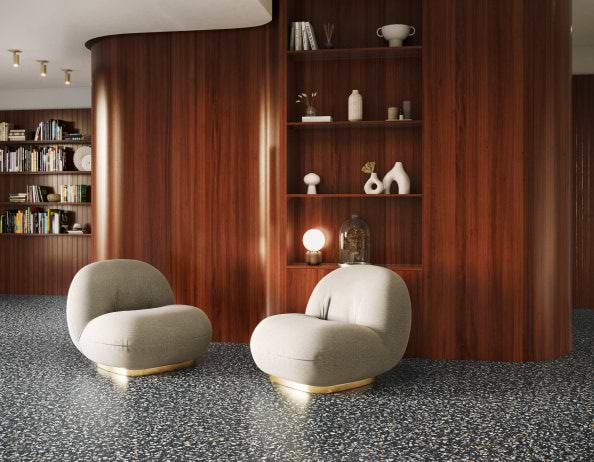
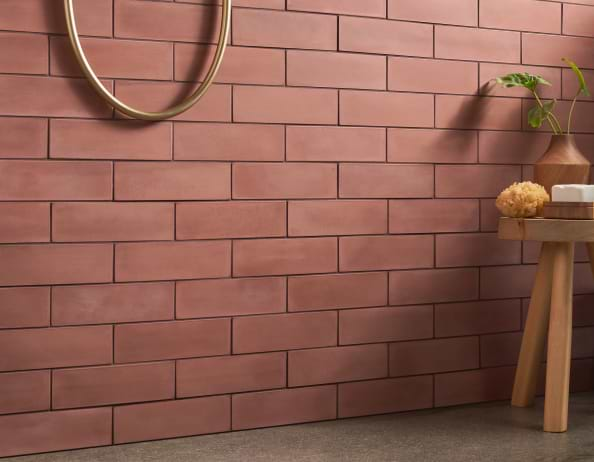
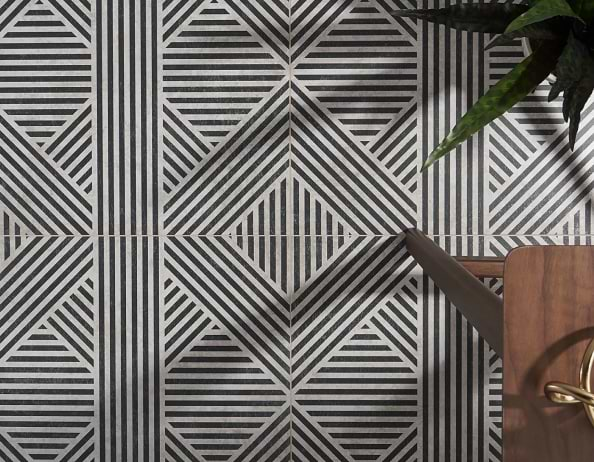
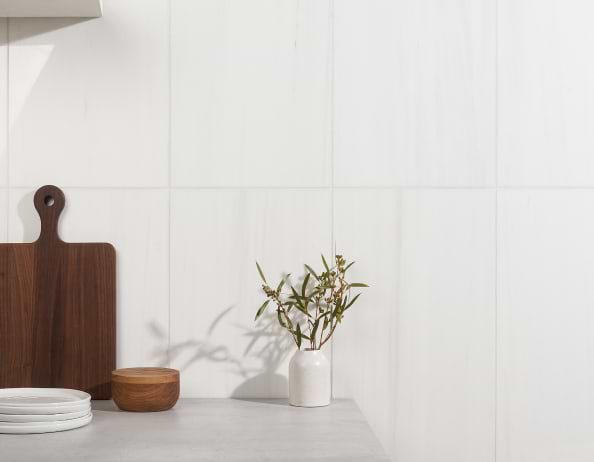
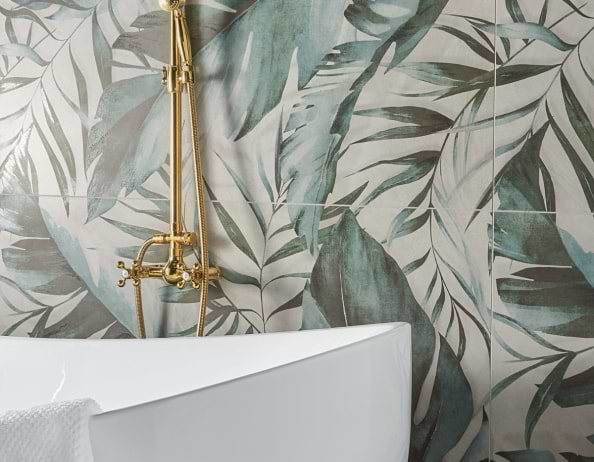
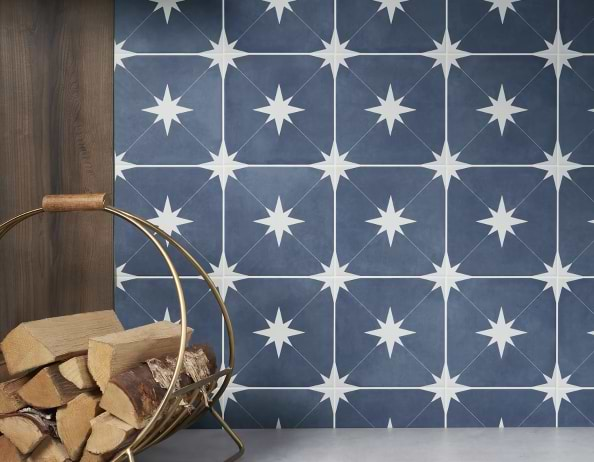
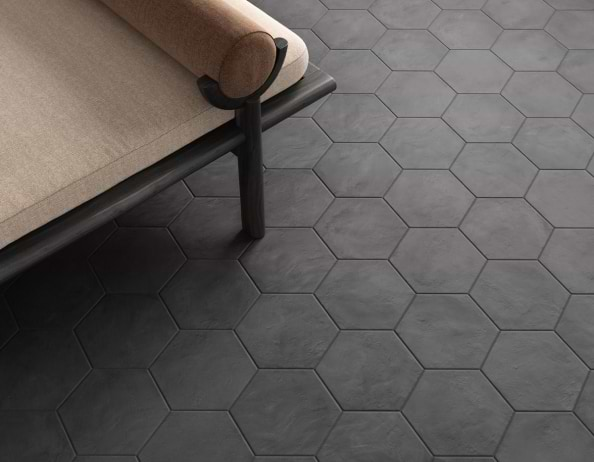
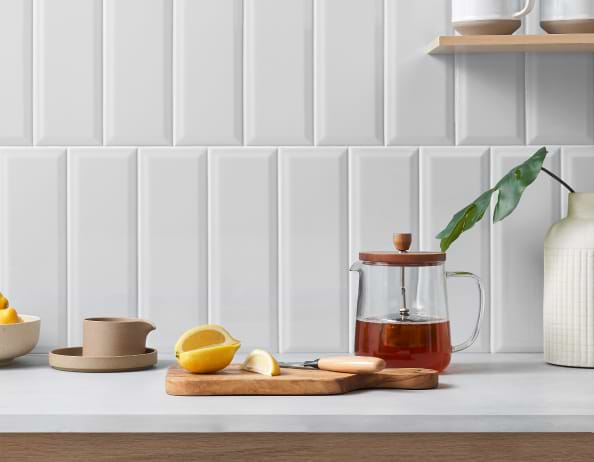
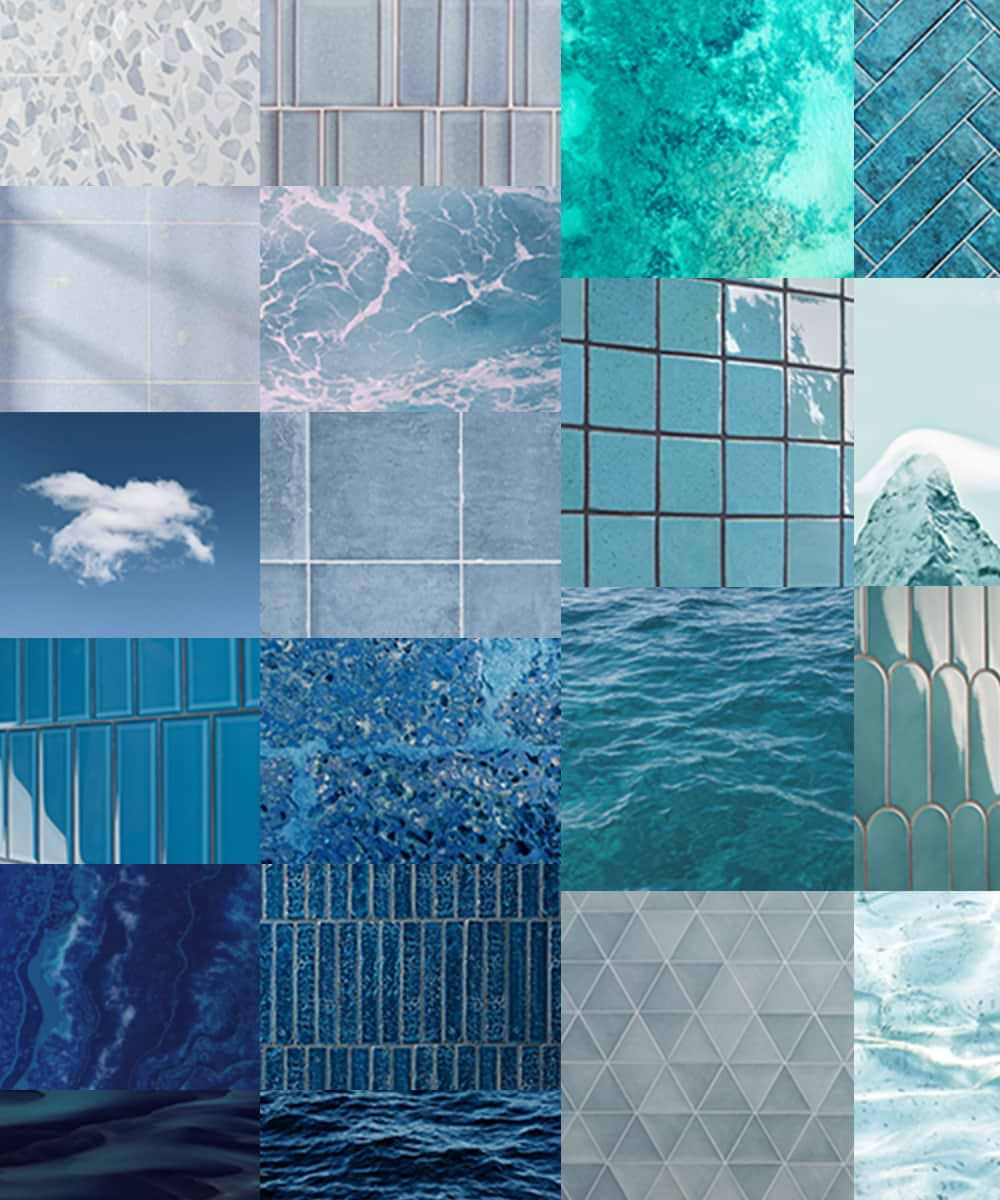
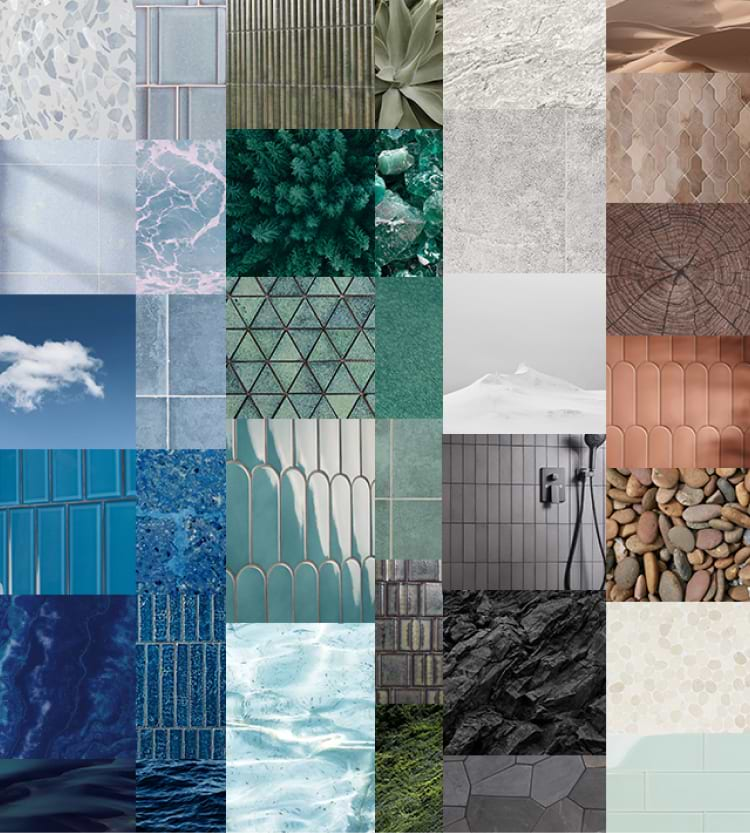
The materials and finishes you’re looking for.
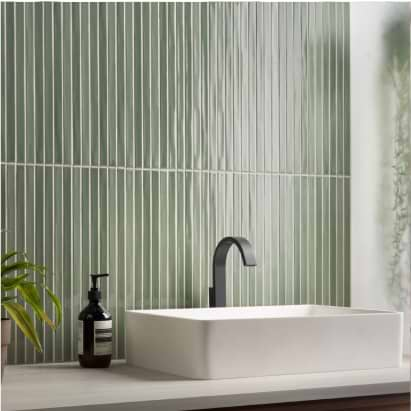
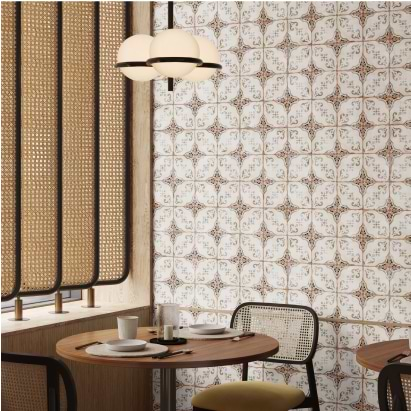
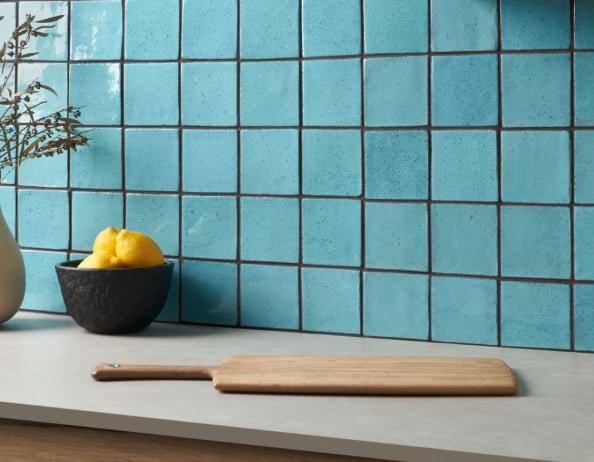
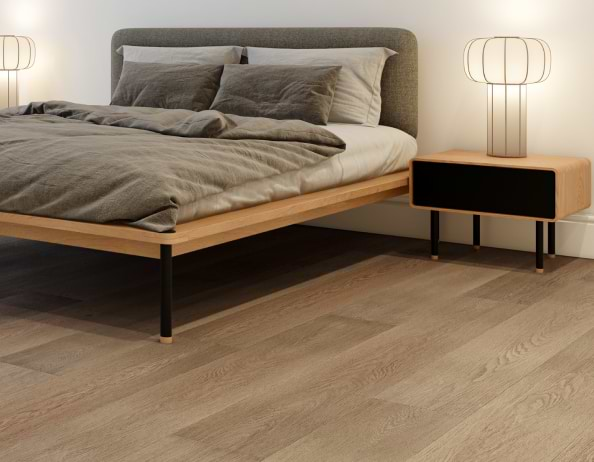
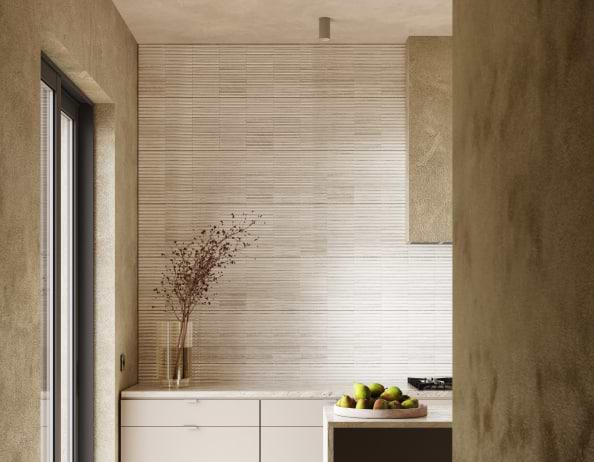
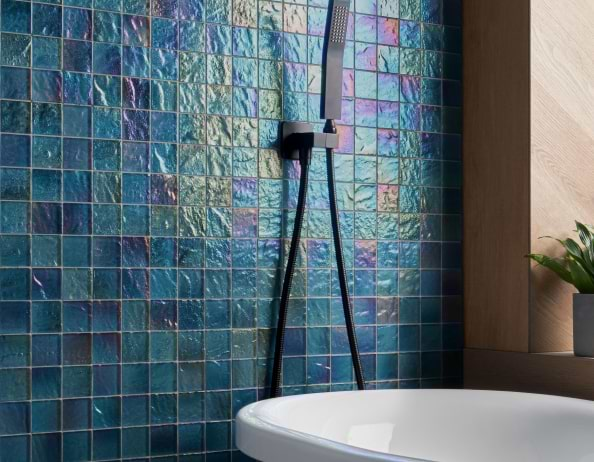
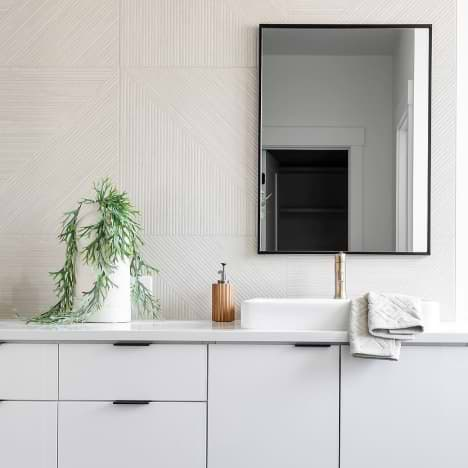
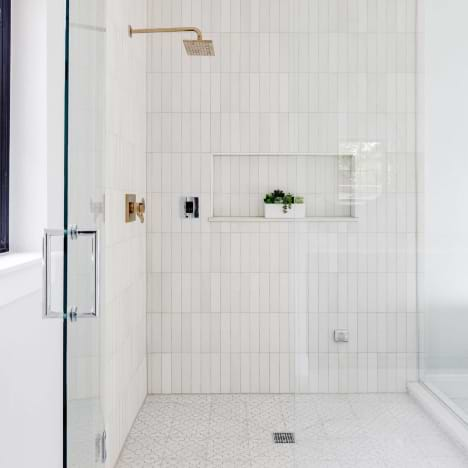
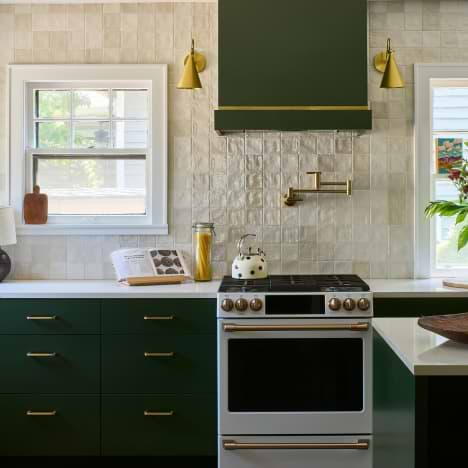
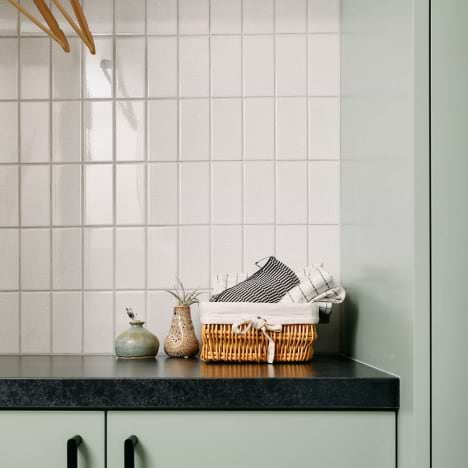
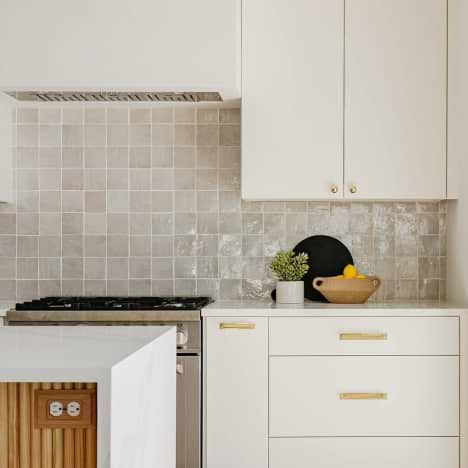
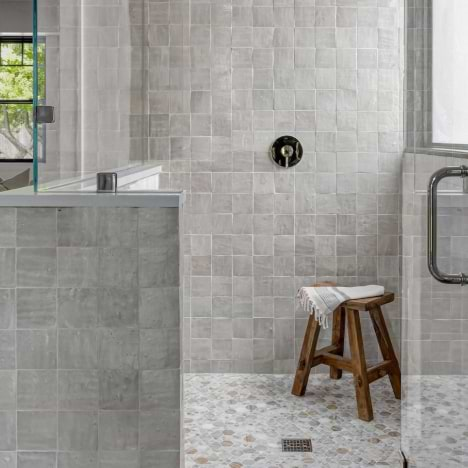
Explore—and shop—these real-life spaces.
Benefits and offerings that set us apart.
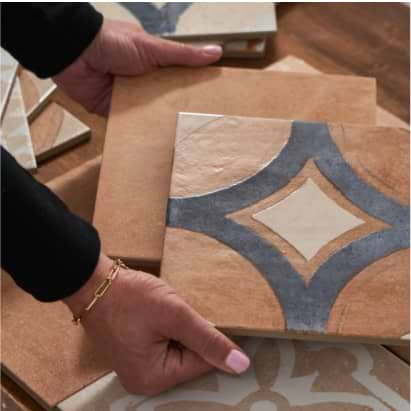
Explore our interactive tools to find your perfect fit.
 / 64,789 reviews
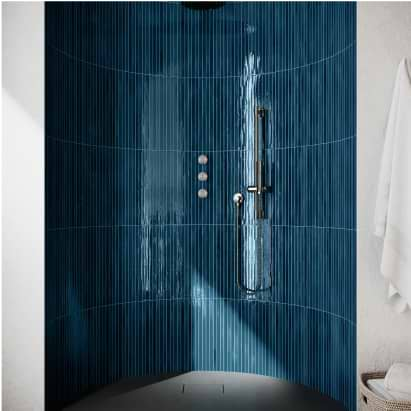

Their $1 samples took away the pressure of choosing and helped me find the perfect fit.
I always get stunning results. TileBar’s staff is so knowledgeable and helpful.
Fast and affordable shipping. They have guaranteed damage replacement too.
Selection is unique and beautiful, and the service is always top-notch. 5 stars!

Our tile turned out fabulous. Not a single piece was broken (fantastic packaging) and shipping was quicker than expected.

No issues with install and no chipped tiles upon delivery. Tiles were expertly packed.
So pleased with my order. Great look and so fairly priced. Fantastic customer support.
Their $1 samples took away the pressure of choosing and helped me find the perfect fit.
I always get stunning results. TileBar’s staff is so knowledgeable and helpful.
Fast and affordable shipping. They have guaranteed damage replacement too.
Selection is unique and beautiful, and the service is always top-notch. 5 stars!
Our tile turned out fabulous. Not a single piece was broken (fantastic packaging) and shipping was quicker than expected.
No issues with install and no chipped tiles upon delivery. Tiles were expertly packed.
So pleased with my order. Great look and so fairly priced. Fantastic customer support.
Their $1 samples took away the pressure of choosing and helped me find the perfect fit.
I always get stunning results. TileBar’s staff is so knowledgeable and helpful.


So pleased with my order. Great look and so fairly priced. Fantastic customer support.