Visit
Visit 
How to Measure for Tile
 Copy Link
 Email
Email
 Twitter
 Pinterest
 Instagram
 Facebook
If you’ve landed here, you’re probably confused on how to make sure you get your tiling project started on the right foot. The best way to do that is by taking measurements to ensure that you’re not buying too much tile or that you’re not ordering too little tile. Luckily, when it comes to the conversation around “how to measure tile”, the answer is pretty straight forward: It’s based on a formula. If you know the formula, which you will once you read today’s post, you can perform your tiling project successfully and without any headaches.
Why Is Measuring Tile So Important?
Measuring tile before diving into your project is the best way to ensure that you’re not going to end up with time or monetary losses.
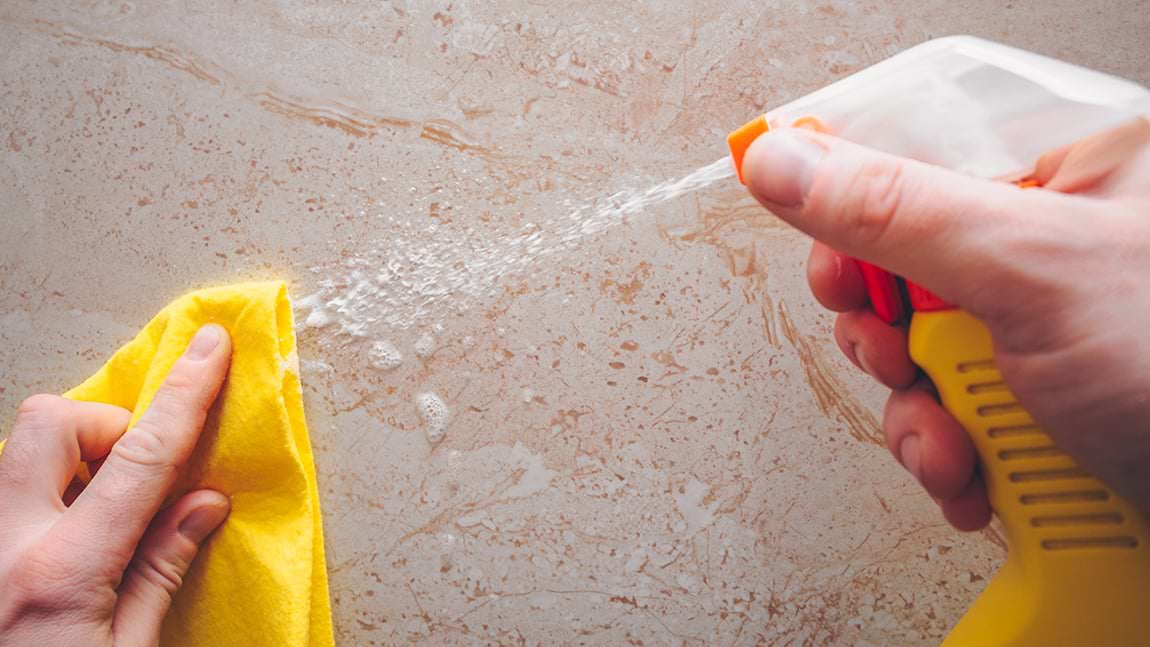
First off, we all know that tile is a great investment. It’s not a cheap product, it’s a piece that you add into your space to elevate it and keep floors/walls looking nicer for longer (learn how to keep your tile tidy here). For this reason, you don’t want to end up purchasing too many tiles and having leftovers that you won’t use. Not only is that wasteful, it is costly! So measuring is the best way to save yourself from losing any money.
On the other hand, there’s the potential issue that you order too little tile. While it may not be a monetary loss to you, it is definitely a time loss. There are two risks involved–One is that you simply have to place another order for more tile, and then wait for it to come which delays your redesign or renovation process; the other is that you risk the tile you ordered selling out.
Hopefully this brings reality to the issue, and you’re ready to learn the know-how on measuring so you can avoid the problems covered above.
How To Measure A Room or Wall
There’s a clear process involved when it comes to measuring the amount of tile that is needed. We’re going to break that down in 3 clear and easy-to-understand steps below.
Step 1: Gather Your Materials
For the task at hand, you’ll need the following items
Paper
Pencil
Measuring Tape
Calculator
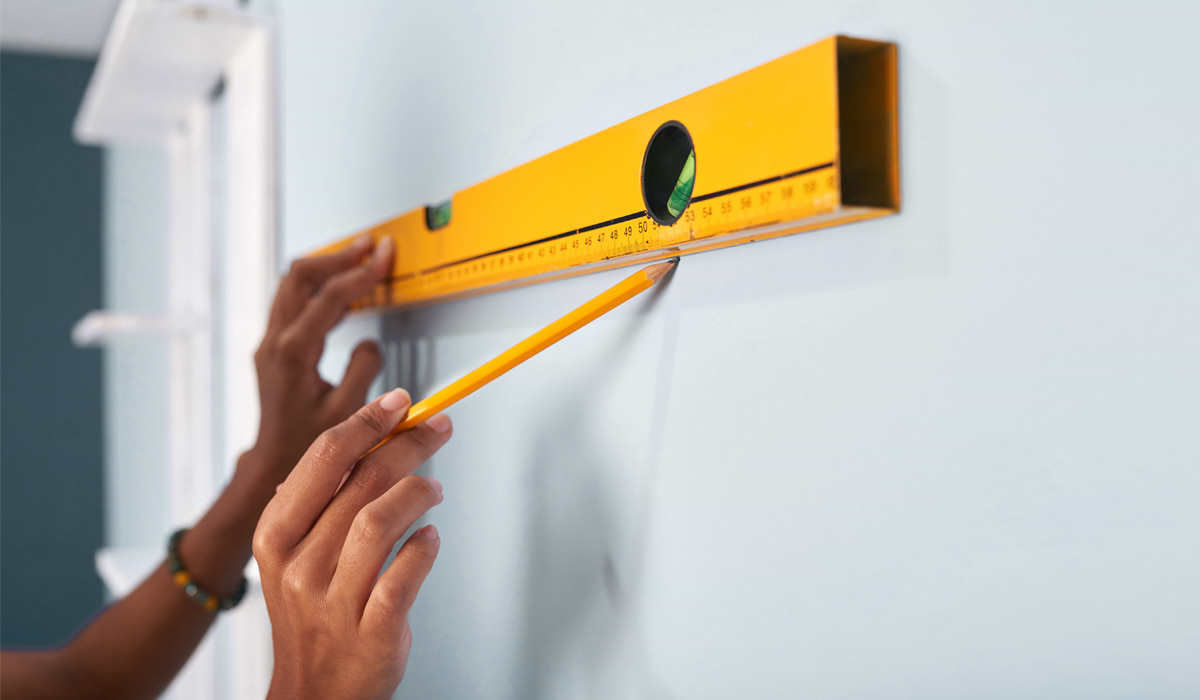
Step 2: Measure Your Areas
Once you’ve gathered your materials, next is to measure the space that you’re working with. To do this, you’ll want to grab your measuring tape. Measure the length of your walls or floors and the width of your walls or floors.
Step 3: Multiply For Total Coverage
You’re now ready to put on your math cap and get the full square footage of your room. To do so, take the length measurement and multiply it by the width measurement.
Here’s the formula: Length x Width = Area
A Note On Irregular Spaces:
This formula covers spaces that are standard shaped. If you’re dealing with an irregular space, say an L-shaped one, you’ll want to break that down into smaller sections and use the area formula in each section. From here, you’d add the areas of the squares together for a total.
Now That You Have Your Space’s Area, How Many Tiles Do You Need?
Think that you’re all set now that you know the area? Not so fast. There’s one more piece to add to the handy formula above and that’s the square footage of the tile you’re installing. It’s important to know this so you can figure out the tile amount down to the last piece.
Here’s what you do:
First, you need to figure out the total area of the tile. To do this, you should always account for grout lines. While they can vary, the standard is ⅛”. So, whatever your tile measurements are, tack on an ⅛” to it. This will ensure that you get a more accurate answer for your tile needs.
From here, you’re ready to calculate the area. If the tile dimensions aren’t listed in feet, convert them. To do that you take the total area of the tile and divide it by 144 (the number of square inches in a foot).
So, for example, if you have a tile that is 24” x 24”, you’d first add the ⅛” grout line to both sides so that it comes to 24.125” x 24.125”. Then, you’d get the total area (length x width): 582.02”. Take this number and divide by 144. In this case, you’d get 4.042 sq. ft. as the total area of the tile.
Finally, you’ll want to place that number in your number of tiles formula which is:
Number of Tiles = Area of Room / area of tiles
As an example, let’s say your room is 2,200 sq. ft., you’d plug that in as follows:
Number of Tiles = 2200 / 4.042
Number of Tiles = 544.3
Voila! You’ve calculated the number of tiles precisely.
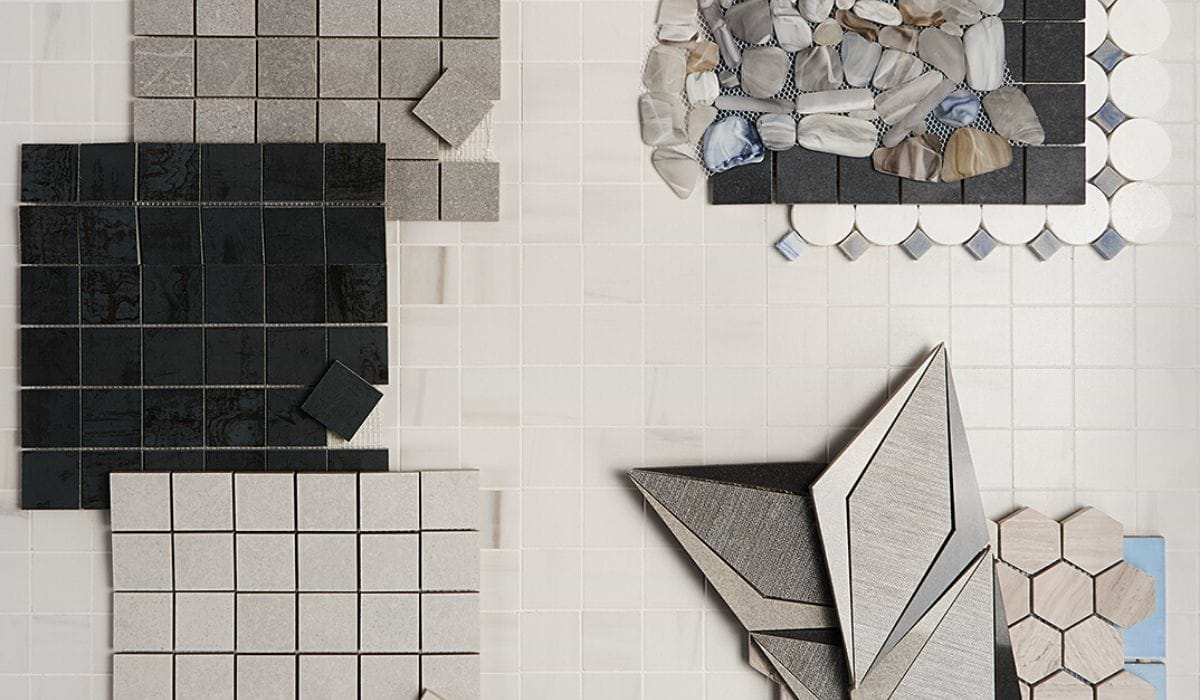
Now that you know how much tile you need, get some inspiration on finding the perfect tile for the job here.
But, Wait. Don’t Forget About Ordering Extras.
The last step, and surely one of the most crucial, is to tack on extra tiles to guarantee that you’re covered should there be any breaks or cut errors. While no one wants to think of worst case scenario, it is more than likely that these mistakes will occur, so you want to be prepared.
To do this, multiply the room’s square footage by 10%. This will give you the number of extra tiles to order.
Going off our example, it would be 220 sq. ft. or about 55 tiles.
It should be noted, if your tiles do arrive broken, you should contact your seller immediately with photos of the damage. While we can’t speak for every company, here at TileBar we pride ourselves with great customer service and we’re always ready to listen to you about your damages and work together to replace them if need be. So if you received damaged tiles, make sure to give us a ring!
Additionally, let’s say you played it safe, and ordered the extra tiles but are a lucky person that dodged the damages bullet. What are you supposed to do with the extras? Our suggestion is to keep them! You never know if a tile will need to be replaced in the future, and it’s just best practice to have them on hand. Don’t want to? Then you can return them to us within 365 days, if there isn’t any damage, and we’ll refund you. We just charge a small 15% restocking fee and have you pay for shipping. Then, they’re off your hands forever.
We feel confident that you can now go and tackle all the measurements you need. Do you feel confident yourself? We sure hope so! In the event you have anymore questions, don’t hesitate to reach out to us.
In the meantime, now that you know your measurements, start your tile hunt with 5 samples for $5 with free shipping.
Related Articles

Explore Our
Tilefinder