Visit
Visit 
Guide To Types of Grout & How To Choose
 Copy Link
 Email
Email
 Twitter
 Pinterest
 Instagram
 Facebook
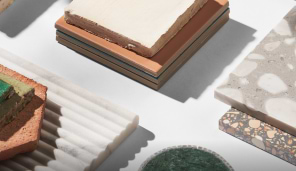
Grout is an underrated substance that plays a key role in the way that your overall tile design will come out. From providing traction when used in flooring applications to enhancing your tile’s look as well as lifespan, it does a lot. So, it’s important to us as tile lovers that you become acquainted with this mighty useful design element and the types of grout that exist.
Today we explore this substance and do a quick rundown of all the types offered on the market to help you prepare for your next home improvement tile project.
What Is Grout and Why Use It?
First things first, for those wondering “What is grout?” Let us explain.
Grout is the paste that fills the spaces between each of your tiles (commonly called a “grout joint”). This is important because not all tiles, particularly those fired in a kiln such as terra-cotta or ceramic tiles, have perfectly straight and even edges, and most all tiles are porous. The grout fills the gaps and helps align the tiles.
It also helps to hold the tiles in place by bonding the sides together and strengthening the overall structure. Sometimes, it also adds slid-resistance.
The substance has a rough texture, and for the most part, goes unnoticed unless it is intended to make a statement. Tile grout typically consists of a combination of water, colorant and cement.
While they may all look alike the naked eye, there are 3 main types that you should familiarize yourself with.
Types of Grout
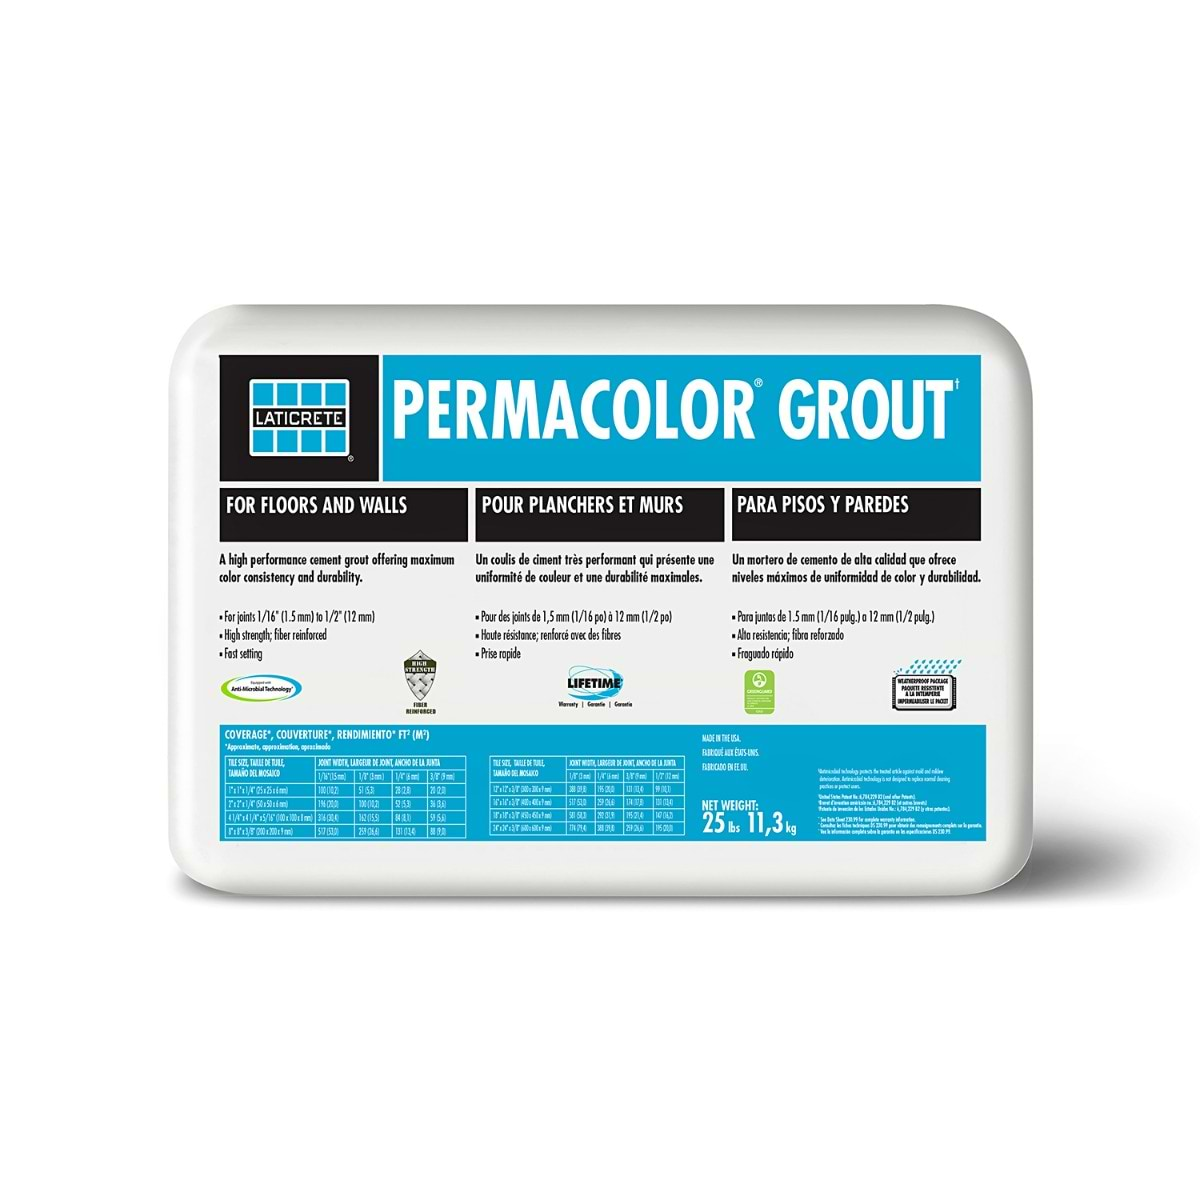
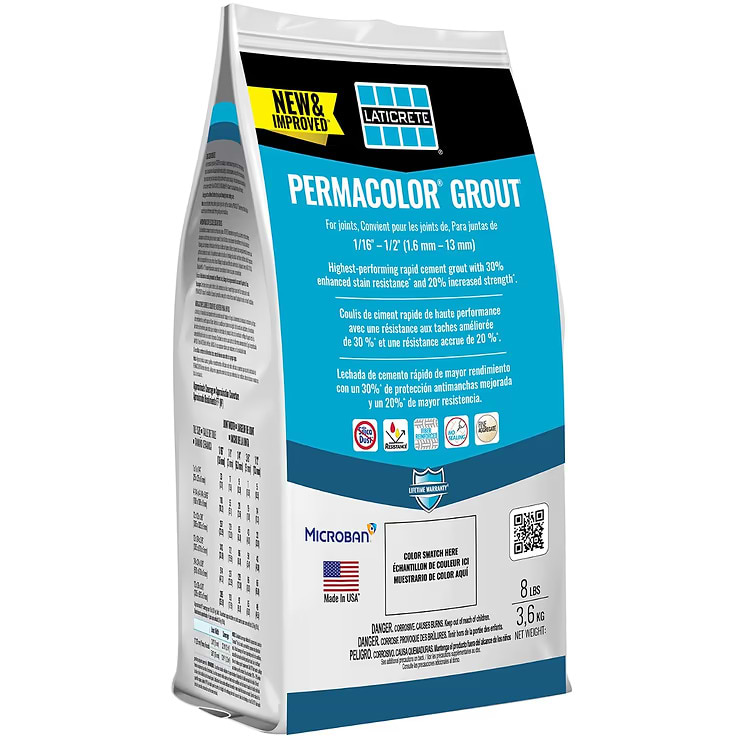
Cement
The most classic of grout options. It has been used in applications for years and years. This type can be broken down into 2 sub-categories; sanded and non-sanded.
Sanded Cement
Pros: It helps create slip resistance when used in areas that get wet. It prevents shrinkage and cracking.
Cons: While this can be a pro for some, it takes a little longer than epoxy grout to set which means if you’re working on a tight schedule it may not be the fit for you.
Application: This type of grout does well for grout joints wider than 1/8th of an inch.
Non-Sanded Cement
Non-sanded grout is essentially the same base as the sanded type, only there isn’t any addition of sand to the mix, as the name implies.
Pros: Due to its sticky nature, it is easier to use on walls and won’t move much as you work with it during an application. It is ideal for smaller grout joints.
Cons: If you use the non-sanded grout on larger grout joints, they will crack due to the lack of the bonding effect.
Application: This type of grout does well for 1/16th and 1/8th of an inch grout joint.
It should be noted that for both sanded and non-sanded grout types that you will need to seal them.
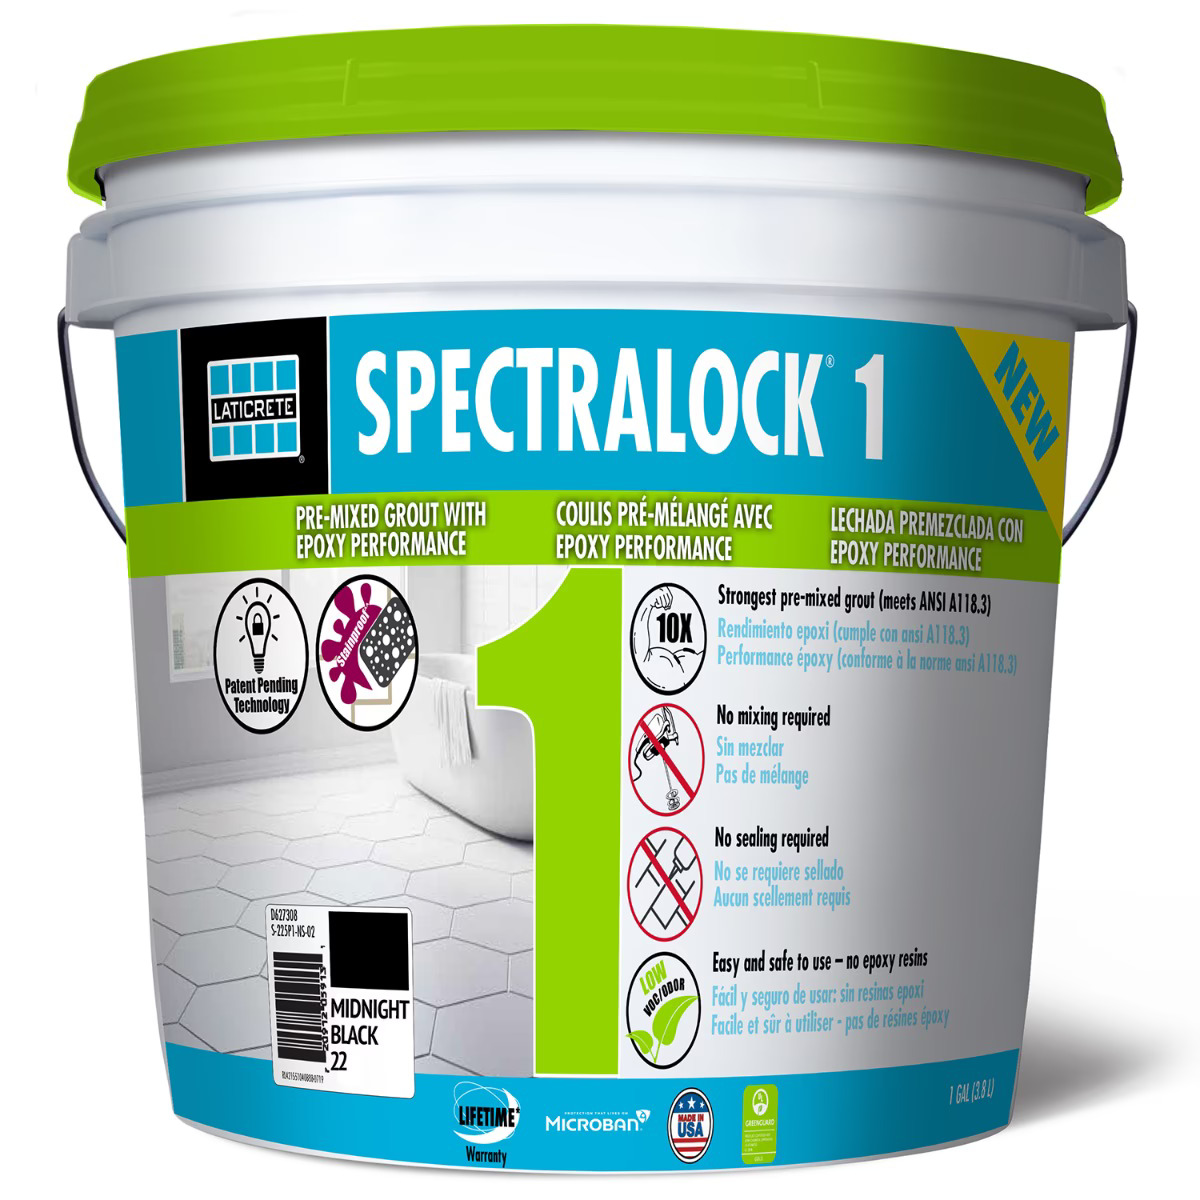
Epoxy
Epoxy grout is one of the most durable options available, even though it’s a relatively new one. It’s not only resistant to staining or water damage, it also holds up against moisture well. There are two parts to this grout; the base and the activator.
Pros: The pros list for epoxy grout may seem endless, and that’s because this is a type of grout that has been especially formulated for durability as well as residential / commercial use. It absorbs water, is chemically resistant and has double the strength of traditional cement grouts. All this, and it doesn’t wear down over time.
Cons: The one con is that application has to be done quickly due to the chemical reaction that takes place. This usually means that a professional should be hired for the job.
Furan Resin
A highly chemical resistant type of grout, Furan is made without the presence of water. To form, it takes a two-part system; a furan resin and a filler powder with an acid catalyst. The acid catalyst causes the furan resins to cure, which in turn leads to a substance that is extremely chemical, and thermal resistant.
Pros: It is a highly resistant grout option. Makes for a great option for areas that are exposed to chemicals and/or grease. Can be used with newer, more popular tile options like pavers as well as quarry tile.
Cons: Difficult to install. Usually need a skilled contractor to help apply it. Fumes should be avoided and proper precautions should be taken before installation.
Choosing The Right Color
Whether for a bathroom or kitchen backsplash, countertop or floor tile remodel (or something else), choosing the right grout color is essential for any tiling project. Along with the tile color and pattern, making the choice when it comes to your grout will make the statement you’re going for. Dark grout provides a different look and feel than lighter – what ambiance are you going for? Do you want low or high contrast? These are questions to consider when choosing the color.
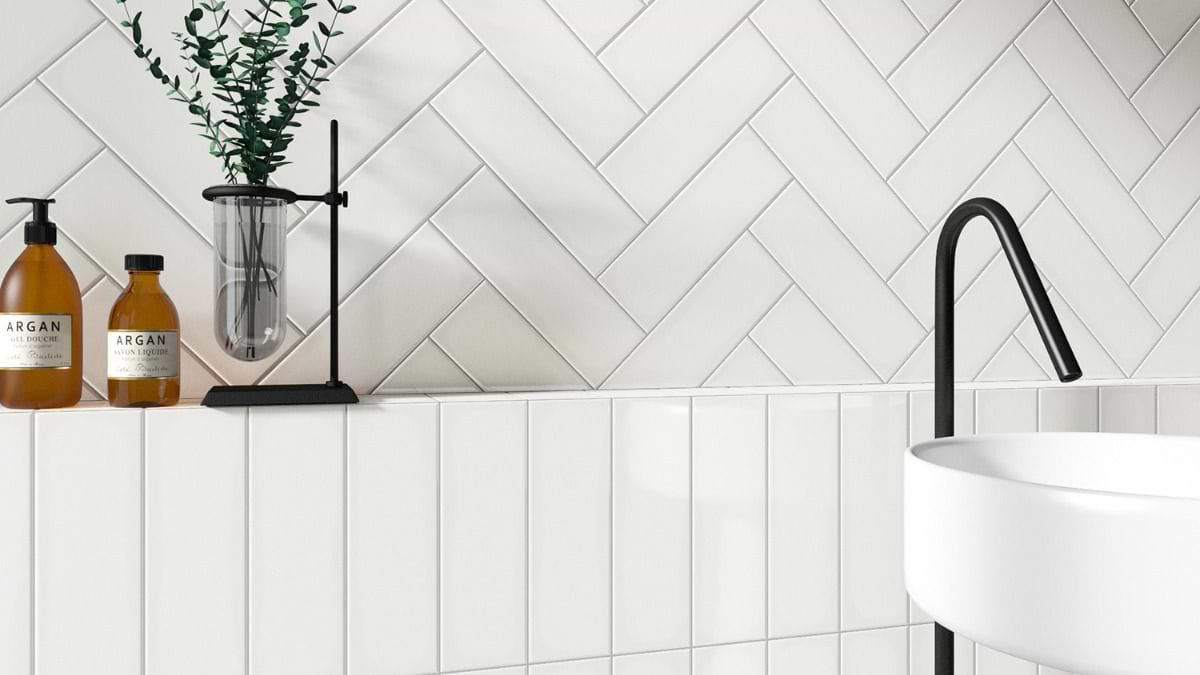
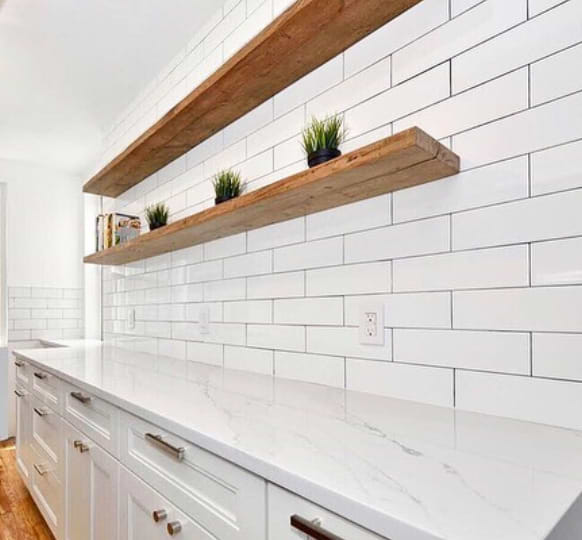
White Grout Color
White grout is both a blessing and a curse. It does an extraordinary job of hiding grout lines when paired with lighter or white colored tile. Additionally, it can make colored tile pop. However, since it is stain’s favorite color, it dirties quickly and should be cleaned quite often. For those who are able to continue with its upkeep, it will be a great match. Otherwise, we suggest continuing on to the other colors below.
Neutral Grout Color
A bit darker than white, grays or tans work well to give a slight contrast to lighter tile. The result is less maintenance as the tile ages, so you can worry less about spills or splashes. Aside from this, neutral grout can showcase the shape of your tile very nicely. If you use a subway tile in a special lay pattern, you’ll get a bit of pop which adds to your design. While it’s less upkeep than white grout, this grout tone does require a cleaning every so often.
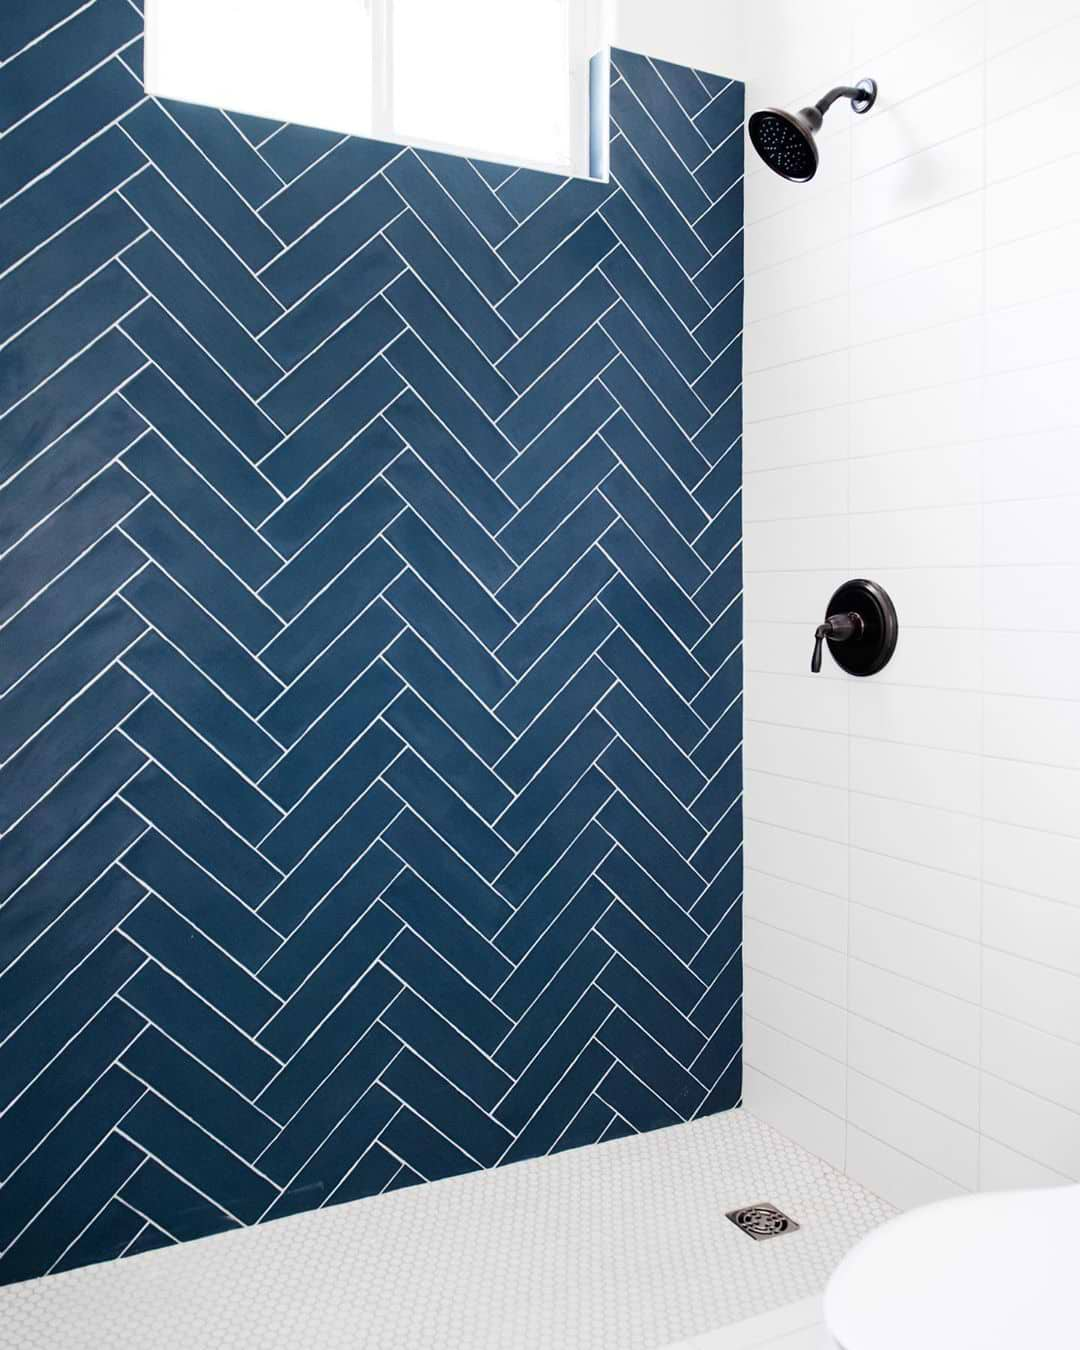
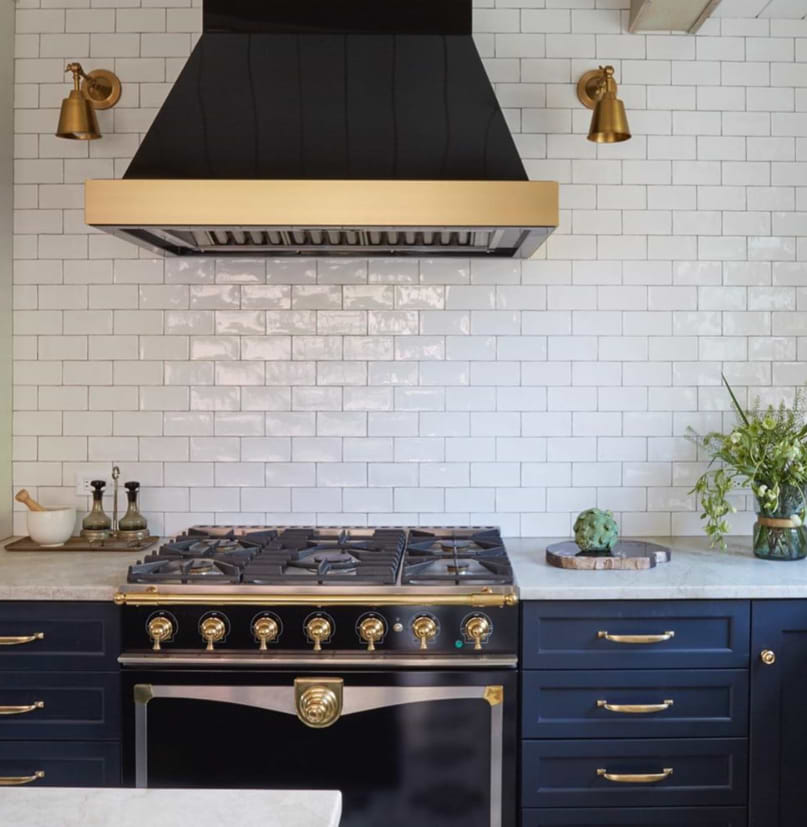
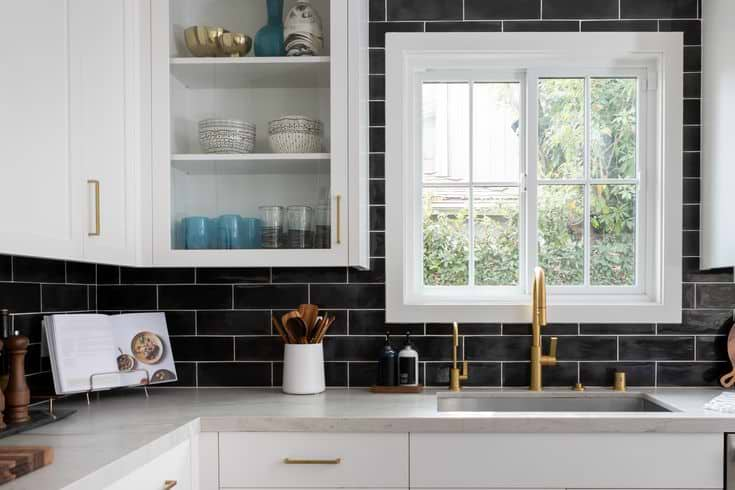
Black Grout Color
The darkest of all the grout options is black. This is a great choice for those that want less upkeep and are into bold design. The black grout against the tile creates an immediate pop and in many cases delivers a contrasting design. On the flip-side? It requires to be wiped off the tile regularly and if cleaned with abrasive substances, it fades losing its impact.
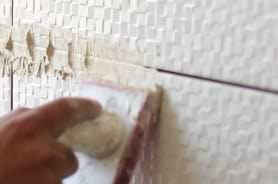
Proper Grouting for Tile Installation
The color of your grout is noticeable, and no one likes the look of old grout! Proper application not only makes it look its best, but it also protects from discoloration, stains, cracks, chipping, and makes it easier to keep clean on a regular basis. Before starting a DIY project, make sure you research the right sealer for your tile choice and proper application techniques to ensure a successful result.
Installation Costs
When it comes to installation, costs may vary. A few key things that will affect the overall price are: the level of expertise of the contractor you work with, the area that the grout will be placed, and the grout that you choose. The cost per square foot can be $2-$4.
Now that you have a handle on what grout is, how it works within your design, the various options and colors, feel free to click below and check out our extensive selection today!
Related Articles

Choosing the Right Grout
 Pinterest
Find Your Perfect Grout Match! Color, Texture & Choosing for Your Tile.
OTHER PRODUCTS USED:

Explore Our
Tilefinder