Visit
Visit 
How To Install White Subway Tile Backsplash
 Copy Link
 Email
Email
 Twitter
 Pinterest
 Instagram
 Facebook
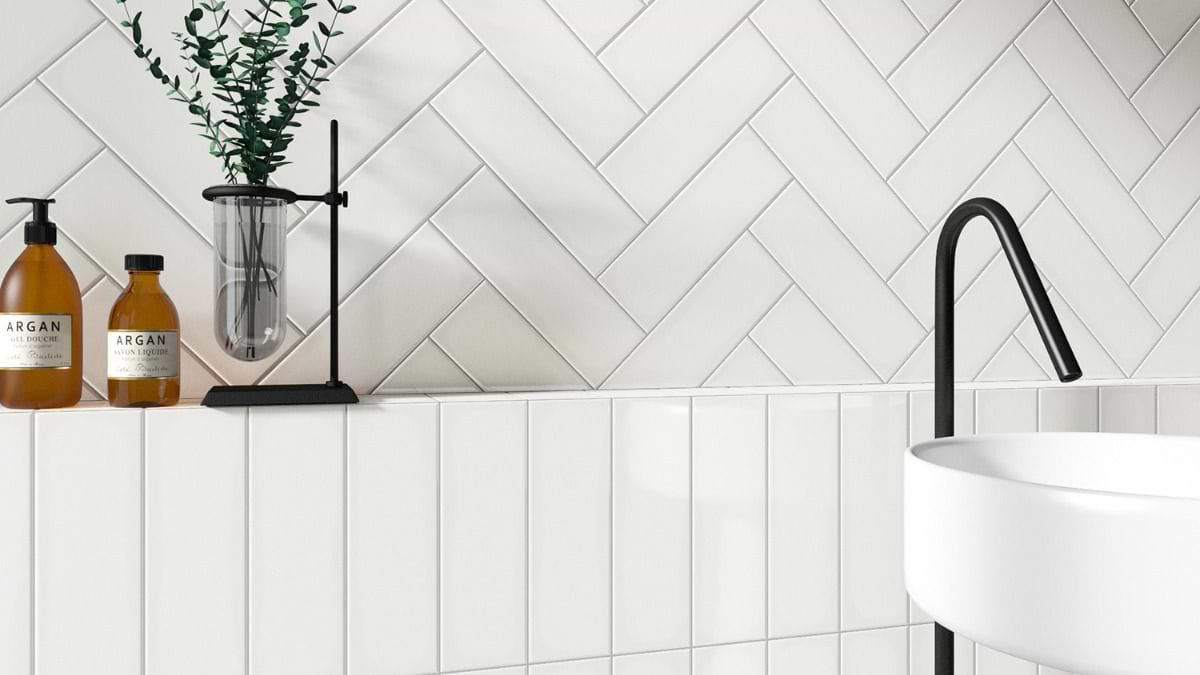
So you’ve bought yourself some nice looking modern white subway tiles and you’re wondering how to install them. Well, you’ve come to the right place. Whether you’re installing white subway tiles as a kitchen backsplash or in your bathroom, in this guide, we’ll go through the five phases you need to follow to come out with a pristine subway tile application.
What You’ll Need To Install White Subway Tiles.
To get started, you’ll want to gather up your materials. Those will be as follows:
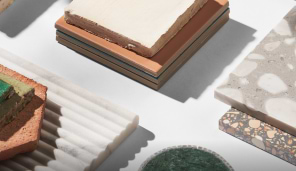
Your Tiles
A Tile Cutter
A Leveling Tool
A Measuring Tape / Pencil
Adhesive / Trowel
Grout
Cleaning supplies
How To Install Subway Tiles
- Phase 1: Prepare the Walls
The first phase before installing your white subway tiles is to prepare your walls and surrounding work area.
To do this, you’ll want to make sure that the walls are cleaned. Use a mild soap along with some water and wash them down. This will ensure any small stains or spots are completely gone before you dive into the full project. Additionally, you’ll want to make sure that you patch up any holes with spackle.
After this is completed, the next thing to do is prepare your work area. Clean the kitchen counters, remove appliances, shut off power, and lay down cardboard on counters to prevent any messes.
Once you’ve done this, you’re ready for phase two. - Phase 2: Plan The Layout And Measure The Space
Phase 2 consists of measuring your space and planning the layout for your tiles. This is a fun step since you get to visualize how you want your space to look!
To start, take a measuring tape, and calculate the total square footage of the space where you’re applying tile. Whether its white subway tile in the bathroom or white subway tile backsplash, you need to get to know that area well. This way, you can measure white subway tile sizes and get an accurate number of pieces you’ll need (phase 3).
After doing this, take a leveling tool and measure out horizontal as well as vertical lines along the wall. This will help you get an idea as to where you’ll lay tile. You can even temporarily hold up the tile in the space to see how it’ll look to get a better feel.
Shop White Subway Tiles - Phase 3: Calculate The Tile Needed.
To be successful in this undertaking of installing white subway tile backsplash, you’ll want to measure your tile to get an estimate on how much of it you’ll need. Here’s the best way to calculate the amount of tile you’ll need:
First, you need to figure out the total area of the tile. To do this, you should always account for grout lines. While they can vary, the standard is ⅛”. So, whatever your tile measurements are, tack on an ⅛” to it. This will ensure that you get a more accurate answer for your tile needs.
From here, you’re ready to calculate the area. If the tile dimensions aren’t listed in feet, convert them. To do that you take the total area of the tile and divide it by 144 (the number of square inches in a foot).
So, for example, if you have a tile that is 24” x 24”, you’d first add the ⅛” grout line to both sides so that it comes to 24.125” x 24.125”. Then, you’d get the total area (length x width): 582.02”. Take this number and divide by 144. In this case, you’d get 4.042 sq. ft. as the total area of the tile.
Finally, you’ll want to place that number in your number of tiles formula which is:
Number of Tiles = Area of Room / Area of tiles
As an example, let’s say your room is 2,200 sq. ft., you’d plug that in as follows:
Number of Tiles = 2200 / 4.042
Number of Tiles = 544.3
Voila! You’ve calculated the number of tiles precisely.
For even more information on measuring white subway tiles, please visit our Measuring Tile Guide for expanded step-by-step instructions.
It’s also worth noting you may have to cut your tile in the process. If this is the case for you, we put together a user-friendly, step-by-step blog post for you here. - Phase 4: Apply The Adhesive And Place White Subway Tiles
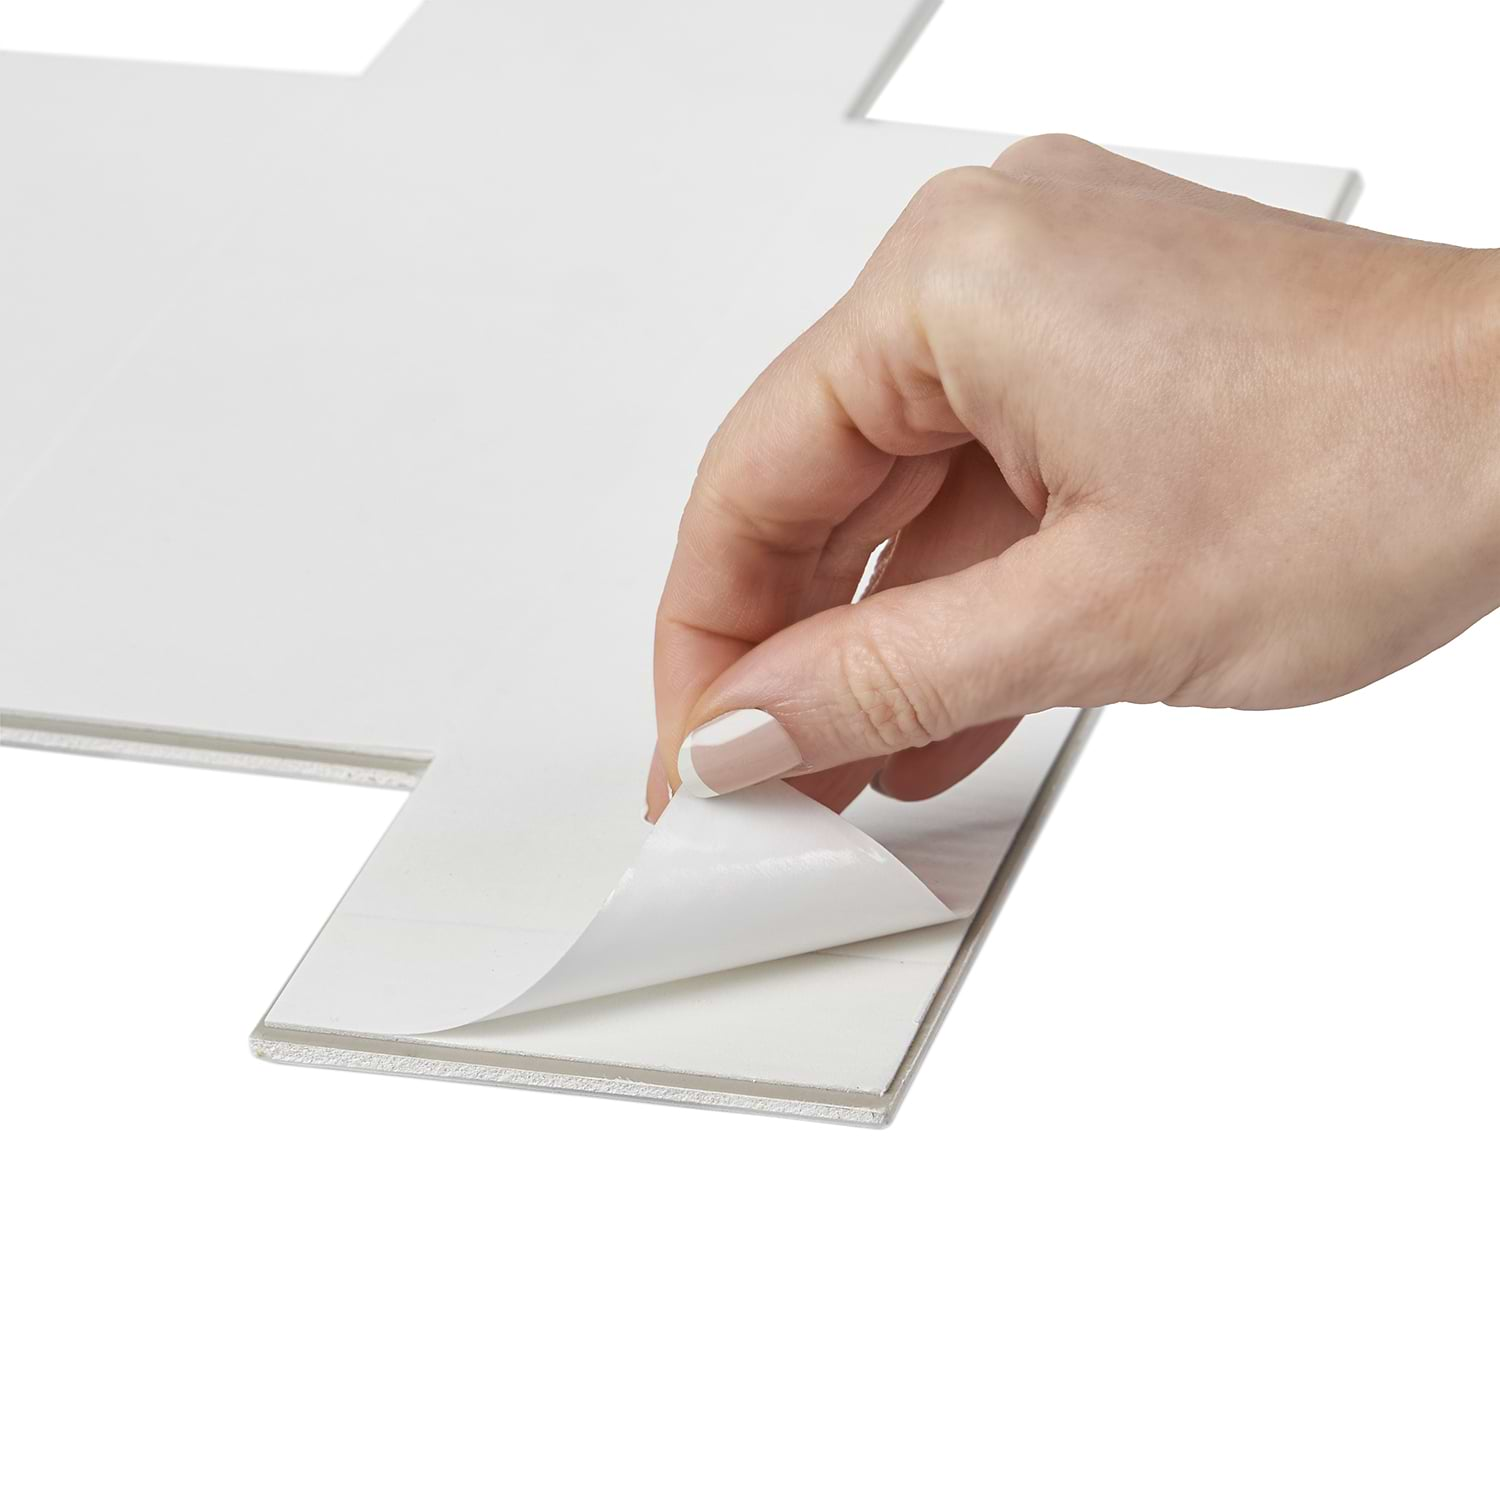
There are two types of adhesives on the market that you’ll come across; they are premixed and powder.
In the case of applying tile to a kitchen backsplash, the premixed adhesive is just fine. If you’re going to be placing the tile in an area that will come under a lot of moisture, like white subway tile in the shower, you’re best to go with the powder mix.
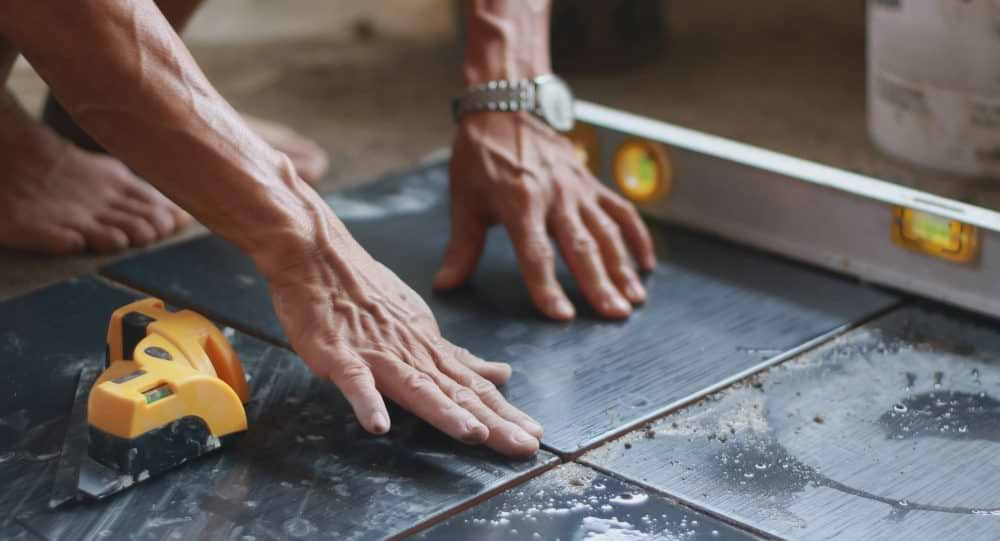
Once you’ve bought your adhesive, you’re ready to apply it. To do so you’ll need a trowel.
Simply smooth the adhesive over the designated space and then lay your tile.
Feel free to play around with lay patterns. There are so many different types of subway tiles, you can get as classic or as quirky as you’d like! - Phase 5: Finish With Your Grout!
The last and final step is to choose your grout color and apply it! Since you’ve included in your measurements space for the grout, this should be a breeze.
Apply the grout over your tile, let it sit and dry. After you’re done, wipe away any excess grout to reveal some gloriously beautiful tiles!
Need a hand in deciding which grout is right for your white subway tile? We have your back. Read our post on that here.
Shop All Grout
That’s a wrap on how to install white subway tiles successfully! Want to get inspired? Check out our look-book on backsplash tile here.
Related Articles


Explore Our
Tilefinder