Tiles Ship in 5-7 business days

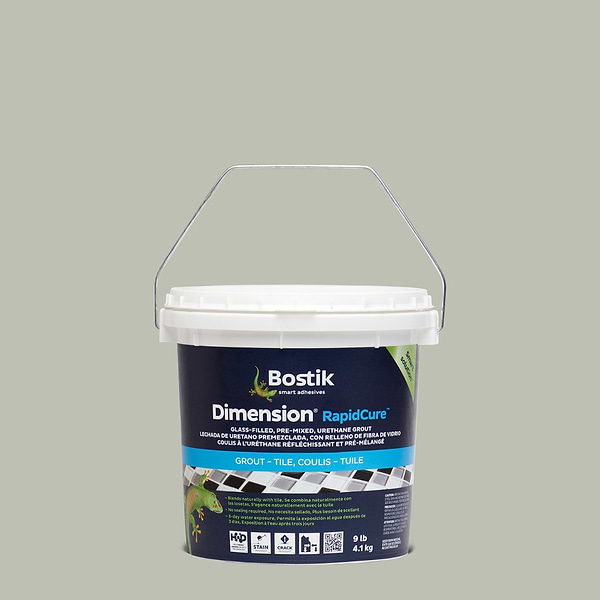
Dimension RapidCure Diamond Glass-filled- Pre-mixed Translucent Grout 9 lbs

$120.00 per 9 lbs bucket
As Low as
x
Bulk Savings
  • Buy 2 for $110.00 each and save 8%

Calculate Grout

Quantity How much do I need?
piece
Total Price
$120.00
1 piece covers 0 Sq.ft
Add to Favorite Removing... Remove This Item Removing...

Loading...

Fast Nationwide Shipping + 365 Day Returns
Shipping & Returns
Samples: Ship Free When You Order 5+

All samples ship for FREE when you order 5 samples or more! Samples typically ship within 2-4 business days.

Regular Orders: Flat Rate Shipping

For all regular priced non-sample orders, get fast, flat-rate shipping. Standard Shipping orders ship in 2-4 business days. Expedited Shipping orders placed before 2pm EST Monday-Thursday or Friday by 10:30am ship the same day. VIP Freight typically ships in 2-4 business days.

Ordering from TileBar means you're ordering from the source. Most products are in stock in our warehouses and ready to ship to your doorstep. Our fast shipping means you should expect to receive your order within 10-14 days. Need it sooner? Expedited shipping options are available at checkout.

* Flat rate shipping does not apply to closeouts, specially priced orders, slabs or scrap lots. Additional charges apply for shipping to AK, HI, PR and the U.S. Virgin Islands.

* Click here for more details.

365 Day Returns

Did you order too many tiles, or not 100% satisfied with your purchase? No problem. TileBar is happy to accept returns within 365 days of your order. Please read the following information carefully.

1. You must request an RMA (Return Merchandise Authorization) form by emailing [email protected].

2. Samples, clearance, FINAL SALE items, and custom orders are non-refundable.

3. In order for us to continue to be able to offer affordable pricing, a 15% restocking fee is assessed on all returns. Shipping charges are non-refundable. Customer are responsible for return shipping charges and arrangements.

4. All returns must be in their original packaging and in the condition in which they were received.

* Click here for more details.

Why You'll Love It

  • 01No sealing required ever
  • 02Stain-Proof*
  • 03Unique reflective appearance
  • 04Great for kitchen, backsplash, bathroom, shower

Need an Expert?

Our all-inclusive Free Design Services are here for you. We match you with a personal Tile Design Consultant to help from design to delivery—for free. Details here

See It Installed

Bostik Dimension Diamond Grout 9 lbs

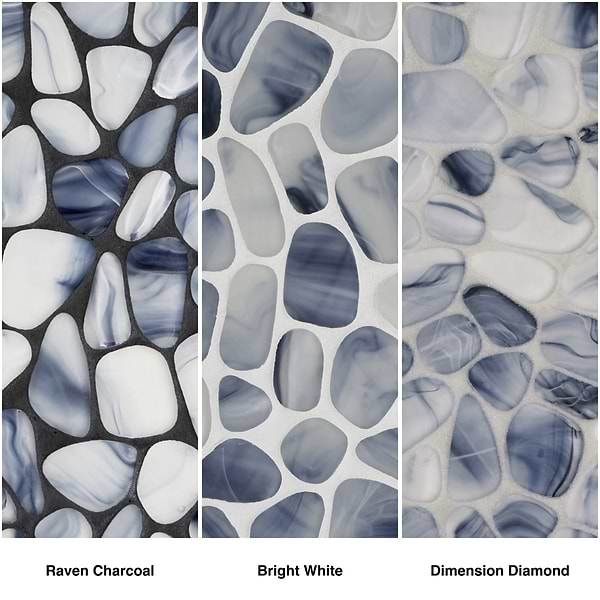
Dimension™ Reflective, Pre-Mixed Urethane Grout is a patented, glass filled, ready-to-use, water based, urethane grout. Dimension contains micro glass beads and a translucent, urethane binder that both reflect light as well as allow it to pass through. This creates a unique reflective appearance in all tile installations as well as a three dimensional effect within glass tile installations.

  • Adds a New Dimension to All Tile Installations
  • Unique Reflective Appearance
  • Limitless Design Possibilities
  • No Sealing Required Ever
  • Stain-Proof*
  • LEED Compliant:  80% Recycled Glass, Eco-Friendly Formulation

A Bucket of Grout Covers Approximately:

1"x1" Mosaic 32
1"x2" Mosaic 60
2"x2" Mosaic 63
3"x6" Mosaic 201
12"x12" Mosaic 253
12"x24" Mosaic 300
24"x24" Mosaic 505


  • Ideal for narrow grout joints, 1/16" or less. Use on walls and floors for grouting marble, glazed wall tiles, ceramic mosaics, as well as semi-vitreous tiles. Meets ANSI 118.6 with water and ANSI 118.7 with Multi-Purpose Acrylic.
  • Grout is Sold By the Bucket
  • Each Bucket is 9 lbs.
  • Final installed color may vary with the variety of tiles, tile porosity, jobsite conditions and finishing techniques. Uneven drying conditions can casue shade variations and/or blotching.

Key Specs

  • Item Color

    Clear

  • Item Size

    9 lbs

Detailed Specs

  • Misc. Info

    Not suitable for pools

  • Weight

    9 lbs

How to Grout Properly

Why does grout discolor? Grout discolors because of poor installation tehniques, improper cleaning methods, efflorescence, and improperly cured setting beds. Color differences occur in different parts of an installation because the grout is allowed to cure at different rates. Uneven curing causes uneven color. Inconsistant mixing and installation techniques also cause uneven color. Successful installations are the result of uniform, good installation techniques. Follow these step-by-step tips and you will bring about beautiful, long-lasting and low-maintenance colored grout installations.


Checking for efflorescence. Efflorescence is the movement of moisture upward through portland cement beds and concrete slabs. Efflorescence causes grout discoloration. To check for efflorescence, tape a small piece of plastic (polyethylene film) on the slab to be tiled. Make sure the tape seals all of the edges. If water condensation appears under the plastic within one or two days, efflorescence will most likely occur. To avoid grouting problems a waterproofing membrane may be necessary.


Allow tile to set firmly before grouting. Grouting tile too soon, before the setting material has set-up, can lead to many problems. Uncured setting material may bleed through the joints and discolor the grout. Also, there is the risk of destroying the bond by shifting tiles. Allow as much time between settng and grouting as feasible. Two days is advisable, but as much as four days may be needed on floors. When grouting floors, use kneeling boards (small sections of 3/8" thick plywood, two to three feet square) to provide support and distribute the installer's weight evenly.


Examine the tile for absorbence. If unglazed tiles are absorbent, colored grouts may stain them. They may be protected by paraffin wax or other protective sealers. When doubt exists, test a couple of tiles before grouting. This type of tile should be wetted prior to grouting, to prevent the tile from "stealing" water from the grout, and consequently causing uneven curing.


Apply a grout release coating. Removal of excess grout and film in the cleaning stage will be facilitiated by the use of a grout release coating to the surface of the tiles. This is recommended for all unglazed tiles. Prior to grouting, use a sponge applicator or mop to apply Super-Tek Clean-N-Shine, full strength, to the surface of the tile. Work carefully and do not allow Clean-N-Shine to ooze between joints of tile, where it may interfere with the grout.


Job conditions must be controlled. When grout cures at different rates, shade variations will result. If various areas of an installation are exposed to heat (i.e., direct sunlight, or radiators) or ventilation (i.e., drafts, or air conditioning) in different amounts, they will cure differently and unevenly. Cooler temperatures make grout dry slower and darker in color. Warmer temperatures cause faster curing and subsequently lighter joints. Try to maintain uniform temperature and ventilation. Never sweep sand or excess mortar into the joints. This causes a non-uniform joint depth, increasing the possibility of cracking and discoloring.


How to properly mix grout. The amount of water used to mix the grout is of utmost importance. The right amount of water produces a firm, wet mix. An overly wet and soupy mix dilutes the grout, causing shade variations and poor strength (powdering). To ensure uniformity of color, a clean container and the same amount of water must be used in every batch. Throughly mix every batch. Let the material slake (stand) for ten minutes, then re-stir. Try to maintain the same amount of mixing time with every batch.


Application. Prior to grouting, joints between tiles must be clean and free of excessive setting bed materials. Apply grout with a rubber float trowel, forcing it into joints to fill them completely. Remove excess grout with float. Begin cleaning immediately. Sprinkle dry grout (from the bag) over a workable area. Using terry-cloth rags and a circular motion, rub dry grout into the fresh joints. Rub until the joints are uniform and the tiles are clean. A second, very light sprinkling of grout over the same given area, polished in the same manner, will give a perfect joint. This method increases joint hardness, removes excess water, and fills the joints, making them flush with the surface of the tiles. Proceed to the next area and continue grouting in the same manner.


Finishing. If grout film appears, wipe with a lightly dampened sponge, rinsing and wringing it often. Repolish floor with a terry-cloth rag. Do not use acid or bleach when cleaning. This can discolor the grout and damage the tile.


Damp Curing. Damp curing is always recommended to improve the strength of the grout. Cover the finished installation with non-staining kraft paper for three days. Another method is to wipe the joints with a damp sponge or mop daily, after the intial 24 hours, for a period of three days.

Create a custom tear sheet for your clients

Tearsheet Options