Visit
Visit 
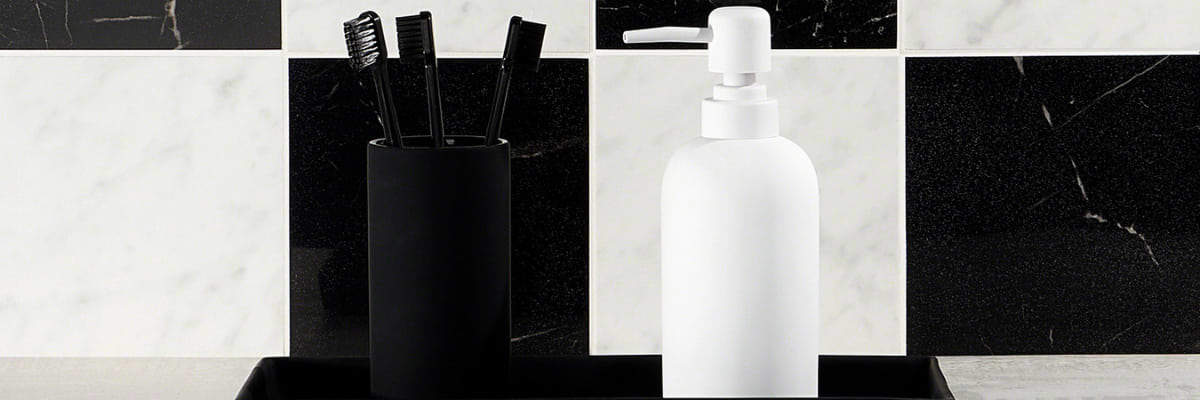
Traditional and Modern feel with Stripe Bathroom Tiles
 Copy Link
 Email
Email
 Twitter
 Pinterest
 Instagram
 Facebook
Have you been looking for a way to update your bathroom without breaking the bank? Would you like to create a space that reflects your style and taste? You might want to consider changing your bathroom tiles with stripe patterns.
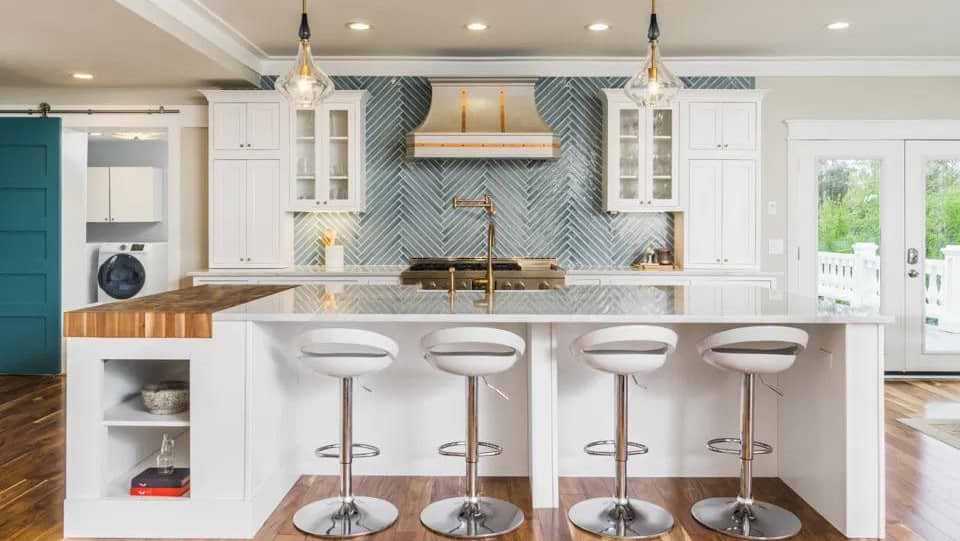
Stripes are a versatile and timeless design element that can add a touch of elegance, drama, or fun to any room. If you opt for classic black and white, vibrant colors, or subtle tones, stripes can help you achieve a perfect blend. You will enjoy a mix of traditional and modern aesthetics in your bathroom.
This article explains the benefits of using stripe tiles in your bathroom, the best ways to incorporate them into your design, and some tips on choosing and installing floor tile on your own or with the help of a professional.
Why Use Stripe Tiles in Tile Replacement in a Bathroom?
Stripe tiles are a perfect choice for your bathroom for many good reasons. Considering replacing your bathroom tiles? Discover why stripe tiles might be the perfect choice.
When embarking on a bathroom renovation, selecting the right tiles is crucial to achieving your desired aesthetic and functionality. Among the many options available, striped tiles stand out as a unique and visually striking choice. Despite often being overlooked, stripe tiles can add dimension and interest to your bathroom walls, floors, or shower surrounds, elevating the overall look of the space.
Let’s explore why stripe tiles are an exceptional option for your bathroom renovation:
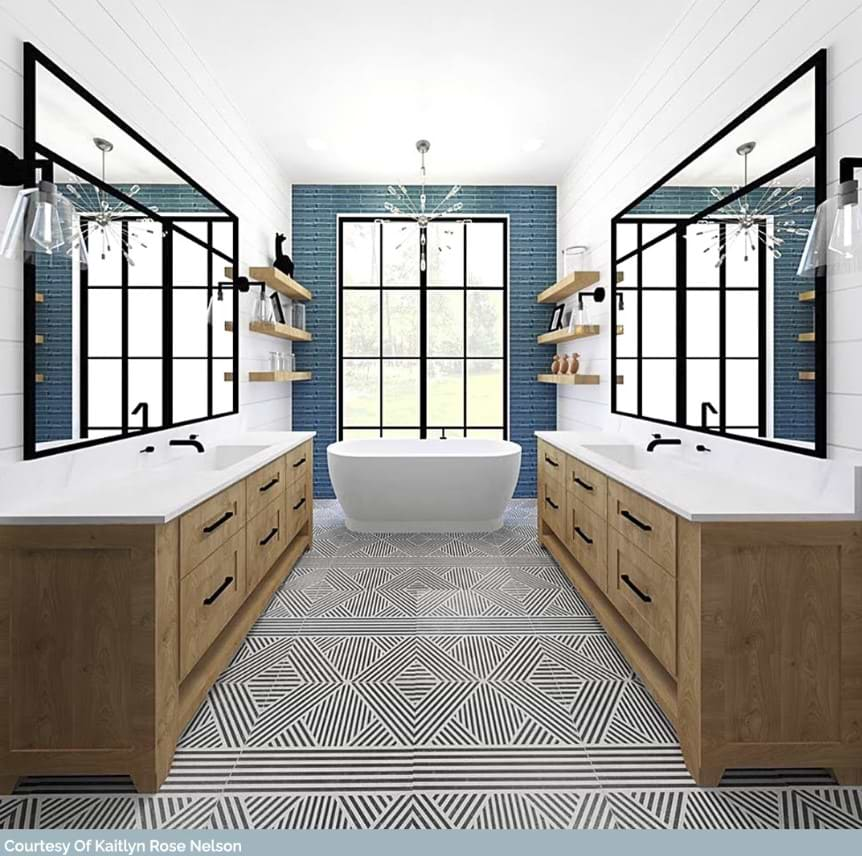
a. Create Visual Interest and Contrast
Stripes can break up the monotony of a plain wall or floor by adding some texture and unique dimension to a space, thereby creating a focal point or a statement piece that draws attention and compliments.
b. Enhance the Sense of Space and Direction
Stripes can make your bathroom look bigger, wider, or longer, depending on how you arrange them. They can also guide the eye and the movement in your space, creating a sense of flow and harmony.

c. Suit any Style and Mood
Stripes can match any decor theme, from traditional to contemporary, and any color scheme, from neutral to bold. They can also evoke different moods, from calm and serene to dynamic and energetic, depending on the width, direction, and color.
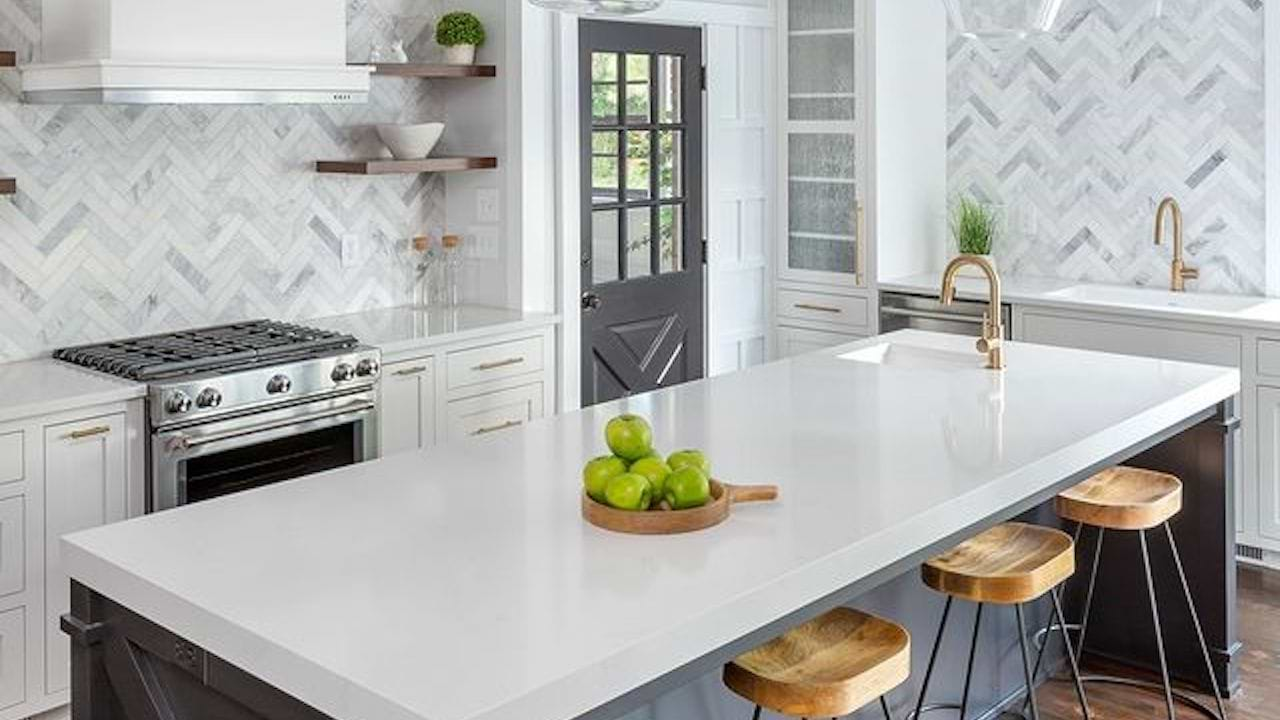
d. Easy to Mix and Match
Stripes can work well with other patterns, such as florals, geometrics, or solids, as long as you keep balance and cohesion in your design. You can also play with different shapes and sizes of stripe tiles, such as hexagons, scallops, or rectangles, to create unique and creative designs as you do your shower tile replacement.
How to Choose the Right Stripe Tiles for Bathroom Floor or Walls
Your Color and Style
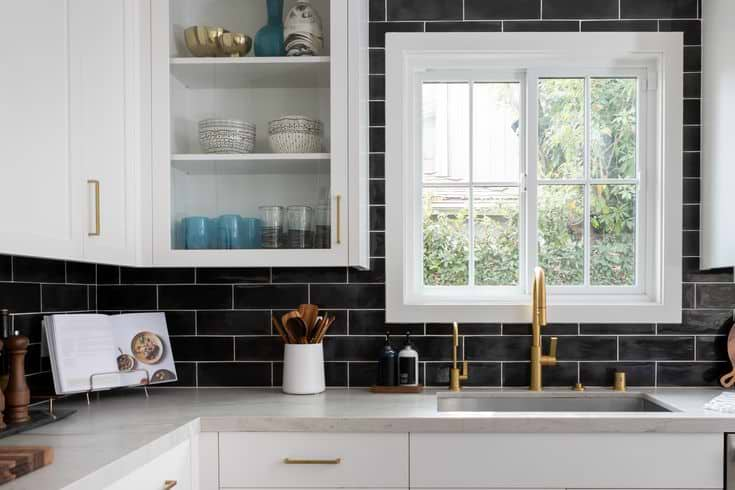
When choosing a striped tile, make sure that it matches the existing or desired color scheme and decor theme.
For example, black and white stripes can create a classic and elegant look that suits any style, while colorful stripes can add fun and personality to a modern or eclectic bathroom.
You can also mix and match various shades and tones of the same color to create a gradient or ombre effect with stripe tiles.
Quality and Durability of the Stripe Tiles

Of course, you also want to choose stripe tiles that are high-quality and durable, especially for areas that are exposed to water and moisture. Such areas include showers, bathtubs, and sinks. Be sure to avoid tiles prone to cracking, chipping, staining, or fading over time. Choose tiles that are easy to clean, maintain, and resist mold and mildew growth. At Tilebar you can browse a wide range of stripe tiles in different shapes, sizes, colors, and materials. You can also order samples of any tile you like to see how it looks and feels in your bathroom.
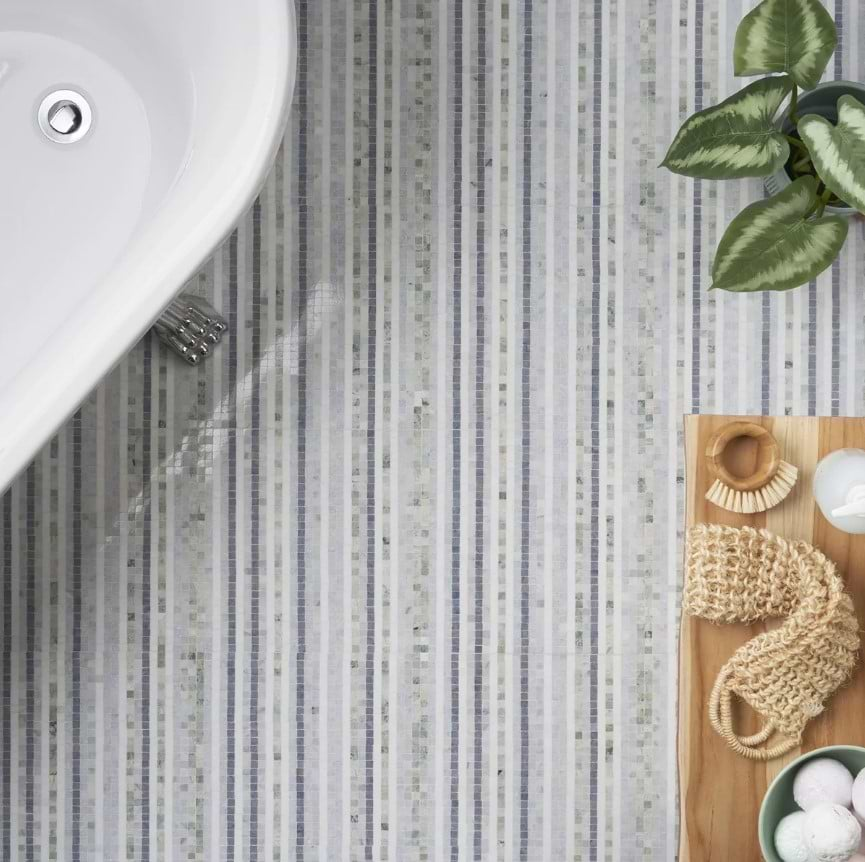
Size and Shape of Your Bathroom
Depending on the dimensions and layout of your bathroom, you might want to choose different directions and widths of stripes to create the desired effect. Whether you are changing a bathroom’s floor tiles or you are considering changing a bathroom’s wall tiles, size and shape play a role.
Horizontal stripes can make a narrow bathroom look wider while vertical stripes can make a low ceiling look higher.
Diagonal stripes can add dynamism and movement to a boring bathroom, while curved stripes can soften the edges and corners of a boxy bathroom.
Changing Tiles in Your Bathroom – DIY
Let’s discuss a few basic steps to ensure a successful and smooth installation.
Step#1: Prepare the Surface
Whether you are starting from scratch or you are retiling your existing bathroom, ensure that the surface is clean, dry, flat, and stable.
Remove any old tiles, wallpaper, paint, or adhesive that might interfere with the installation.
Additionally, repair any cracks, holes, or damages that would affect the level and alignment of the new tiles. You cannot install your new tile before preparing the surface.
Step#2: Plan the Layout
Measure the installation surface and mark the center point and the edges. Determine how you want to arrange the stripe tiles, and how you want to cut and fit them around the corners, edges, and fixtures.
Thankfully, you can use a tile calculator or a tile planner tool to help you with this step.
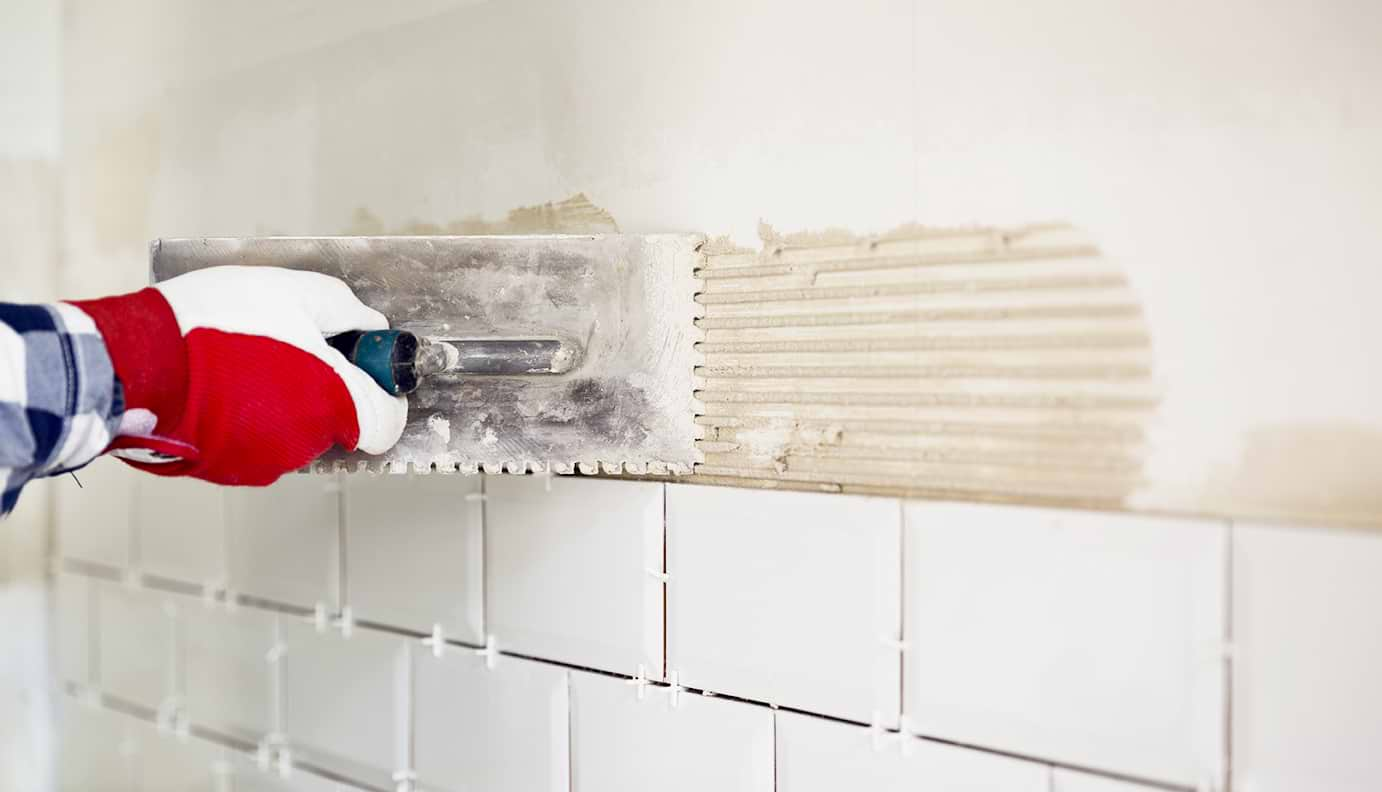
Step#3: Apply the Adhesive
Choose the best type of adhesive for your stripe tiles, depending on the material, size, shape of the tiles, and the surface where you want to install them. Check the manufacturer’s instructions on how to mix, apply, and spread the adhesive evenly and smoothly on the surface using a notched trowel or a similar tool.
Step#4: Place the Tiles
Carefully place the stripe tiles on the adhesive, starting from the center point and working outwards. Align the tiles with the marks on the surface and press them firmly into the adhesive. Use tile spacers to maintain consistent gaps between the tiles and to create straight and even grout lines.
At this stage, you need to cut the stripe tiles to fit around the edges, corners, and fixtures using a tile cutter, a wet saw, or a similar tool. Measure and mark the tiles before you cut them. Ensure that the cut edges are smooth and clean.
Step#5: Cut the Tiles
At this stage, you need to cut the stripe tiles to fit around the edges, corners, and fixtures using a tile cutter, a wet saw, or a similar tool. Measure and mark the tiles before you cut them. Ensure that the cut edges are smooth and clean.
Step#6: Apply the grout
You need to choose the right type of grout for your stripe tiles, depending on the color, width, and location of the grout lines. Follow the instructions for mixing, applying, and wiping the grout into the gaps between the tiles using a grout float or a similar tool.
Wipe any excess grout from the surface of the tiles and allow the grout to dry and cure for the recommended time.
Step#7: Seal the Tiles
Apply a sealant to the stripe tiles and the grout lines to protect them from water, dirt, stains, and damage. It is also advisable to choose the right type of sealant for your stripe tiles, depending on the material, finish, and location of the tiles. Follow the manufacturer’s instructions on how to apply and reapply the sealant using a sponge, a brush, or a similar tool when you replace shower walls.
If you are not confident or experienced in installing stripe tile replacement in the bathroom, you might want to hire a professional tile installer to do the job for you. A professional tile installer can save you time, money, and hassle and ensure a high-quality and long-lasting result.
Conclusion
Stripe tiles are a great way to transform your bathroom into a traditional and modern aesthetic space. When you install them correctly, they can create visual interest and contrast. Most importantly, they enhance the sense of space and direction, suit any style or mood, and mix and match easily.
You can choose the beautiful stripe tiles for your bathroom by considering the size and shape, the color and style, and the quality and durability of the tiles. Further, you can also install the stripe tiles in your bathroom by yourself or with the help of a professional, following some basic steps to prepare the surface, plan the layout, apply the adhesive, place the tiles, cut the tiles, apply the grout, and seal the tiles.
Create a space that reflects your personality and taste!
Related Articles
Explore Our
Tilefinder