Visit
Visit 
How to Remove Peel and Stick Tile
 Copy Link
 Email
Email
 Twitter
 Pinterest
 Instagram
 Facebook
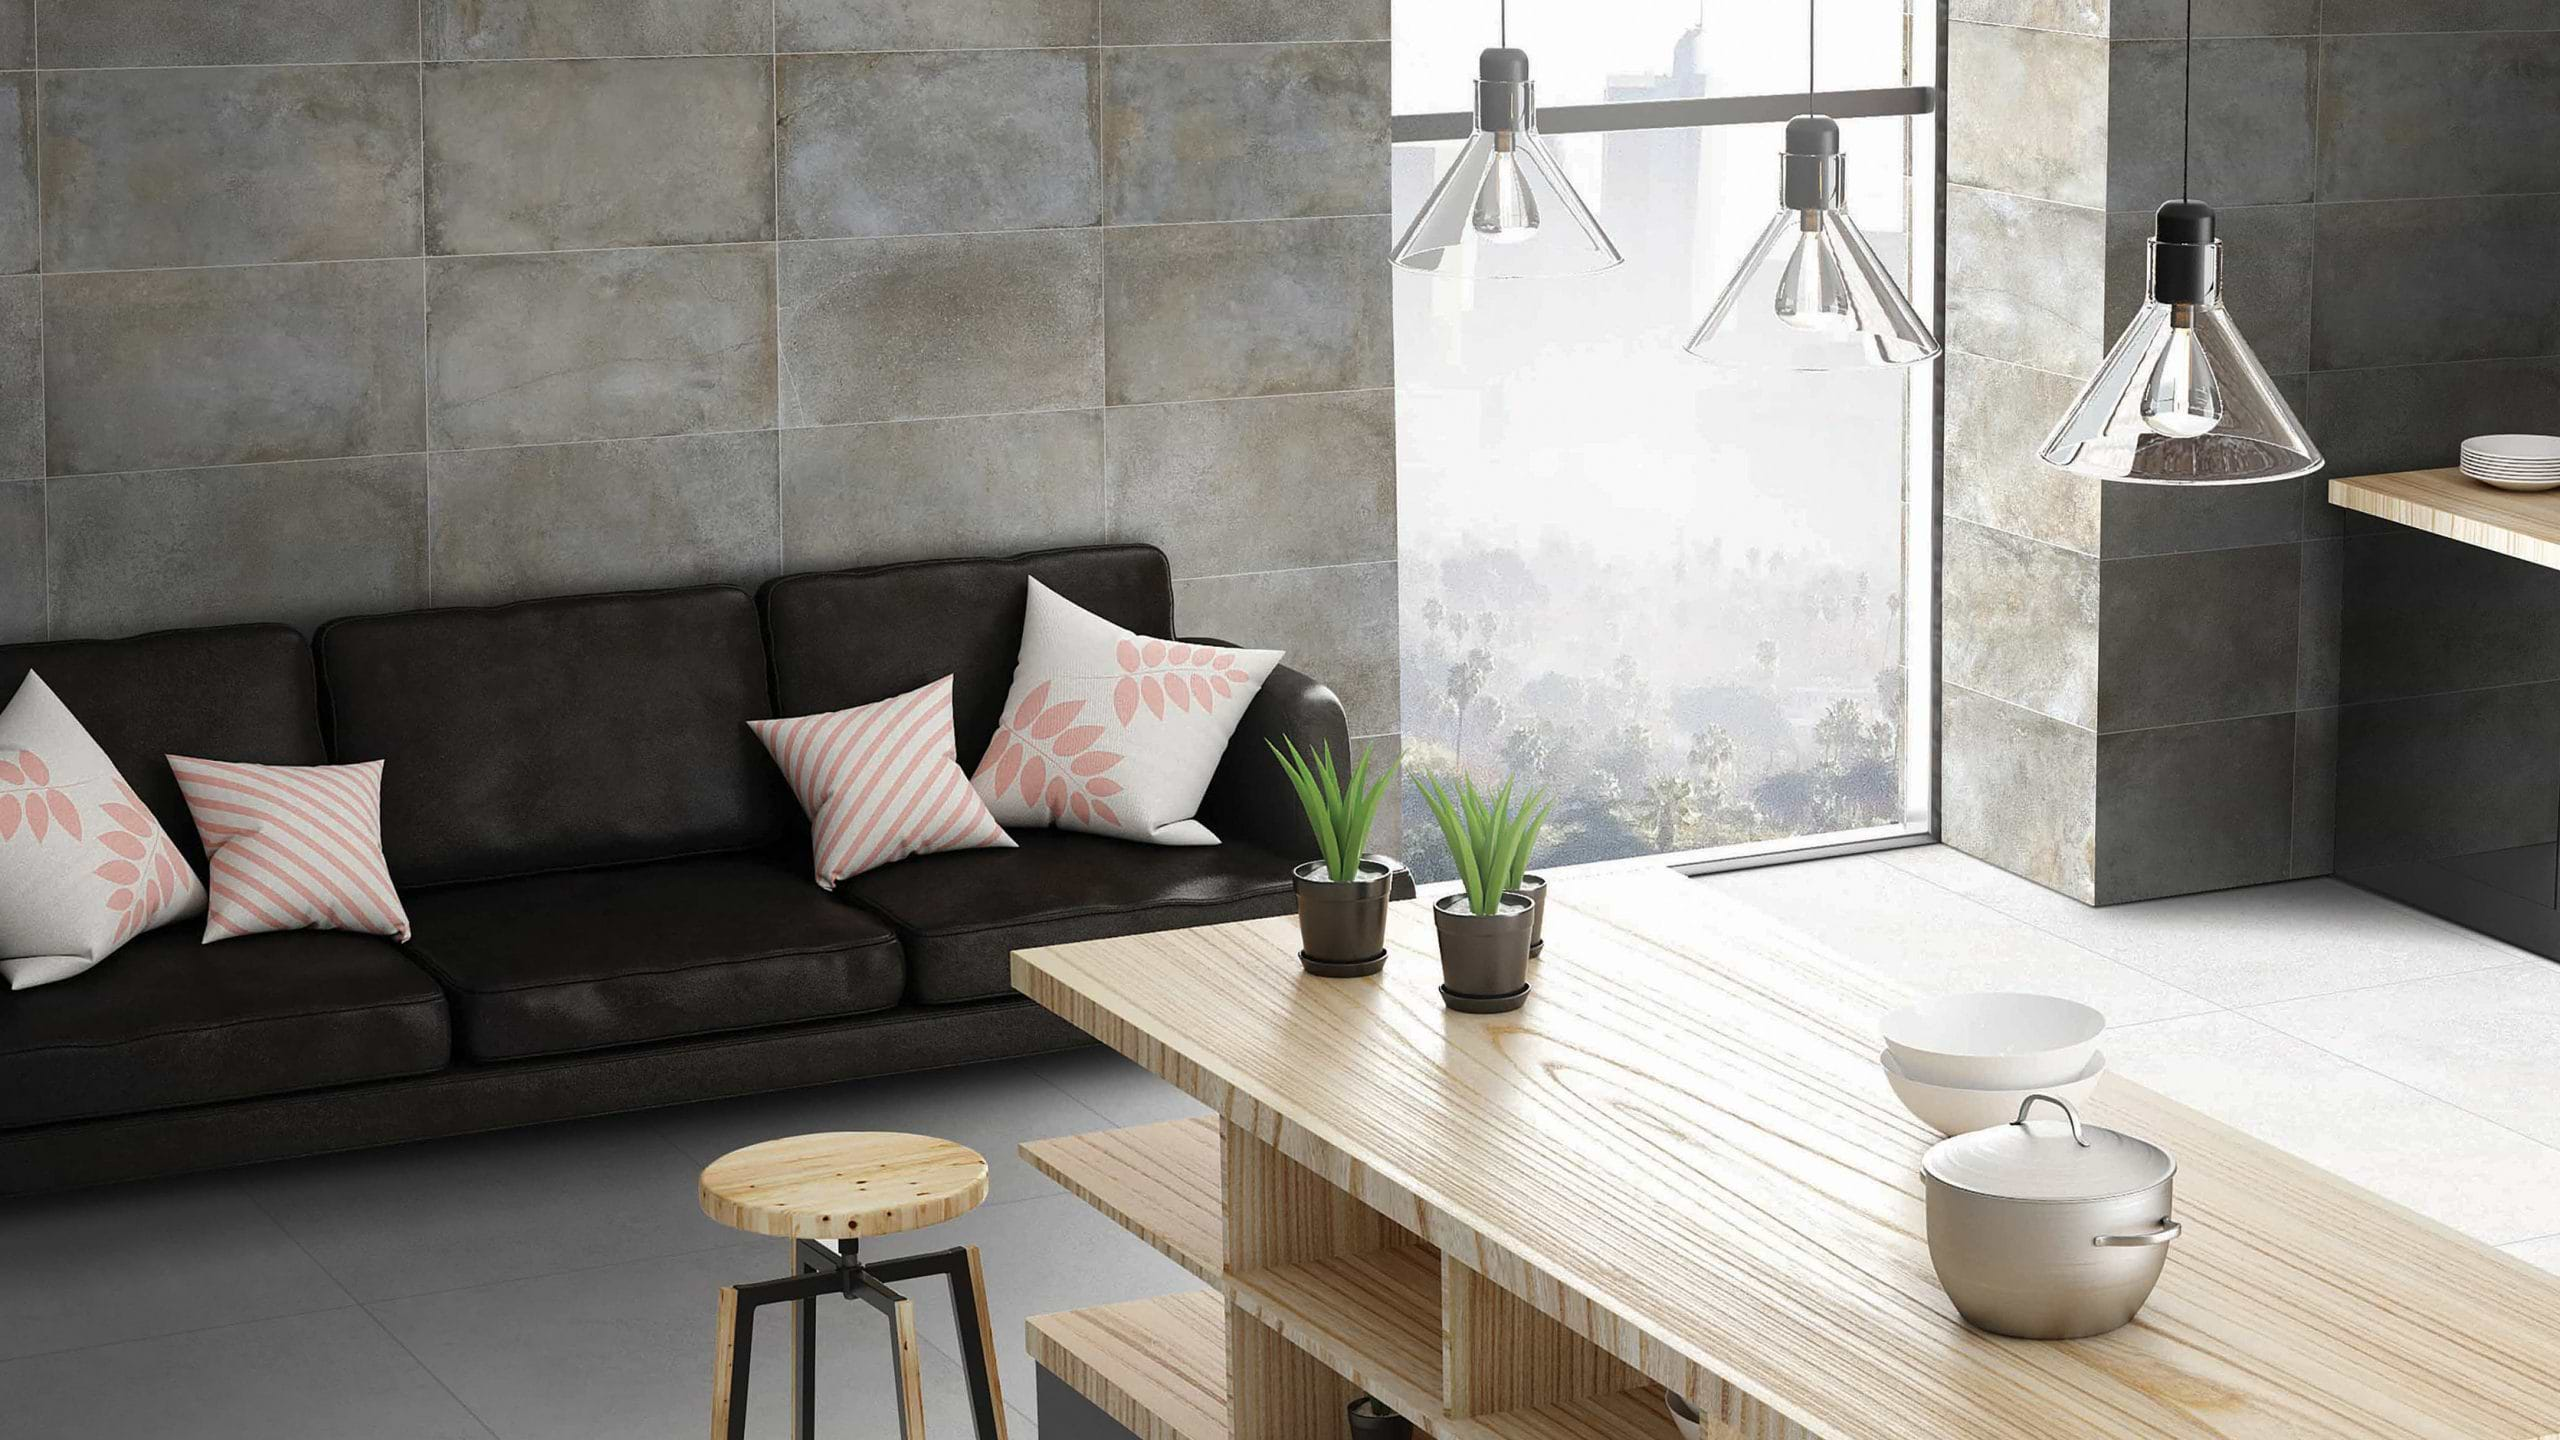
Peel and Stick tiles have revolutionized do-it-yourself backsplashes and wall tiles projects.
With self-adhesive backing layered under tile materials like ceramic, porcelain, or vinyl, these tiles adhere securely to surfaces without requiring messy mortars or grouts.
Their ease of installation makes Peel and Stick Tiles a budget-friendly option for transforming rooms.

Benefits of Peel and Stick Tiles
From affordable products to simple application methods,
Peel and Stick Tiles offer many advantages:
- Cost-effective material and labor
- Easy “peel and stick” installation
- Repositionable during application
- Suitable for smooth, flat surfaces
- Extensive style and pattern options
- Long-lasting and water/moisture resistant
Safety Precautions
Before removing Peel and Stick, it’s crucial to prioritize safety.
- Use protective gloves and safety goggles
- Clear furniture and obstructions from the workspace
- Keep children and pets away from the work area
- Beware of sharp edges when cutting tiles
By following these safety precautions, you can ensure an efficient and injury-free removal process, allowing you to enjoy the finished product with peace of mind.
Tools Needed for Removing Peel and Stick Tiles
When it comes time to replace damaged tiles or change up your design, Peel and Stick can be easily removed from surfaces. Having the right tools makes the removal process quick and hassle-free.
Essential Tools
- Utility knife or sharp scissors: For precisely cutting tiles around edges and corners
- Measuring tape: To accurately measure installation area dimensions
- Level: Ensures tiles adhere evenly and straight
- Damp cloth or sponge: For wiping down surfaces after removal.
- Rubber roller: Smooths tiles and ensures full contact adhesion
- Pencil: For marking tile cutting guides and layout designs
Optional Tools
- Heat gun: Softens adhesive backing for positioning flexibility
- Grout float: Helps apply grout smoothly and evenly
- Caulk gun: Finishes edges with clean caulk lines
- Tile spacers: Maintains even grout line spacing
- Power drill: Cuts intricate openings for outlets/fixtures
- Rubber gloves: Protects hands from cleaning agents
Having the right tools allows for a streamlined Peel and Stick installation process. The essentials enable precise measuring, cutting, alignment, and application. Optional tools cater to more complex project needs. Investing in quality durable equipment ensures an efficient and accurate DIY experience.
Prep Work
Properly preparing the surface area is a crucial first step before installing peel and stick tiles.
- Ensure the wall or floor area is smooth, clean, and dry.
- Remove any existing wall coverings, tiles, or backing materials.
- Fill any cracks or holes, sand down bumps, and use a leveling compound if the surface is uneven.
- Clean away residue using a multi-surface cleaner and let dry completely.
Taking time to correctly prep installation surfaces prevents tiles from failing to bond and delivers professional finished results. Thoroughly addressing surface imperfections, removing wall materials, and cleaning debris allow for optimal peel and stick tile placement.
How to Remove Peel and Stick Tile
Step-by-Step Removal Process
Start by selecting a corner of the tile to begin removal. Using a utility knife or sharp scissors, carefully lift the edge of the tile away from the surface.
Slowly peel back the tile at a shallow angle, taking care not to damage the underlying surface. If the tile is difficult to remove, use a heat gun or hair dryer to soften the adhesive backing, making it easier to manipulate.
Continue peeling back the tile gradually, working your way across the surface. Take your time and apply steady pressure to ensure that the tile comes off cleanly.

If any adhesive residue remains on the surface after tile removal, use an adhesive remover or rubbing alcohol to gently dissolve and remove it. Allow the surface to dry completely before proceeding.

Tips for Removing Stubborn Tiles
- For stubborn tiles that are difficult to remove, try applying heat to soften the adhesive backing. Use a heat gun or hairdryer on a low setting to warm the tile, making it more pliable and easier to peel away.
- If the tile still refuses to budge, carefully use a putty knife or scraper to gently pry it away from the surface. Take care not to damage the underlying surface or surrounding tiles.
Cleaning the Surface After Removal
Once all the tiles have been removed, thoroughly clean the surface to remove any remaining adhesive residue or debris. Use a damp cloth or sponge with mild detergent to scrub the surface, then rinse with clean water and allow to dry completely.
These detailed instructions provide a systematic approach to removing peel and stick tiles, along with tips for dealing with stubborn tiles and cleaning the surface afterwards. By following these steps carefully, you can ensure a smooth and successful removal process without causing damage to the underlying surface.
Frequently Asked Questions (FAQs)
How do I remove Peel and Stick Tile?
Carefully lift up tile edges using a paint scraper. Apply heat from a hairdryer or heat gun to soften the adhesive backing for easier removal. Clean any remaining residue off with adhesive remover.
What removes Peel and Stick Tile adhesive?
Adhesive remover sprays help dissolve the sticky glue left behind from peel and stick tiles. Apply the remover, let it sit for 5 minutes, then wipe away with a clean cloth.
How do I remove old Peel and Stick Tile floor tiles?
Use a floor scraper blade to get under the tile edges. Applying steam from a wallpaper steamer can help loosen the floor tile bond. Remove all old adhesives before laying new flooring.
What gets rid of Peel and Stick Tile residue?
Adhesive remover spray helps eliminate any sticky residue left on surfaces after removing tiles. Let the remover sit for a few minutes before scrubbing and wiping away all remaining debris.
Can I remove Peel and Stick Tile from concrete/wood/linoleum?
Yes, peel and stick tiles can be removed from concrete, wood, and linoleum floors using tools like scrapers, heat guns, and adhesive remover sprays. The products lift tiles and dissolve any leftover glue.
Is there an easy way to remove Peel and Stick Tile?
While removing tiles takes some elbow grease, using steam, heat, and chemical removers makes eliminating peel and stick tiles much easier with less scraping. Always start tile removal in a corner edge.
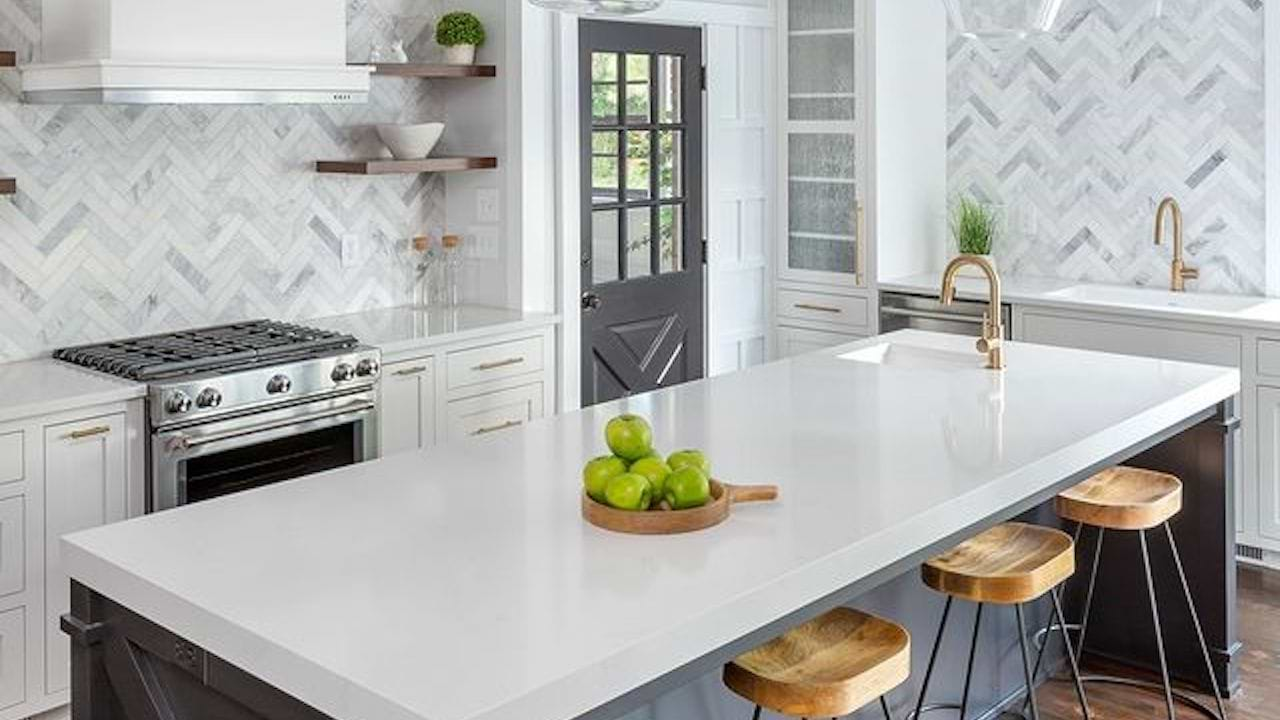
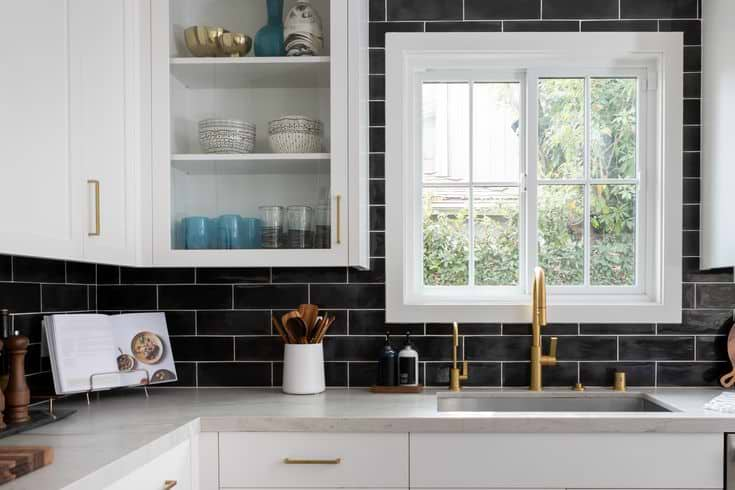
Alternatives to Peel and Stick Tiles
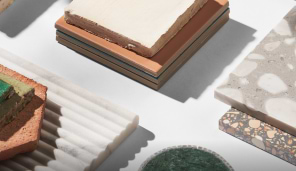
While Peel and Stick Tiles offer many benefits, they may not be the best choice for every home or project. If you are thinking of updating your tiles in line with the latest trends, here are some alternatives to consider:
Porcelain & Ceramic Tiles – Get professionally installed porcelain, ceramic, or clay tiles for a genuine tiled look. Installed properly, these options are water-resistant and bring flair to any space.
Natural Stone Tiles & Stone Mosaics – Natural stone options like marble, travertine, and slate deliver unmatched elegance. Mosaic sheets offer intricate stonework without large format sizing.
Luxury Vinyl Tile Flooring – Luxury vinyl tiles offer durability and realistic visuals that mimic wood, stone, and ceramic. Floating vinyl planks click together seamlessly for mess-free DIY projects.
Weigh factors like your surface material, humidity levels, and desired durability when selecting the best tile materials. Blend peel and stick tiles with other finishes to optimize each tile’s strengths across your whole space.
Related Articles

Explore Our
Tilefinder