Kitchen Trend Alert: Open Shelving Against Tile Backsplash
Today we’re going to discuss a trend that you’ve probably seen creep into your Instagram and Pinterest feeds in recent times. It’s one that appeases anyone who is interested in a design that serves both form and function. The trend is open shelving against a tile backsplash. Today, we’ll go through the benefits of open shelving, how to install the shelving, and a few inspirational designs to get your wheels turning.
There are many benefits of open shelving against backsplash tile. Some of our top ones is the fact it’s unique, budget-friendly, makes grabbing dinnerware convenient, and keeps things neat.
Steal The Look: 5 Designs With Open Shelving
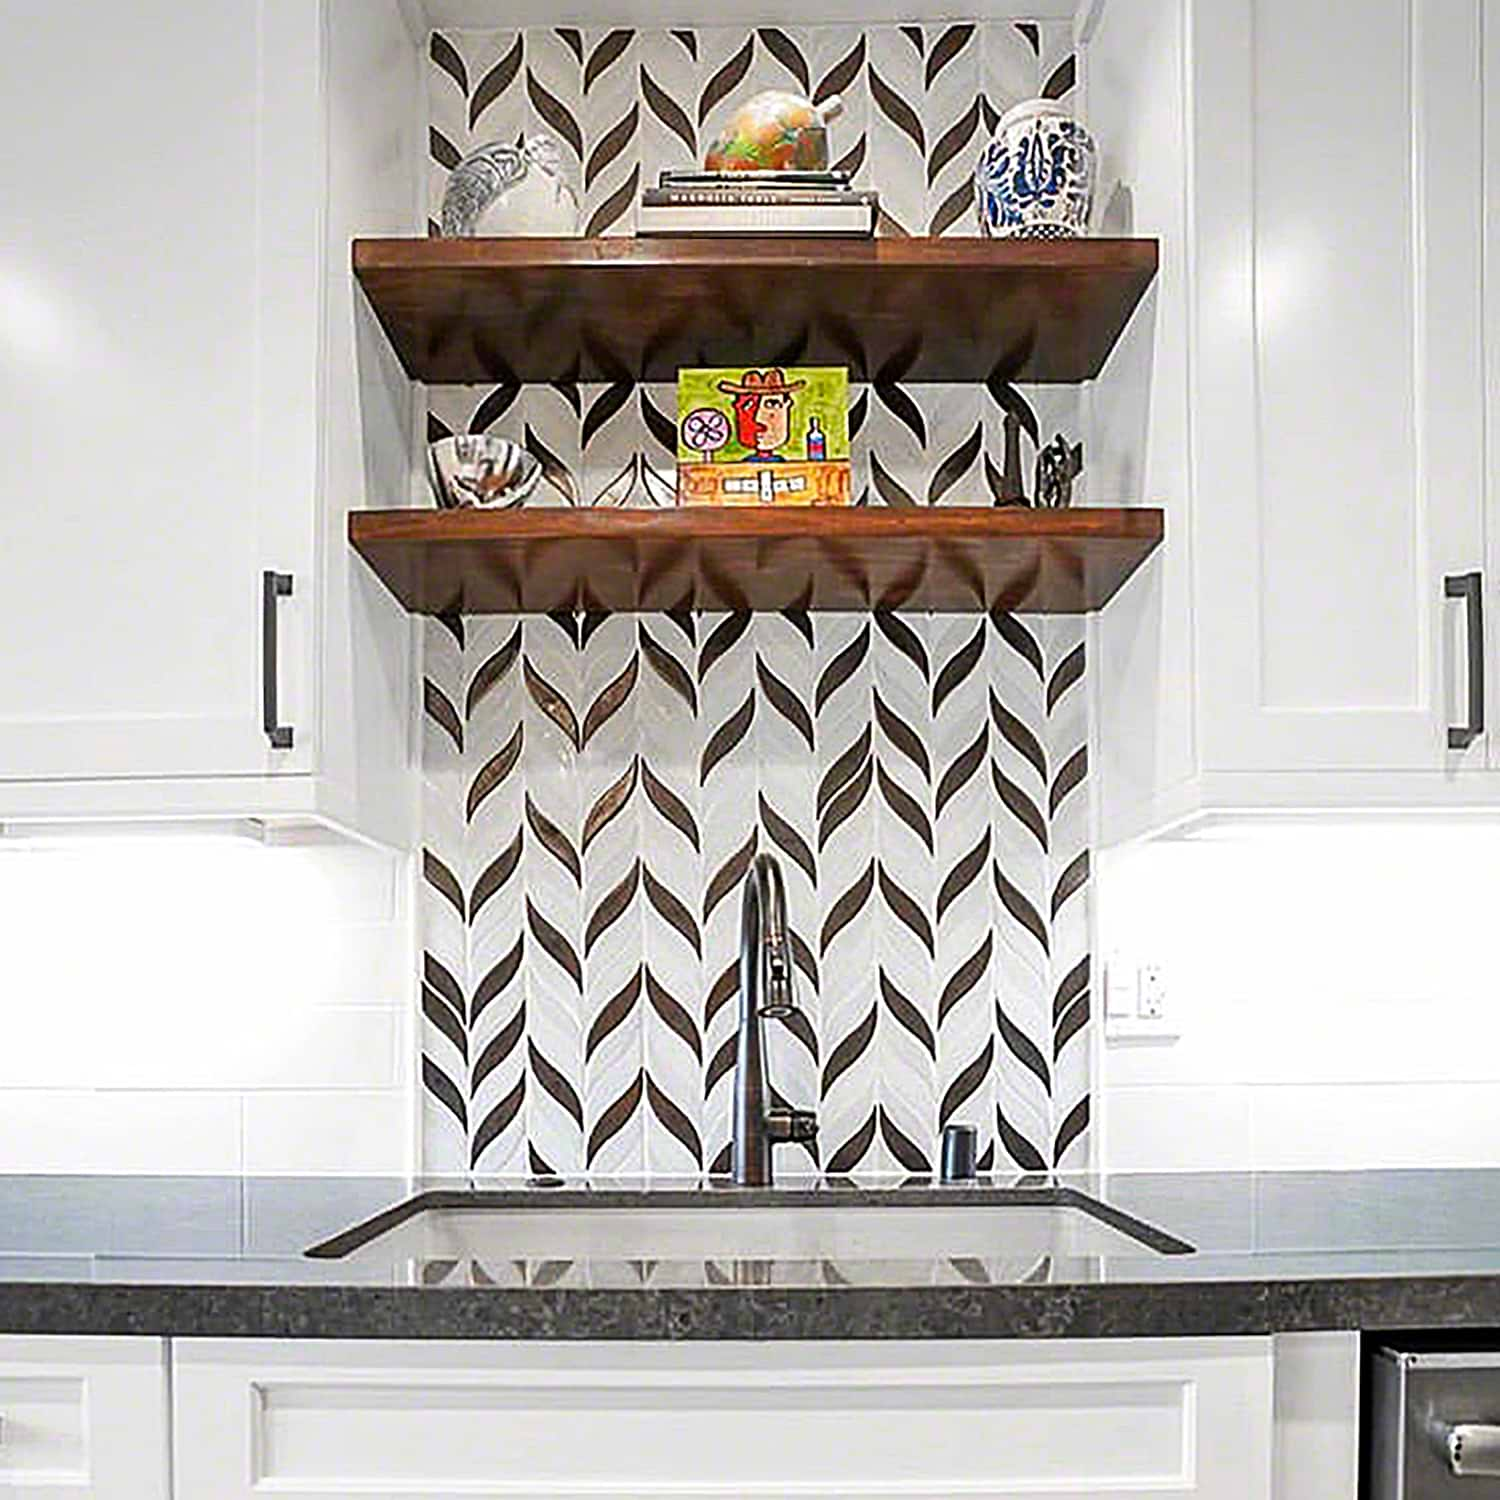
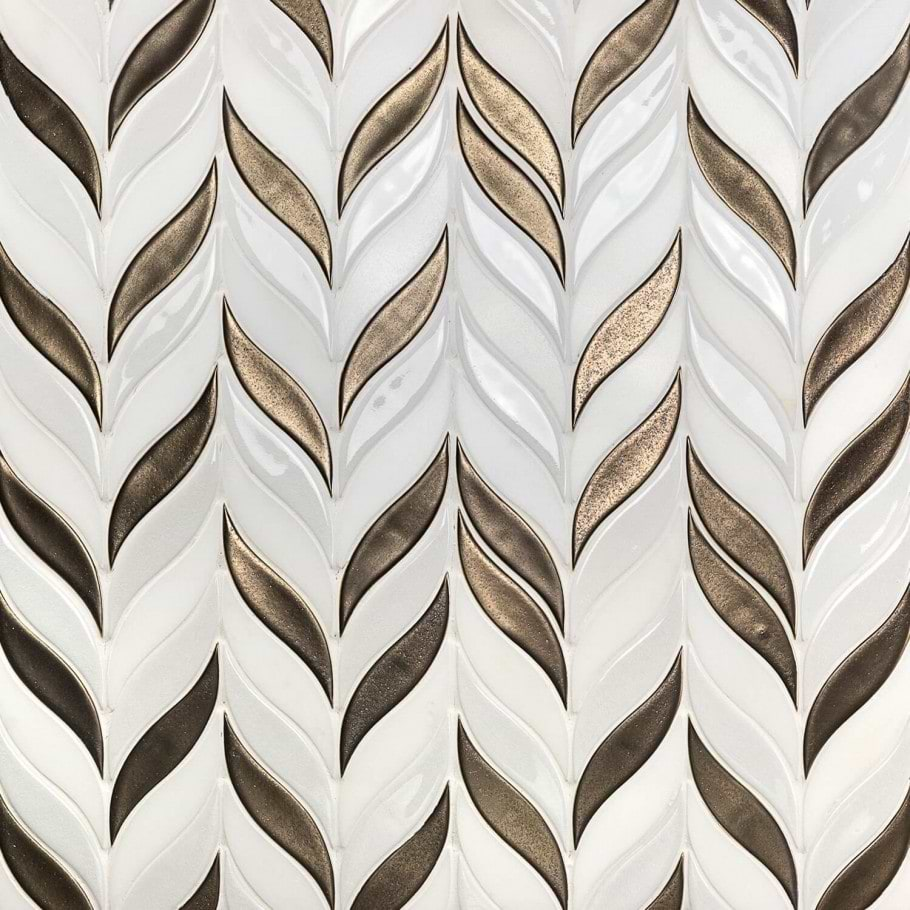
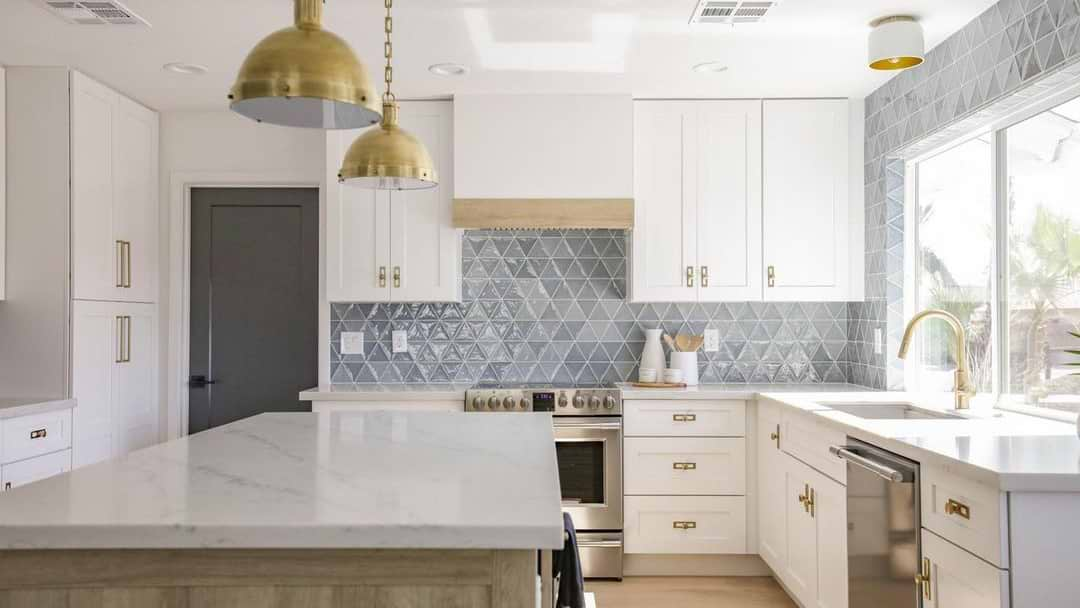
Want to spice things up? Try out placing a statement tile directly behind the stovetop and carry it to the ceiling behind your range. Then add open shelving that works in tandem with the design.
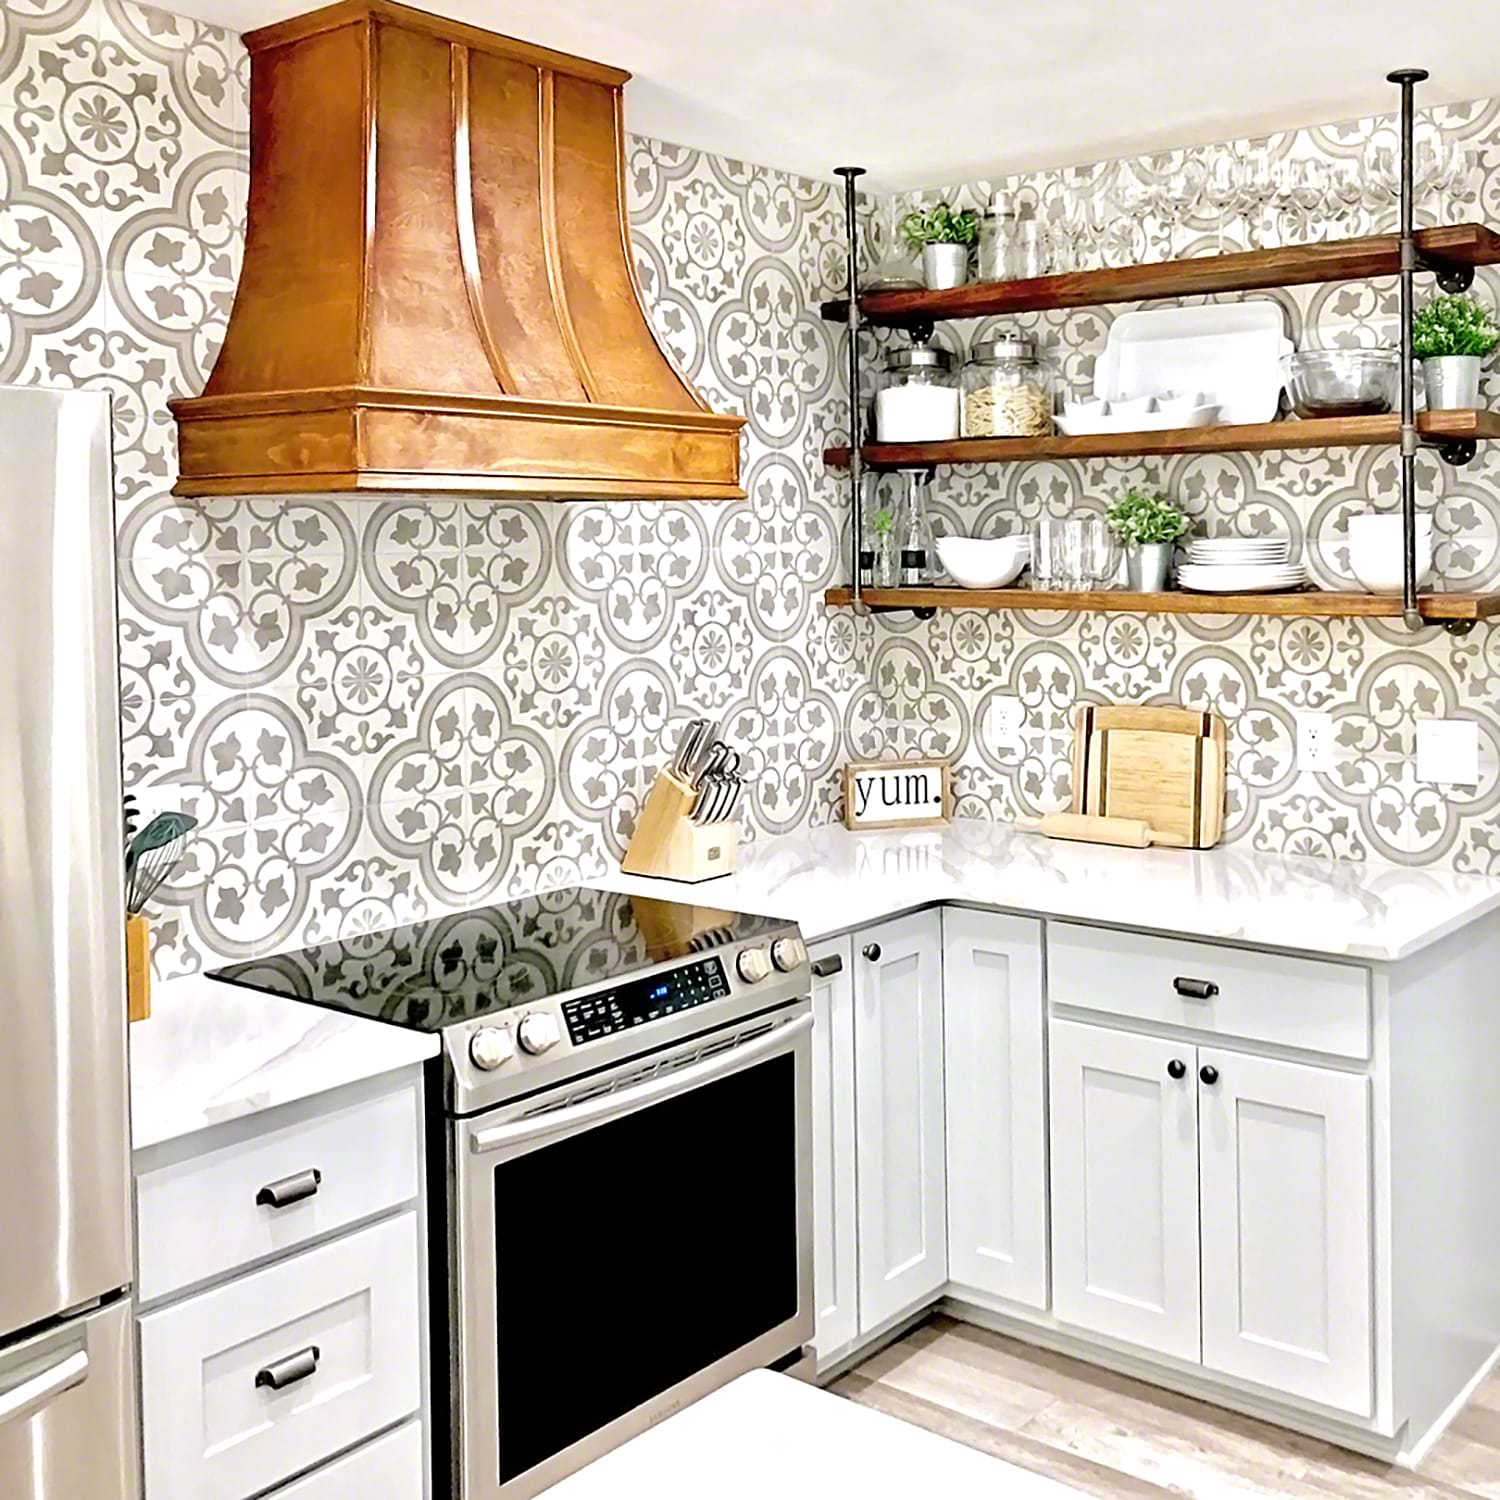
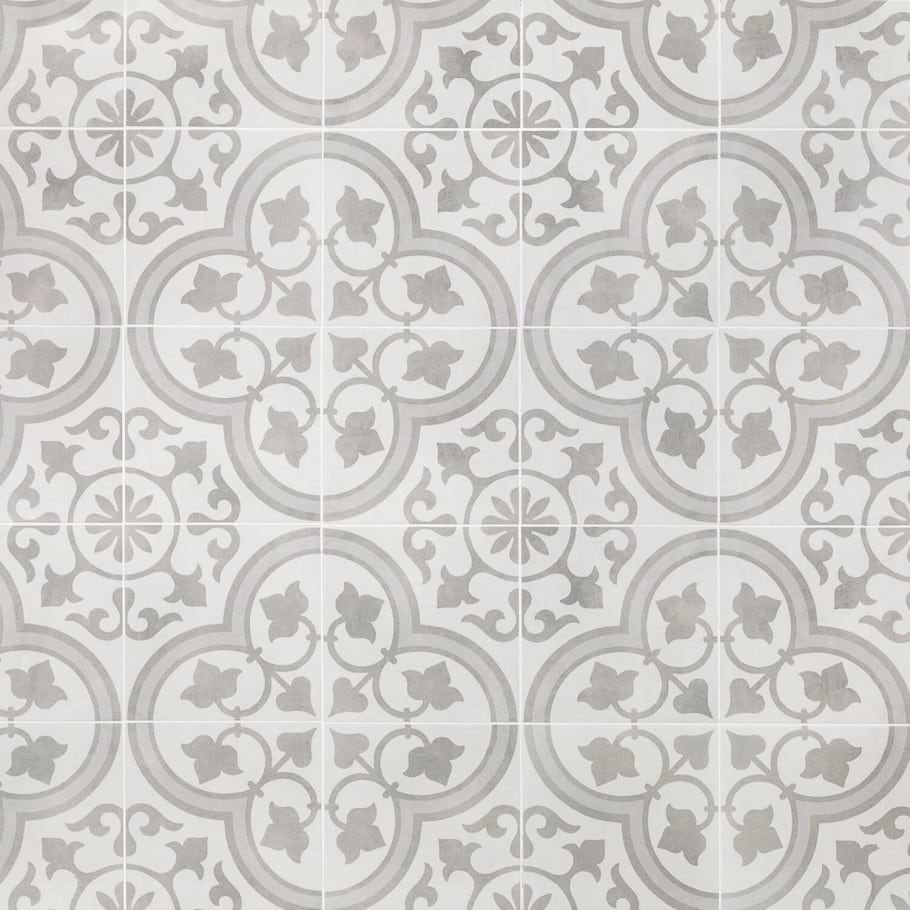
This kitchen showcases everything that makes a farmhouse design playful – from the full encaustic backsplash to the modern, shelving.
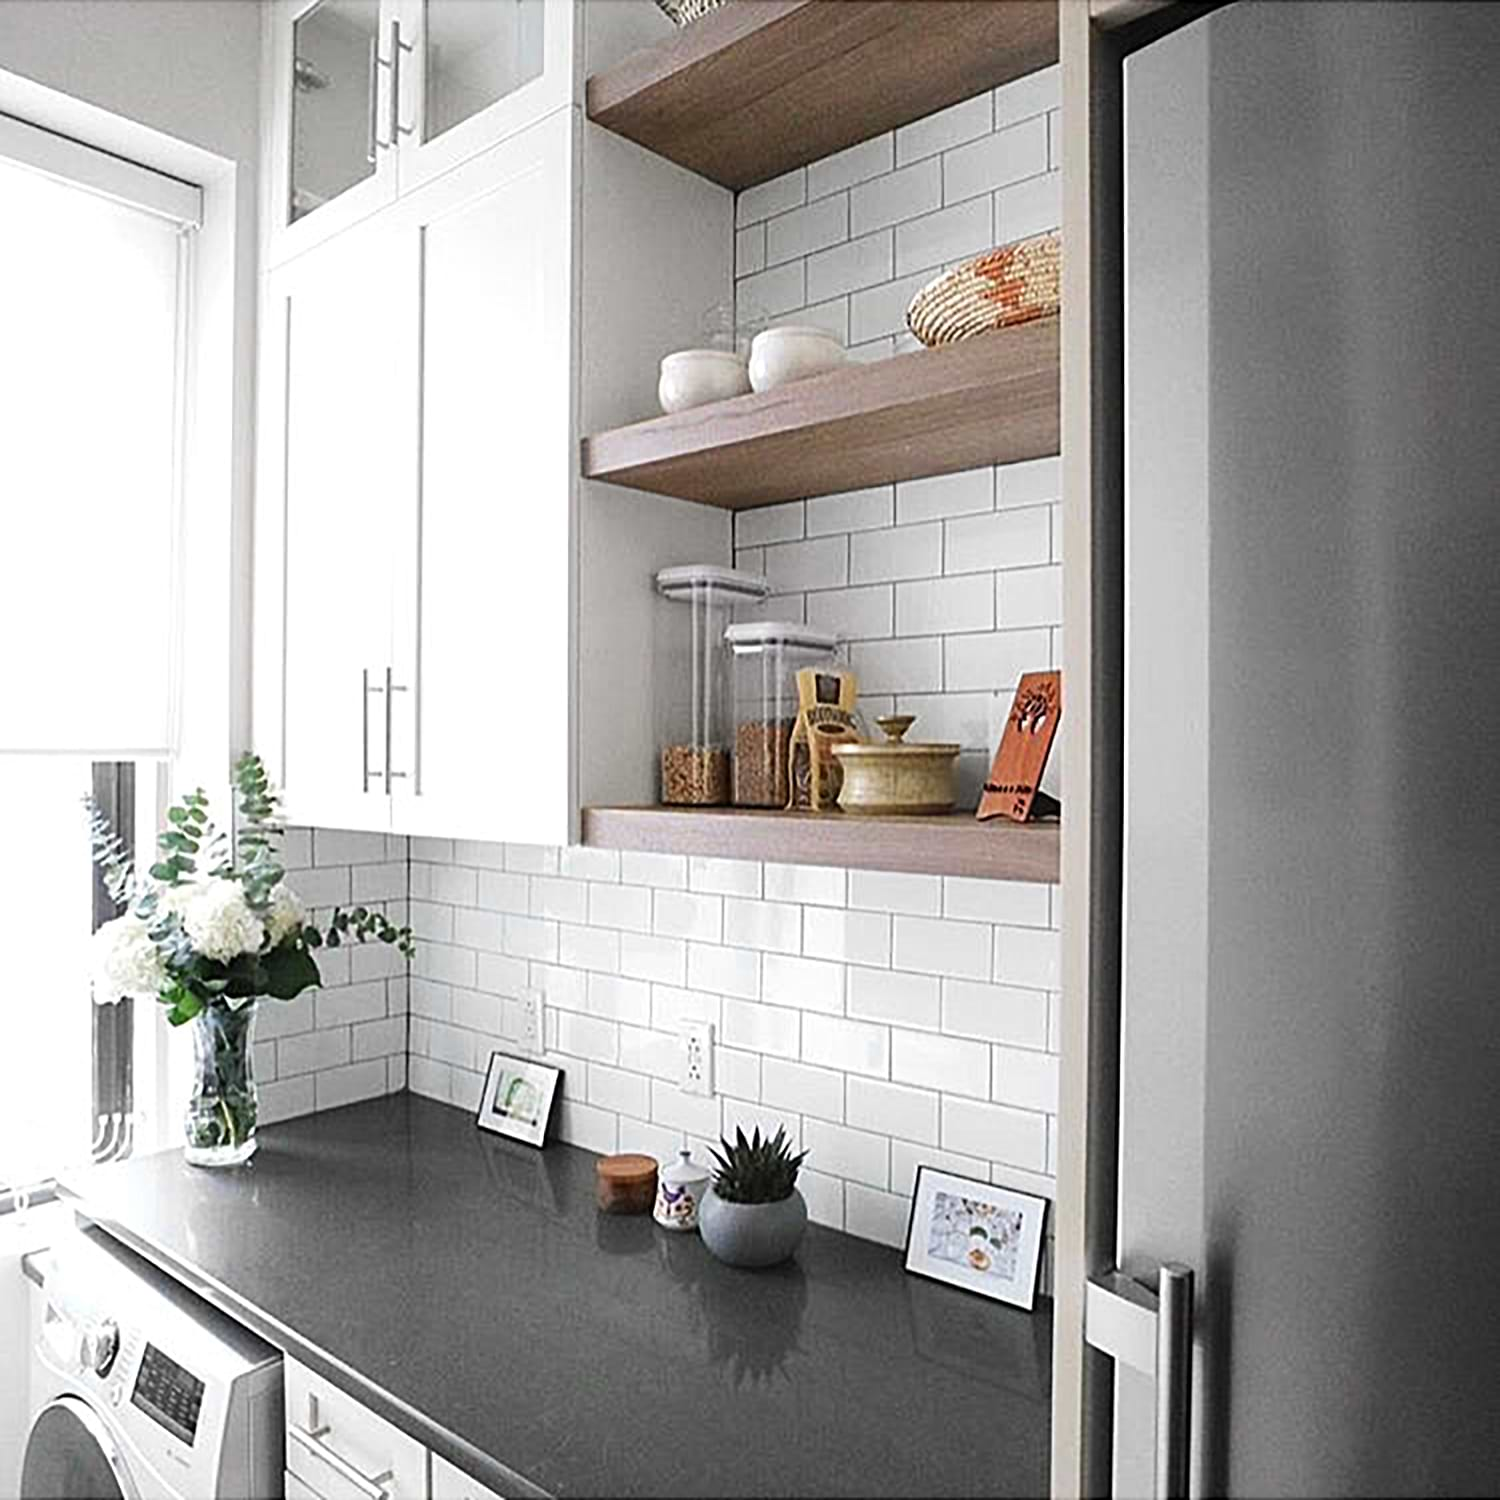
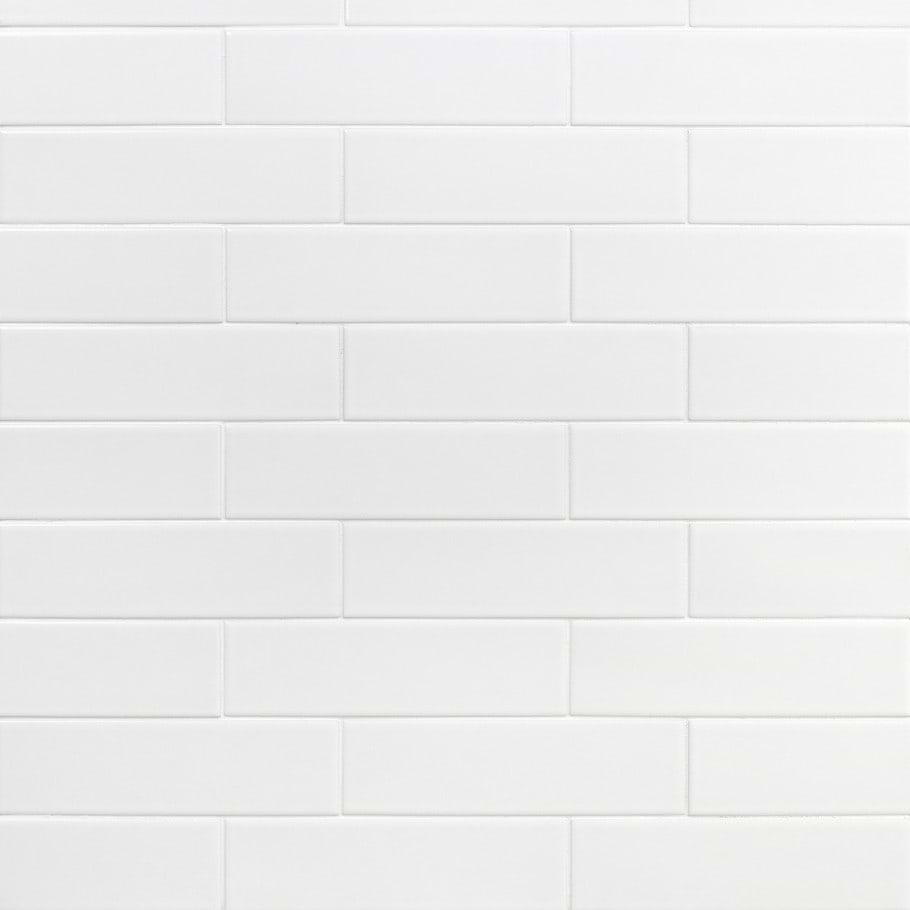
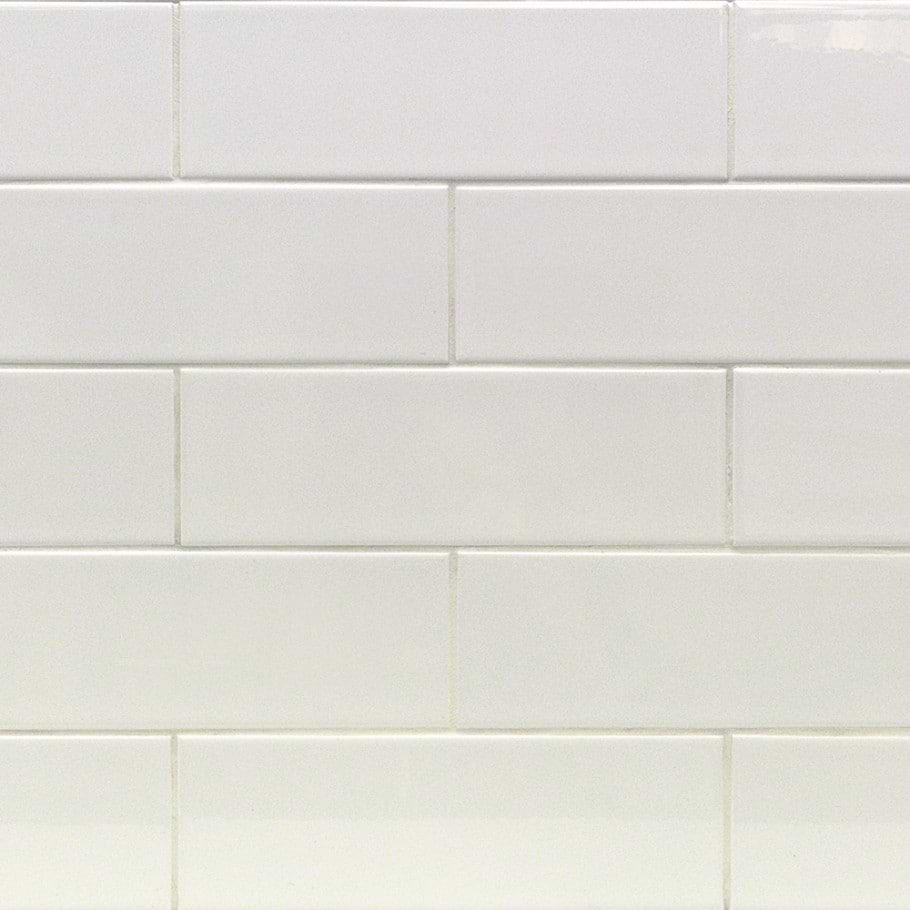
This kitchen proves that sometimes, simplicity can say it all. The natural wood open shelving against a traditional offset subway tile in white keeps things light yet beautiful.
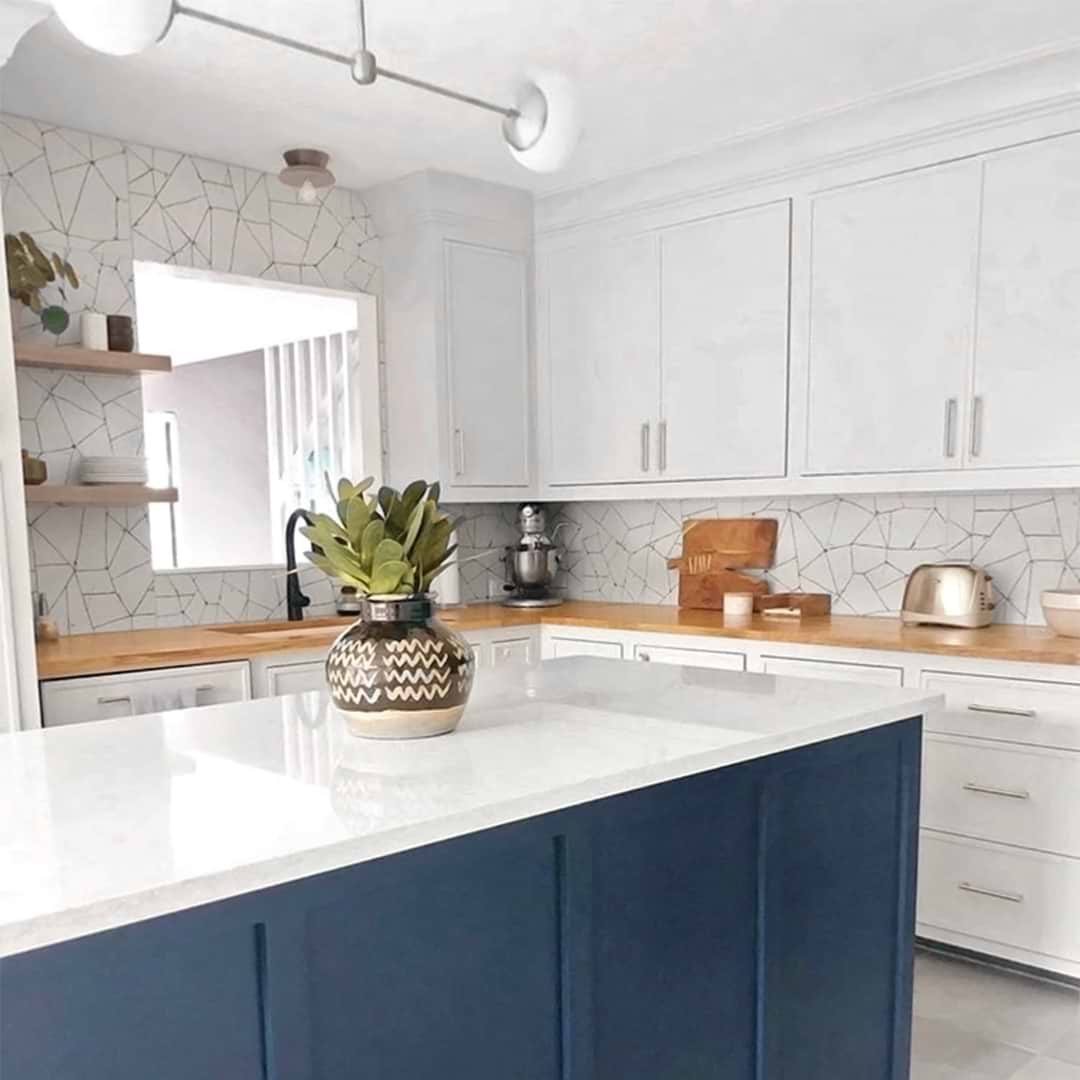
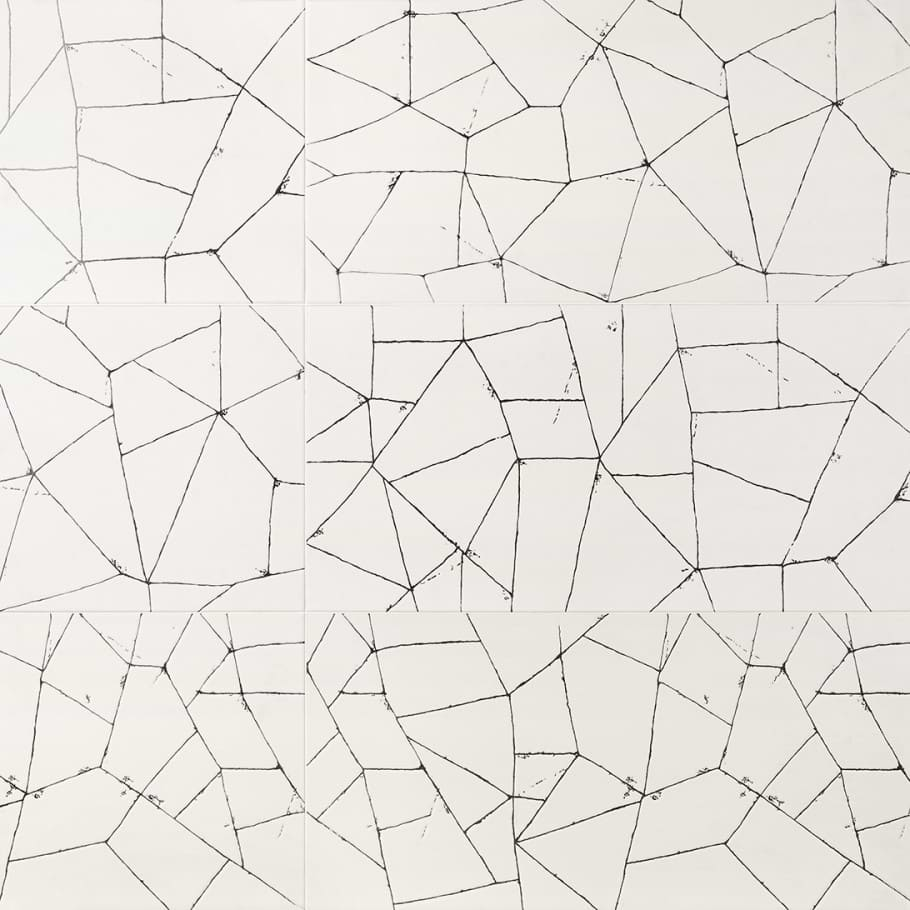
This design trends towards the funkier side with a contemporary, artistic tile as the backsplash and open shelving tucked in one corner to keep plates as well as decor pieces
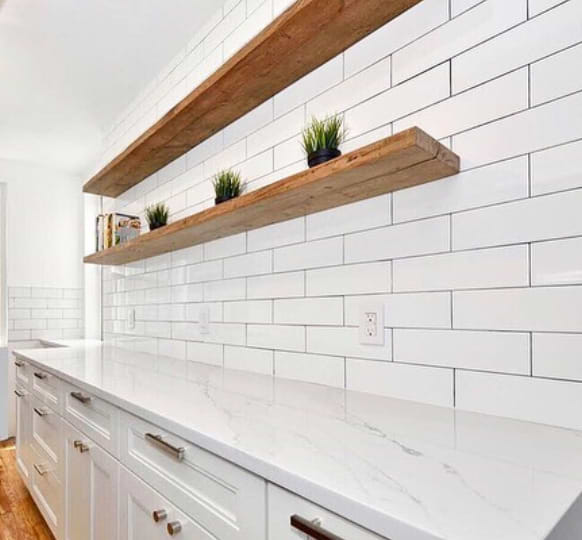
Another classic subway design, only this time, you can see the sheer versatility of open shelving as it makes this narrow kitchen look larger.
How-To-Install Open Shelving Against Tile Backsplash
The Step-by-Step:
First, you’ll want to gather your materials. Here’s what you need:
- Shelves of choice
- Brackets (with wall plugs)
- Cordless Drill
- Diamond Tip Drill Bit
Next, dig in and get organized:
- Draw an even, level horizontal line where you want to place the shelves.
- Locate studs in the wall for installation.
- Drill into the spot using the correct ¼” drill bit (will vary for each bracket, so check what’s right for you) .
- Insert wall plugs into the holes. Place the brackets.
- Place the shelves onto brackets and do a pressure test to make sure that it holds whatever you need.
- Voila! You are done. Congratulations.
