Visit
Visit 
How to Use Tile Trim for a Polished Look in Your Project
 Copy Link
 Email
Email
 Twitter
 Pinterest
 Instagram
 Facebook
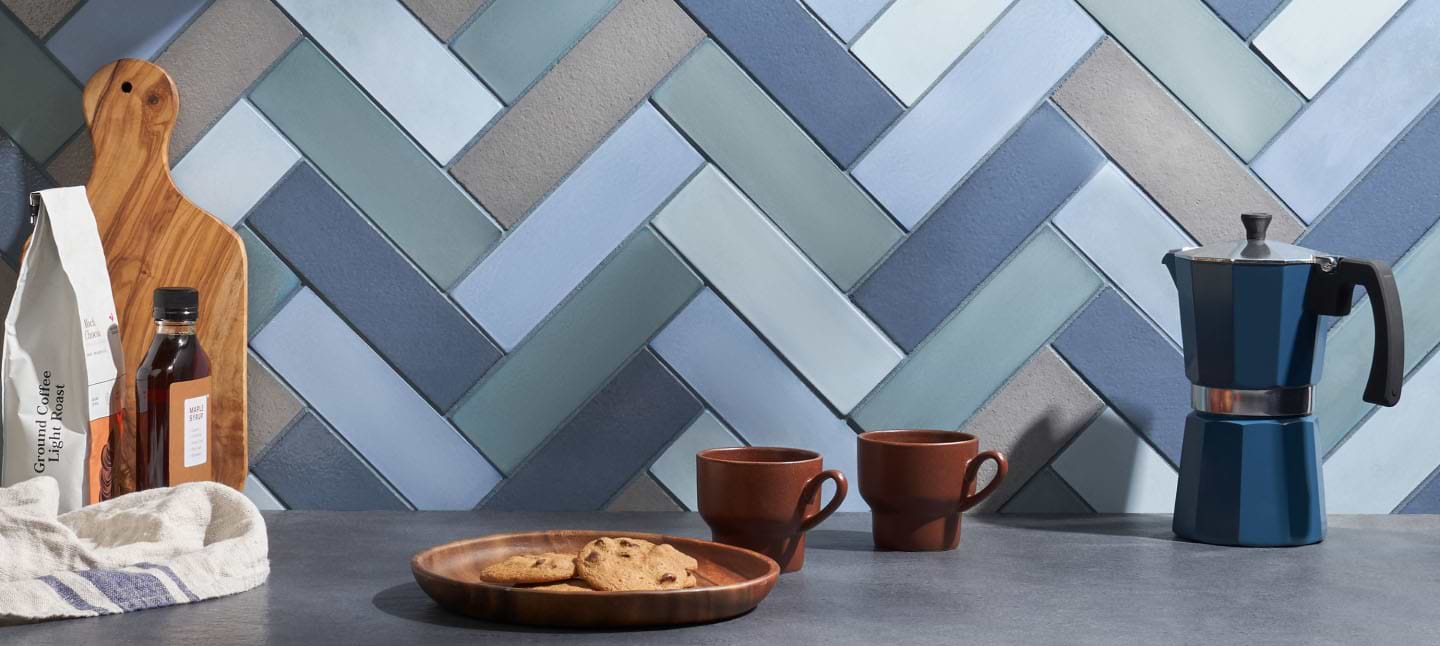
Tile trim plays a crucial role in achieving a polished and professional finish in any tiling project. It’s not just an afterthought; tile trim serves both functional and aesthetic purposes, protecting the edges of tiles from chipping while providing a clean and elegant transition between surfaces. Whether you’re tiling a backsplash, flooring, or bathroom wall, incorporating tile trim can significantly elevate the overall appearance of your space.
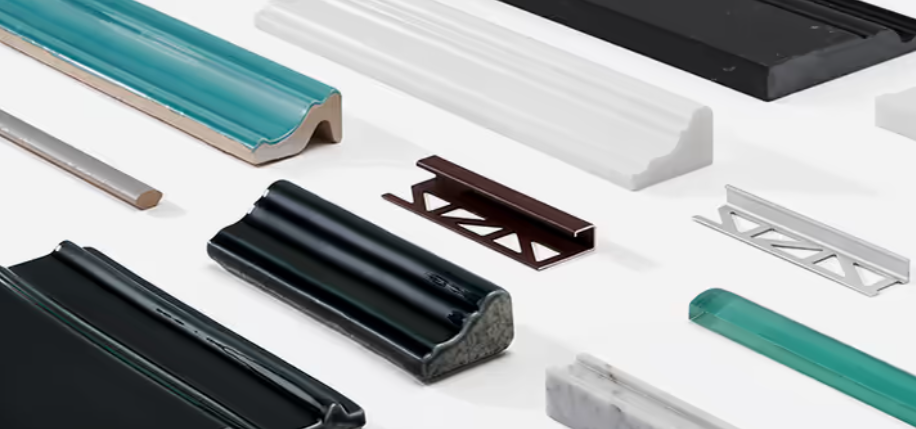
Types of Tile Trim
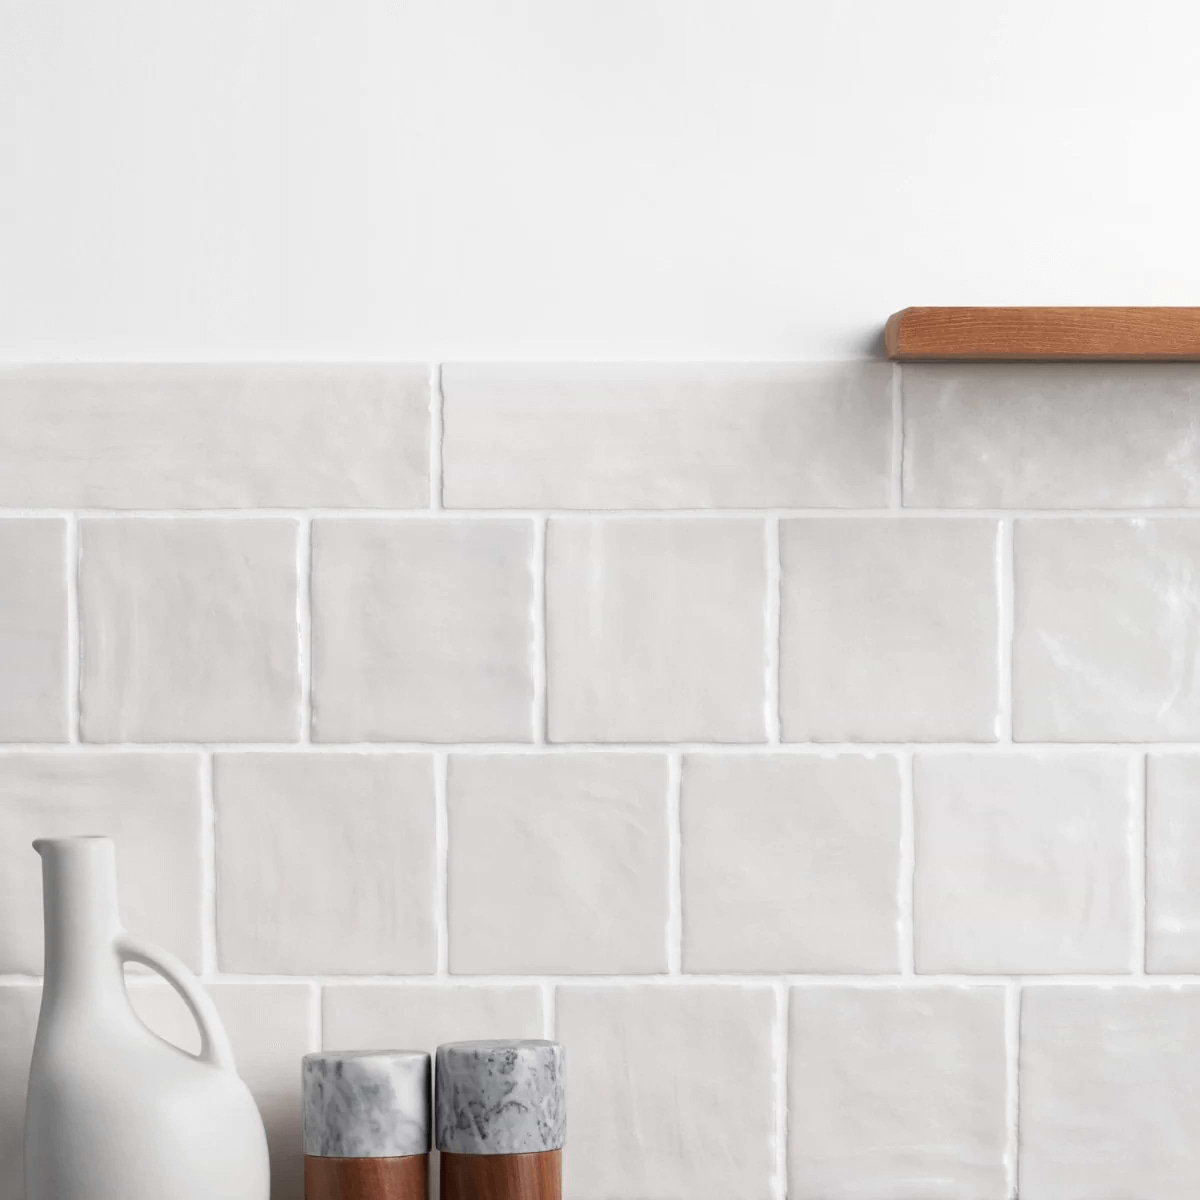
- Bullnose Tile Trim: Features a rounded tile edge trim, commonly used to cap off wall tiles or finish edges where tiles meet another surface.
- Pencil Trim: Thin, narrow, and rounded, pencil trim is ideal for creating clean lines and defining boundaries around tile edging.
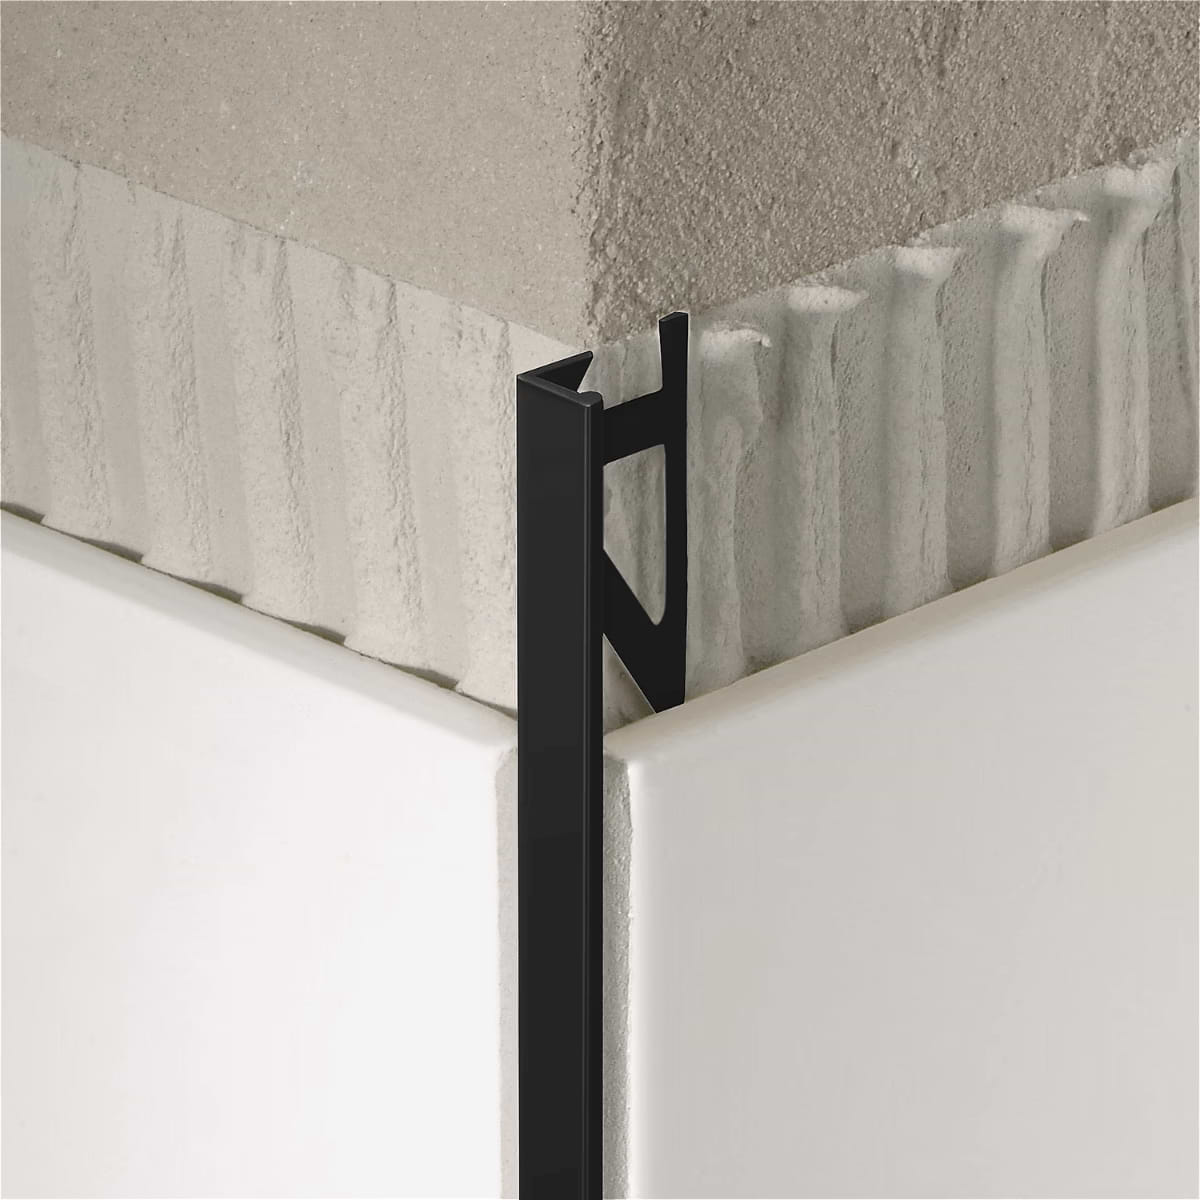
- Metal Edge Trim: Offers a modern, sleek finish with its sharp lines, protecting tile edges and corners from chipping. It’s available in various finishes such as chrome, brushed nickel, and bronze.
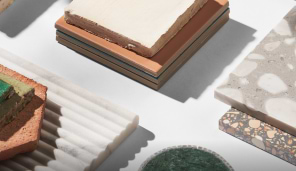
Materials Used for Tile Trim
When installing a tile edge trim or tile corner trim, make sure to consider the material. Common materials used for tile trim installs include:
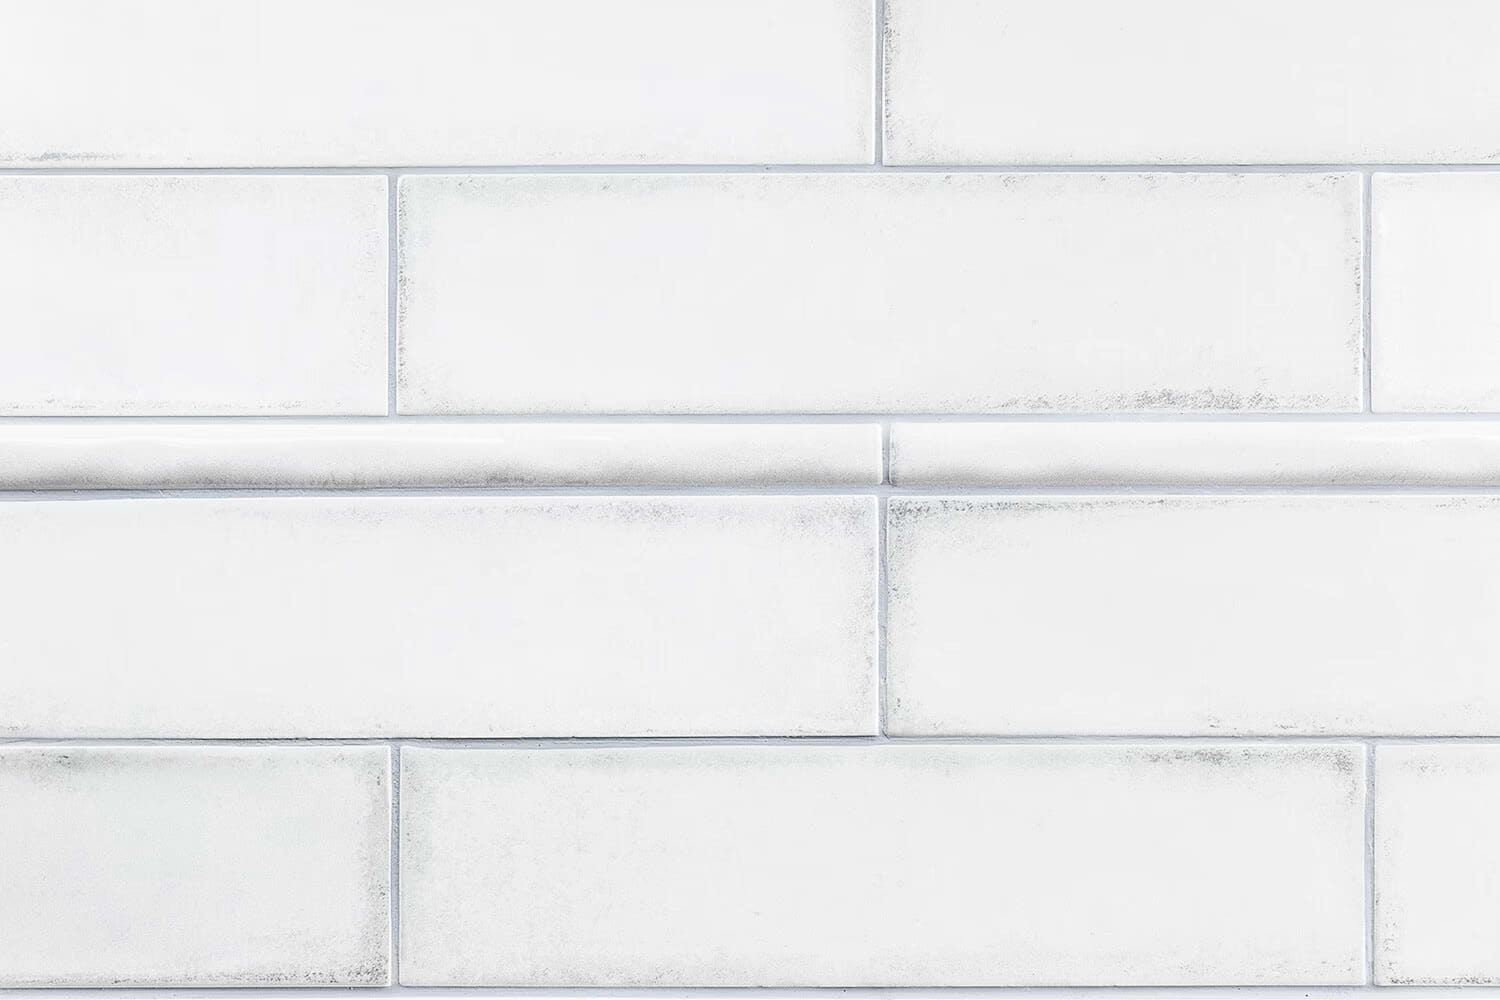
- Ceramic: Matches with ceramic tiles, offering a cohesive look. It’s available in various colors and finishes to complement any tiling project.
- Metal: Durable and resistant to corrosion, metal trim adds a contemporary edge to spaces. It’s often used in modern designs for its sleek appearance.

Choosing tile trim material that fits your area makes sure that your tiles and trims last.
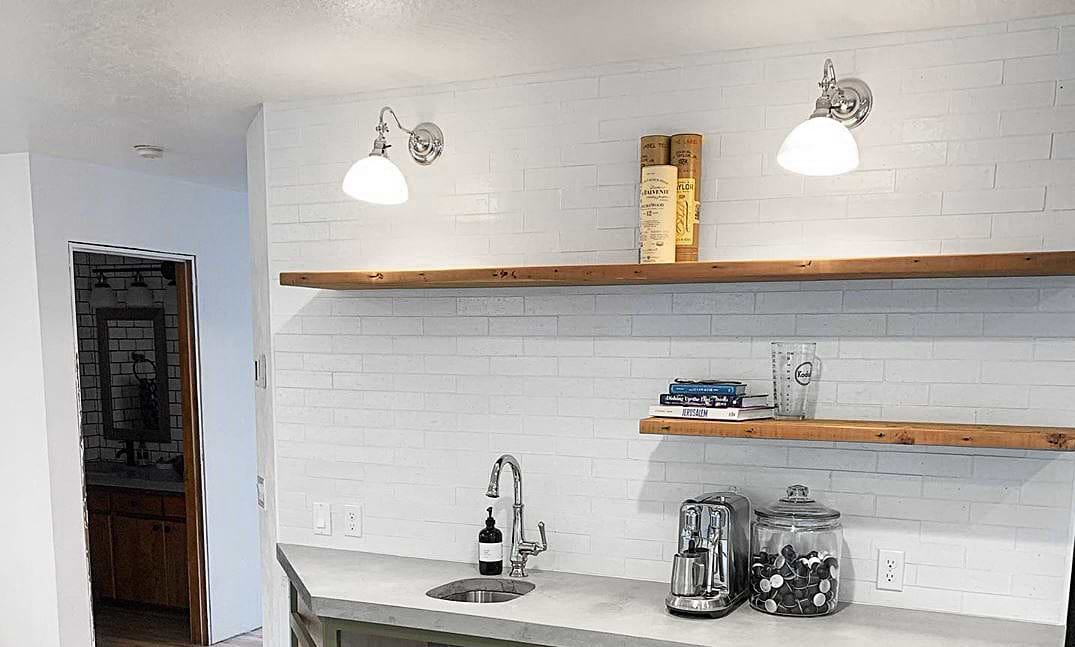
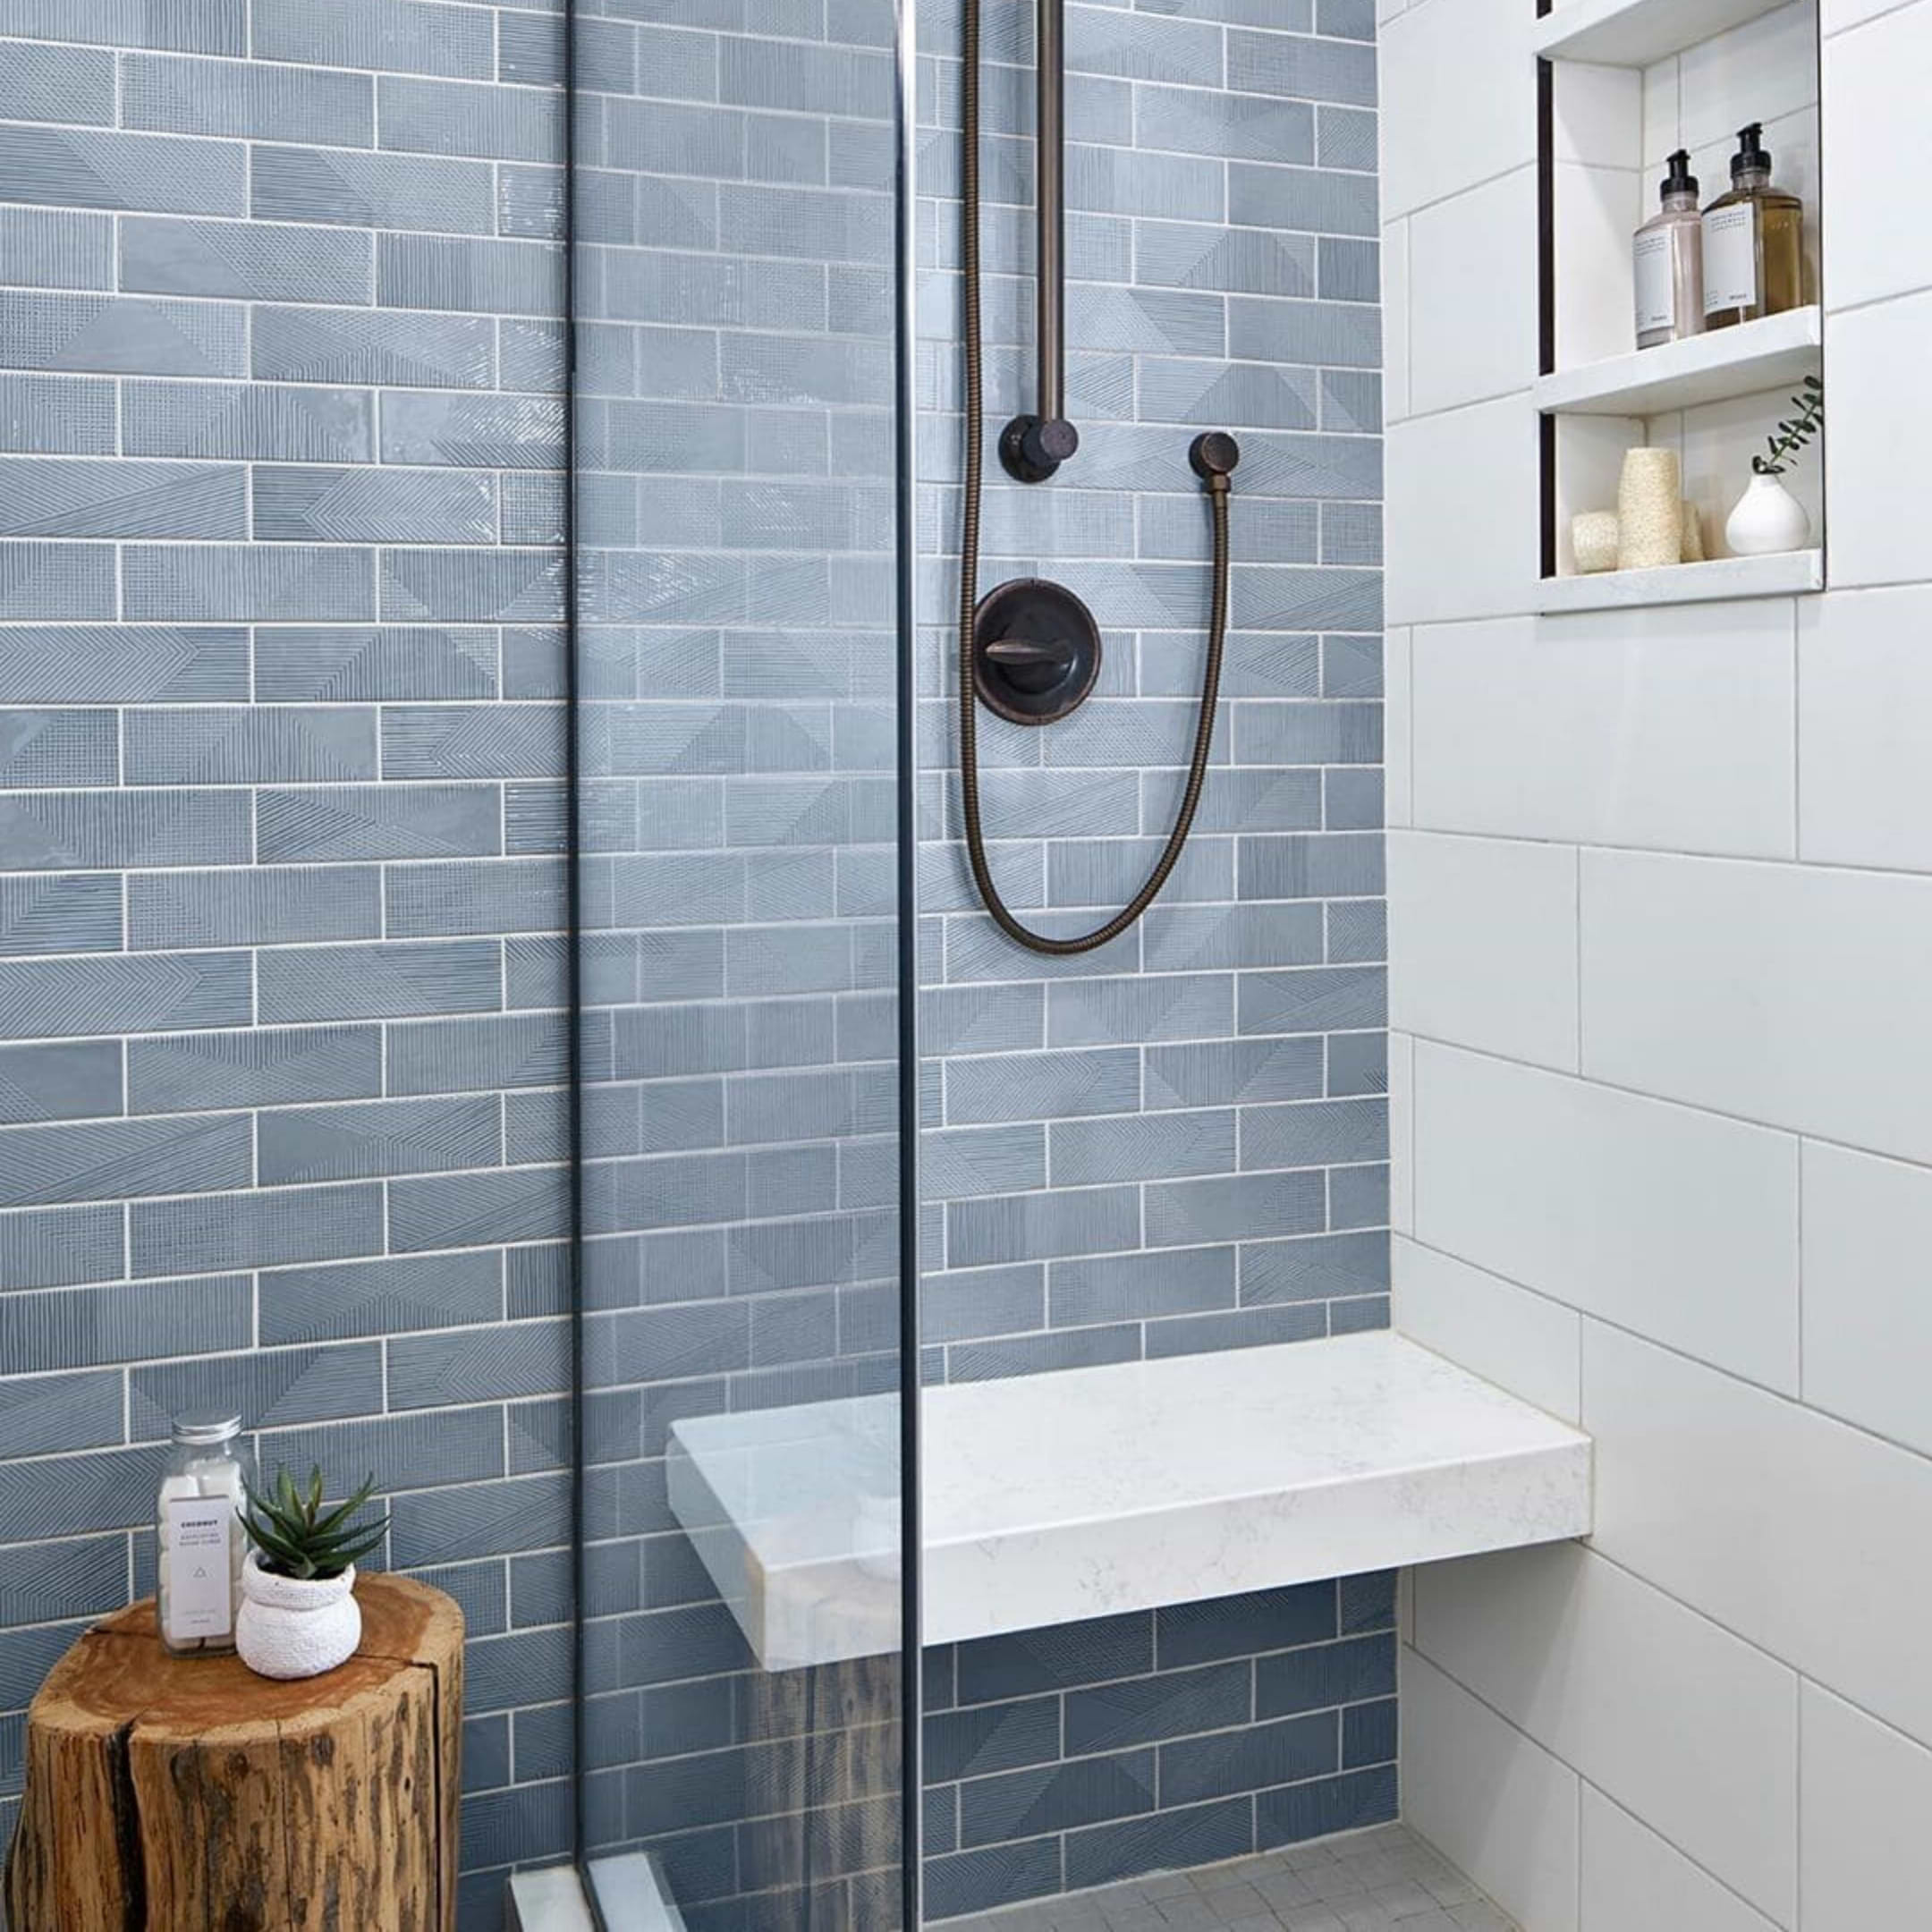
Where and Why Tile Trim is Used
Tile trim is used in various applications to achieve a neat and tidy finish while ensuring the baseboard tile edges are protected from wear or damage.
Common uses include:
Corners and Edges: To prevent chipping and wear on tile edges, especially in high-traffic areas.
Transitions: Smooth round edge tile trim transitions between different surfaces or where tiles meet another type of flooring. It helps in avoiding abrupt edges, making it safer and more visually appealing.

Decorative Purposes: Apart from functionality, tile trim can be used to add decorative elements to tiled areas, frame sections, or highlight certain features for an added visual impact.
Incorporating ceramic tile trim into your project not only ensures durability and protection for your tiles but also significantly enhances the overall design aesthetic. By selecting the appropriate type and material of tile trim, you can achieve a polished and professional look that complements the style of your space.
Common Factors to Consider When Choosing the Right Tile Trim
| Consideration | Factors to Consider |
| Project Area | Location (kitchen, bathroom, etc.) Design style (modern, traditional) |
| Functionality Needs | Moisture resistance (bathrooms) Durability (high-traffic areas) |
| Tile Thickness | Match trim thickness to tile thickness for a smooth transition |
| Trim Profile | Quarter round for softening corners Pencil trims for clean borders Select a profile based on the intended purpose |
| Color Matching | Complementary (blending) vs. Contrasting (standing out) Coordinate with overall room decor and color scheme |
| Finish and Texture | Glossy trims for elegance with matte tiles Textured trims for rustic or textured tiles |
| Sampling | Obtain samples to visualize the final look in the project area |
Choosing the right tile trim involves a combination of functional considerations and aesthetic preferences. By carefully selecting the type, material, color, and style of tile trim, you can enhance the durability and visual appeal of your tiling project, ensuring a polished look and finish that aligns with your overall design vision.


Step-by-Step Installation Guide
Common Tools and Materials

- Tape measure
- Tile trim cutter or hacksaw with a fine-tooth blade
- Miter box (for precise angle cuts)
- Sandpaper or a file (for smoothing cut edges)
- Tile adhesive
- Notched trowel
- Grout
- Damp sponge (for cleaning)
Measuring and Planning
- Measure the area where the trim will be installed to determine the length of trim needed. Always add a bit extra for waste or mis-cuts.
- Plan how the trim will be positioned in relation to the tiles. For corners or curves, consider how each piece will align or need to be cut.
Cutting the Tile Trim
- Using a tile trim cutter or a hacksaw with a fine-tooth blade, cut your trim pieces to the required lengths. For metal trims, a miter saw with a metal-cutting blade can ensure clean cuts.
- Sand the edges slightly to remove any burrs or sharpness, especially for metal trims.
Dry Fit The Trim
- Before securing, place the trim pieces in their intended positions to ensure a proper fit.
- Use this, especially for corners or complex layouts.
Securing the Trim
- Apply tile adhesive on the area where the trim will be positioned. For floors, consider using a notched trowel for an even application.
- Press the trim into the adhesive firmly, ensuring it’s level and aligned correctly with the tiles.
- Wipe away any excess adhesive that squeezes out from behind the trim.
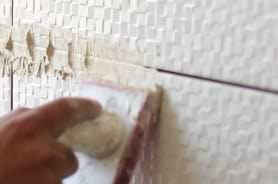
Tiling Next to the Trim
- Once the trim is in place, start tiling up to its edge. Ensure the tiles are flush against the trim for a seamless finish.
- Allow the adhesive to dry fully according to the manufacturer’s recommendations before grouting.
Grouting
- After the adhesive and tiles are set, apply grout as you normally would around the tiles.
- Be cautious around the trim to maintain its visibility and aesthetic appeal.
Troubleshooting
- Trim not fitting snugly: If trim doesn’t fit snugly against the wall or tiles, carefully remove it, reapply the adhesive, and adjust as necessary before the adhesive sets.
- Uneven cuts: For uneven cuts, use a file or sandpaper to adjust the edge. Practice making cuts on spare pieces to improve technique.
- Adhesive visibility: Should adhesive be visible after placing the trim, quickly clean it off with a damp sponge before it dries. For stubborn adhesive, use a razor blade gently to scrape it off once dried, being careful not to scratch the trim.
- Misaligned trim: If trim pieces are misaligned, gently pry them off before the adhesive dries fully and realign. Using a level can help ensure straight, consistent alignment during installation.
By following these detailed steps, you can install tile trim that not only enhances the durability of the walls in your tiling project but also its overall aesthetic appeal, ensuring a professional and polished finish.
Maintenance and Cleaning
Regular Cleaning: Clean tile trim regularly with a damp cloth to remove dust and debris. For ceramic and metal trims, a mild detergent mixed with water can be used for a deeper clean. Avoid abrasive cleaners or pads that can scratch the surface.
Special Care for Metal Trims: For metal trims, especially those with a brushed or chrome finish, use a specialized metal cleaner to maintain shine and prevent oxidation. Always follow the manufacturer’s instructions for specific cleaning recommendations.

Protecting the Finish: Apply a silicone sealant to the edges of metal tile trim in wet areas like bathrooms and kitchens. This prevents water ingress and protects against corrosion.
Immediate Spill Cleanup: Spills should be wiped up promptly to prevent staining, especially on natural stone or metal trims. Acidic substances like vinegar or lemon juice can etch the surface of some materials if left unattended.
Repair and Replacement
- Scratches and Minor Damage: Small scratches on metal or plastic trims can often be buffed out using fine-grade steel wool or sandpaper. For ceramic trims, a matching tile repair kit can be used to fill chips or cracks.
- Severe Damage: Severely damaged tile trim, whether cracked, chipped, or detached, should be replaced to maintain the integrity and appearance of the tiled area. Remove the damaged piece carefully to avoid damaging adjacent tiles.
Conclusion
As you embark on your next tiling project, remember the importance of selecting tile trim that complements your tiles in both style and function. Embrace the process of measuring, cutting, and installing with care, and maintain your tile trim to keep it looking pristine. The effort you invest in using tile trim effectively will be reflected in the finished project—a testament to quality and beauty that stands the test of time.
Frequently Asked Questions
What is the purpose of tile trim?
Tile trim serves both an aesthetic and functional purpose in a variety of tiling projects. It gives a clean, finished look to the edges of a tiled area, protecting the tile edges from chipping and wear while also enhancing the overall design of the space.
How do I choose the right tile trim for my tile project anyway?
Consider the color, material, and style of your tiles, as well as the overall design aesthetic of your space. The trim should complement or contrast with your tiles in a way that aligns with your design goals. Additionally, think about the functional aspects, such as moisture exposure and foot traffic, which might influence the choice of material.
Can ceramic tile trim be added after the tiles are installed?
While it’s easier and more common to install tile trim during the tiling process, it’s possible to add tile trim afterward in some cases. However, this might require careful removal of existing grout or adhesive and can be more challenging to align perfectly with the installed tiles.
Related Articles

Choosing the Right Grout
 Pinterest
Find Your Perfect Grout Match! Color, Texture & Choosing for Your Tile.
OTHER PRODUCTS USED:
Explore Our
Tilefinder