Visit
Visit 
DIY: Tile Tips For Tiling Your Home
 Copy Link
 Email
Email
 Twitter
 Pinterest
 Instagram
 Facebook
Today we will cover how you can DIY tile your home and will share tips to help you understand how to best approach each area of your home.
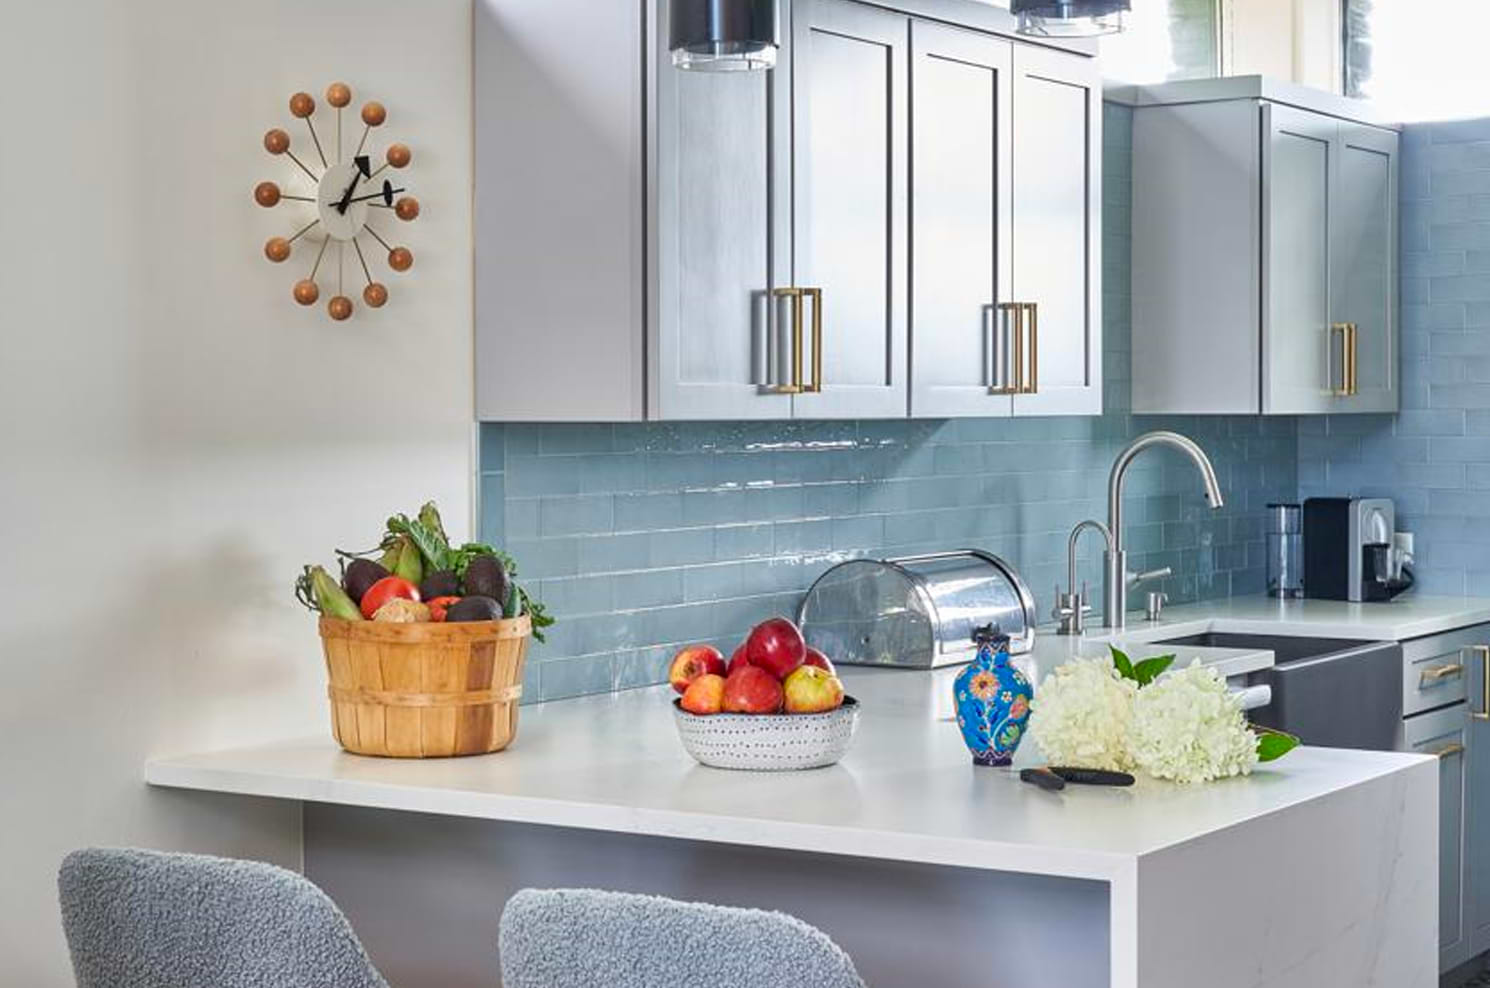
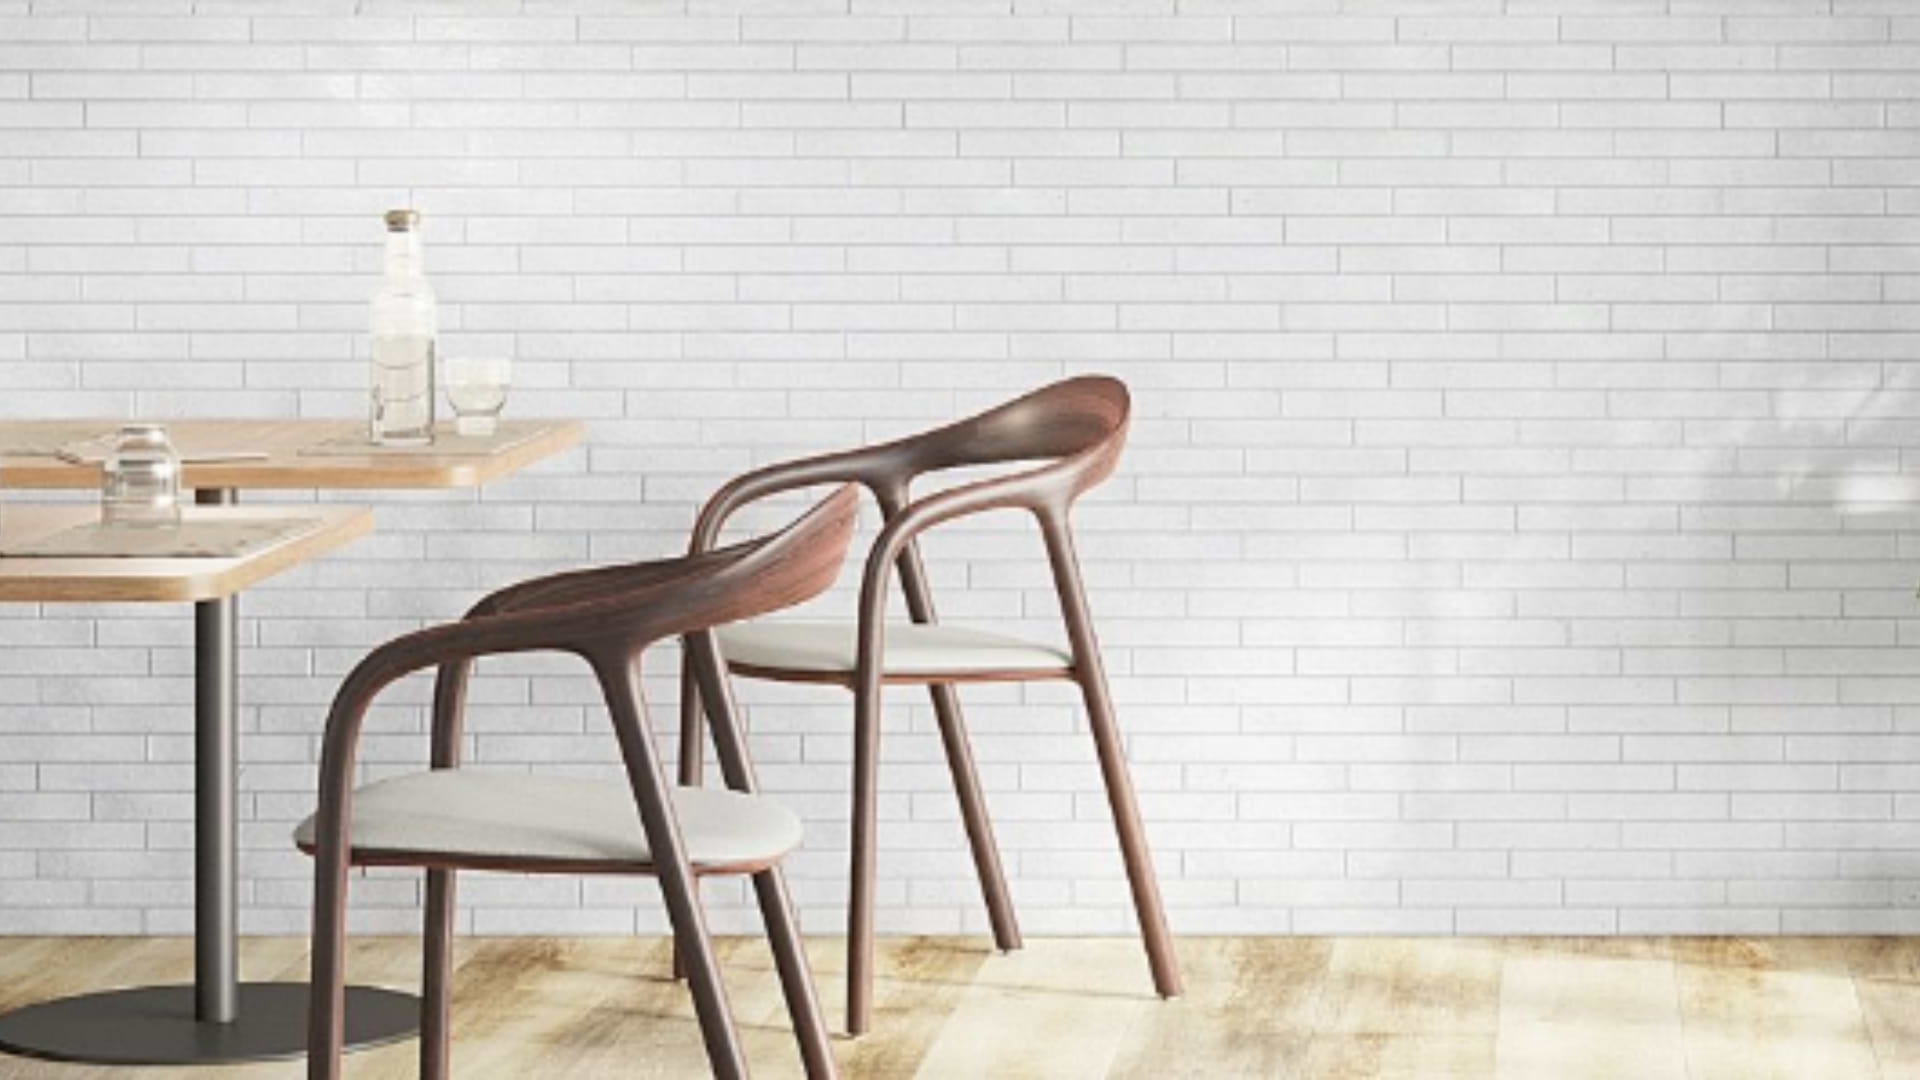
Kitchen Backsplash Tiling Tips

One of the easiest DIY tile projects is tiling a backsplash. This space is straightforward and likely has fewer obstacles than say, the shower floor, which will require working around the drain.
There are several tips to keep in mind for the kitchen backsplash:
- Before you start designing, be sure to measure the wall space. This will allow you to know how many tiles you need (always add 10% overage in case of breakage during shipment or installation error).
- You’ll want to prep your workspace and be sure that it is clear, any appliances unplugged, and outlets are covered.
- The next thing is to clean the wall, remove stains, and patch up any holes.
- After all the grunt work is done, next it’s advised that you practice laying your tile and marking starting and endpoints for where you’ll be laying the pieces. This will help later on.
- Finally, you can get down to it and lay that tile!
Kitchen Floor Tiling Tips

Next up is the kitchen floor, which, believe it or not, is as simple as the backsplash! There are a few ways to enjoy a new look and we have the tips on how to do so.
- You’ll want to make sure the floor is even. If you have tiled floors currently, remove them and clean debris. If you have wood floors, you can tile over them.
- You’ll want to measure your space.
- Once this is done, cut your tiles and practice the layout.
- Finally, lay your tiles, and make sure to give ample time for the flooring to set!
Shower Floor Tiling Tips

One area which benefits from a tile makeover is the shower floor. You can create beautiful results but it may require a more expert level DIYer for overall success and to create a finish that you are happy with.
If you are said expert, here are DIY tile installation tips to keep in mind:
- Prep your space; that means completely clean the area. If you’ve lifted old tile, be sure to thoroughly get rid of debris.
- Make sure that the floor slopes towards the drain. If it doesn’t, then this will add an additional step to your process, as it’s a must.
- Plan your layout before installing, measure the tiles, and cut the tiles to fit the space. This makes tiling a shower floor much easier.
- You’ll want to account for the drain. To do this, measure the size of the drain (use pencil and paper to trace the circle) and then place it on top of your tiles. Cut your tiles with nippers to all form a circle, and sand down edges to be smooth.
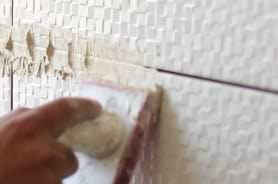
- Go ahead apply adhesive, lay the tiles, grout, and enjoy your design.
Shower Wall Tiling Tips

In terms of difficulty, a close second to laying shower floor, tiling a shower wall requires more intricate tiling work, tiling around the faucet and showerhead, for example.
Here are our top tips for success in tiling this area:
- Clearly, like any other area that is already tiled, when tiling a bathroom, you’ll need to remove the tile with tools (like a hammer and chisel). Then, go ahead and clear the debris.
- Unlike a kitchen backsplash, shower walls are prone to mold and decay. You need to check the wall behind the removed tile for any signs of this to prevent a headache (or health hazard) down the road.
- Another unique consideration when DIY’ing the shower wall not found in most other areas is that you’ll need to install backer board. Keep this in mind and source materials as needed.
- Once all your prep work is done, just like the above steps, measure your space, decide on lay style, cut your tiles, and be sure to account for any unique cutting situations (faucets).
- Apply mortar, tile, grout, and enjoy the design!
This is a simple tip guide for each key tiling area in your home. If you still have questions or need a hand with design, be sure to call our team for a free design consultation today!
Related Articles

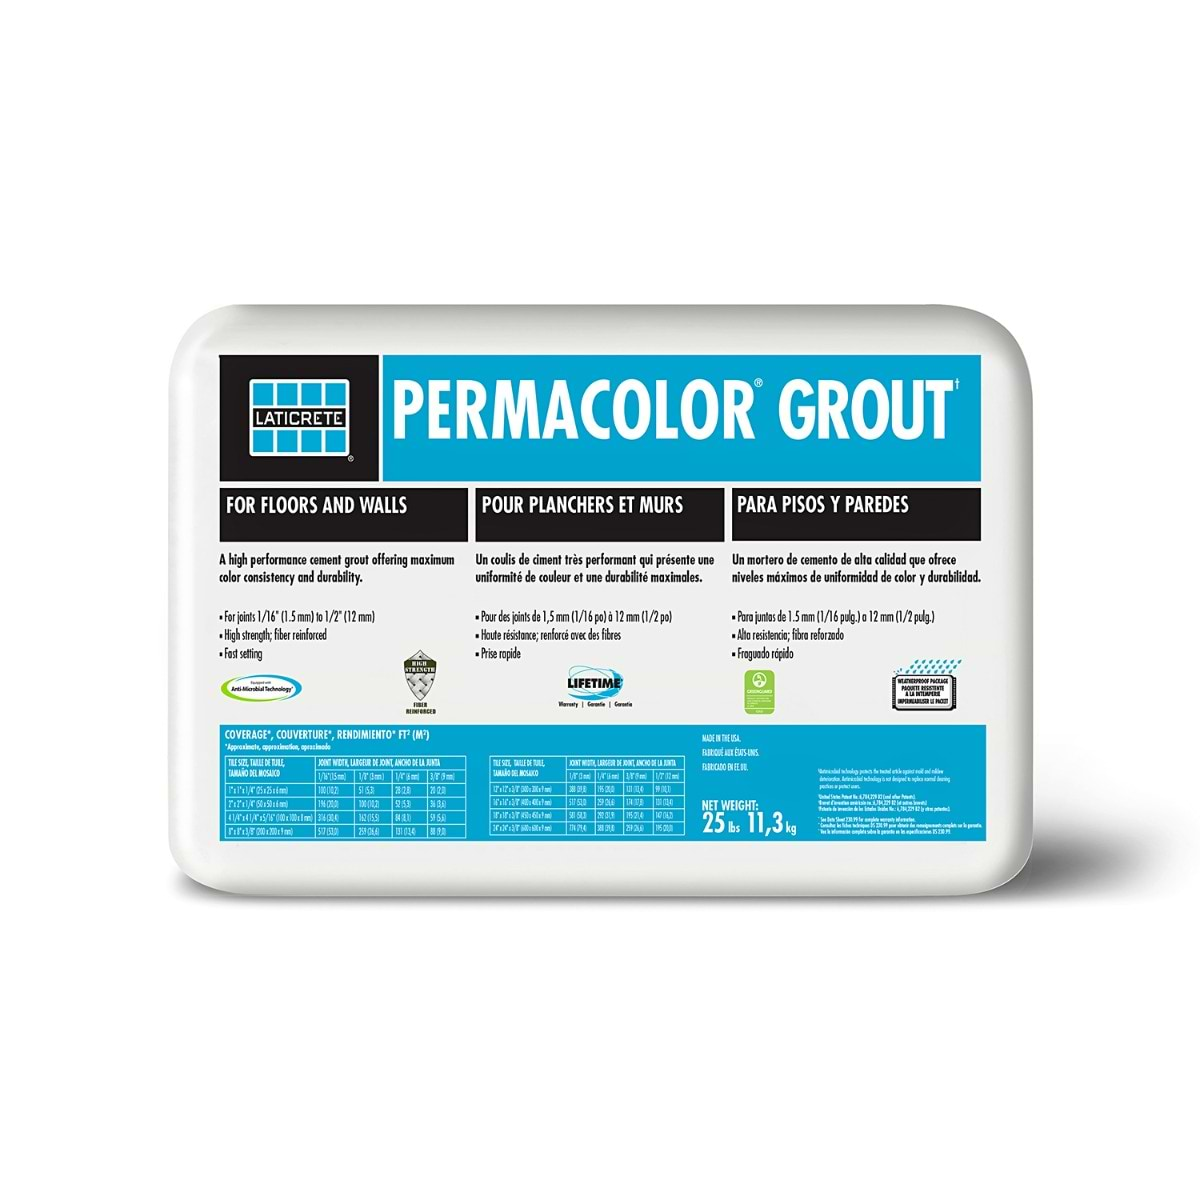
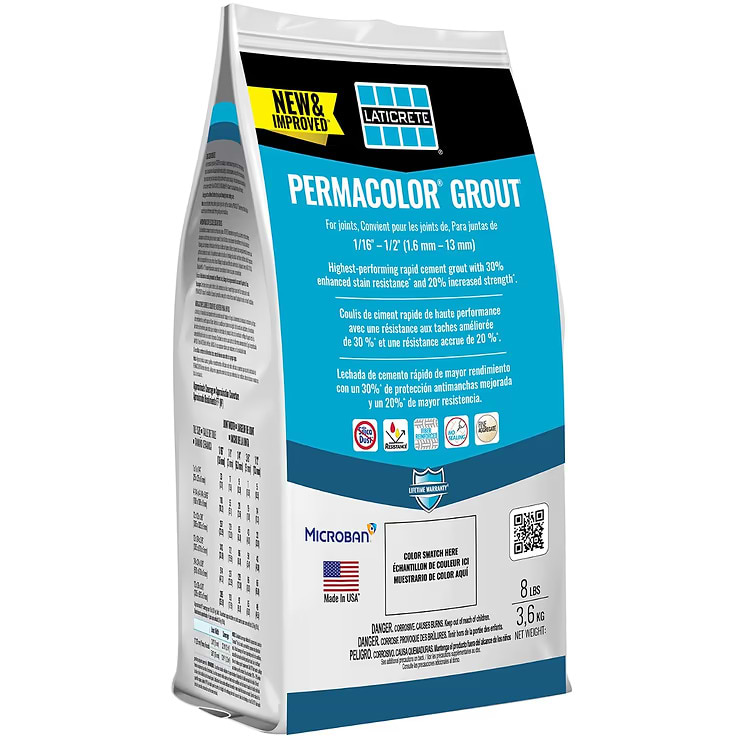
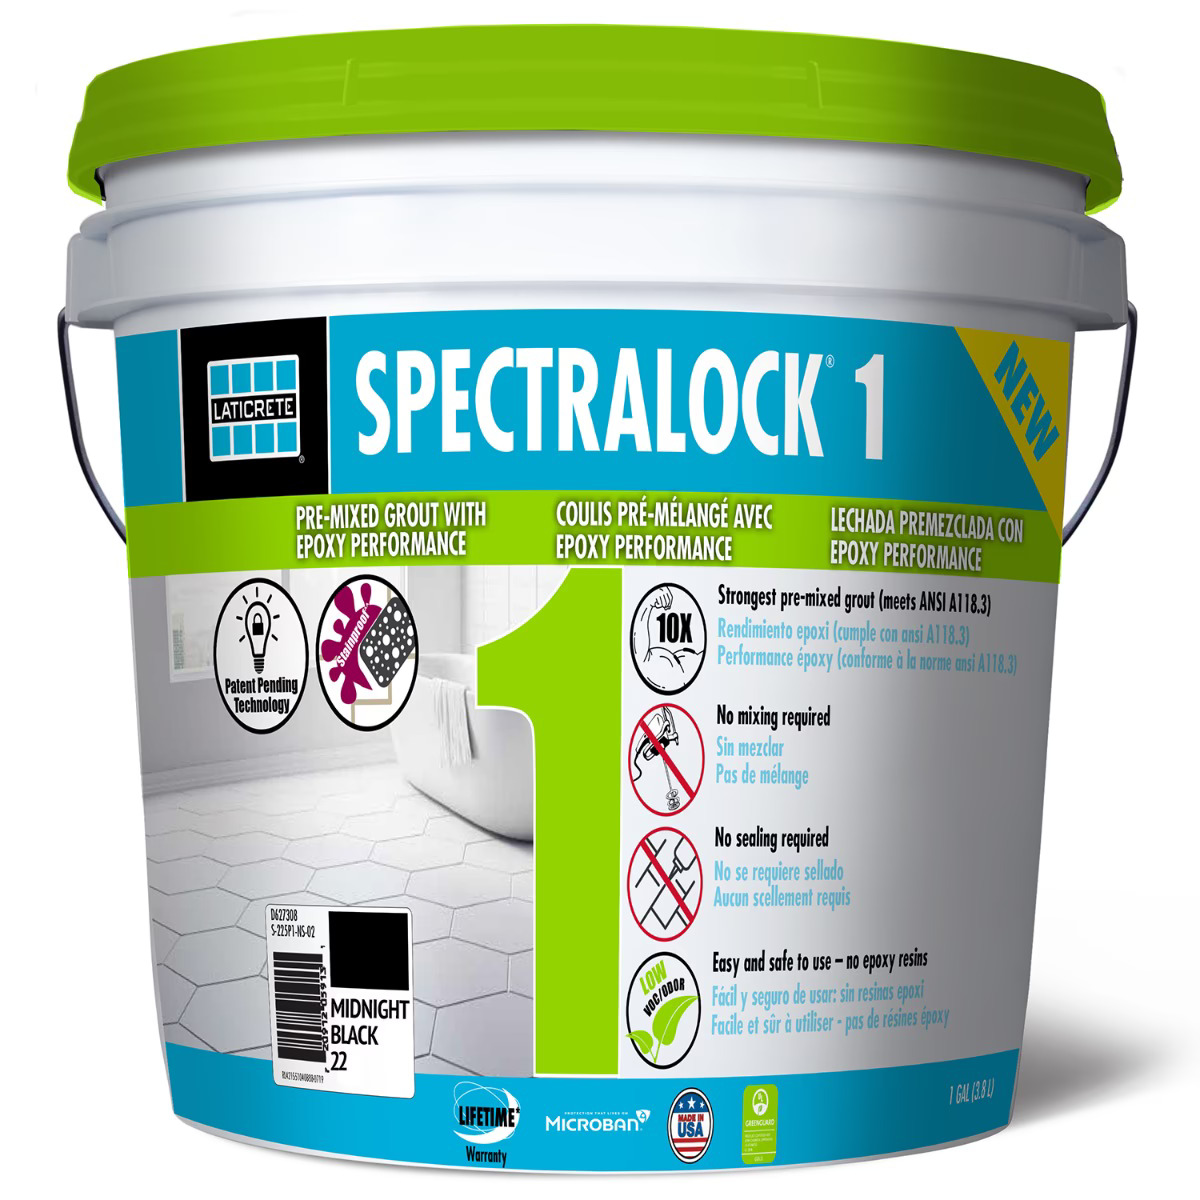
Choosing the Right Grout
 Pinterest
Find Your Perfect Grout Match! Color, Texture & Choosing for Your Tile.
OTHER PRODUCTS USED:
Explore Our
Tilefinder