Visit
Visit 
Here’s How To Avoid Costly Mortar Missteps
 Copy Link
 Email
Email
 Twitter
 Pinterest
 Instagram
 Facebook
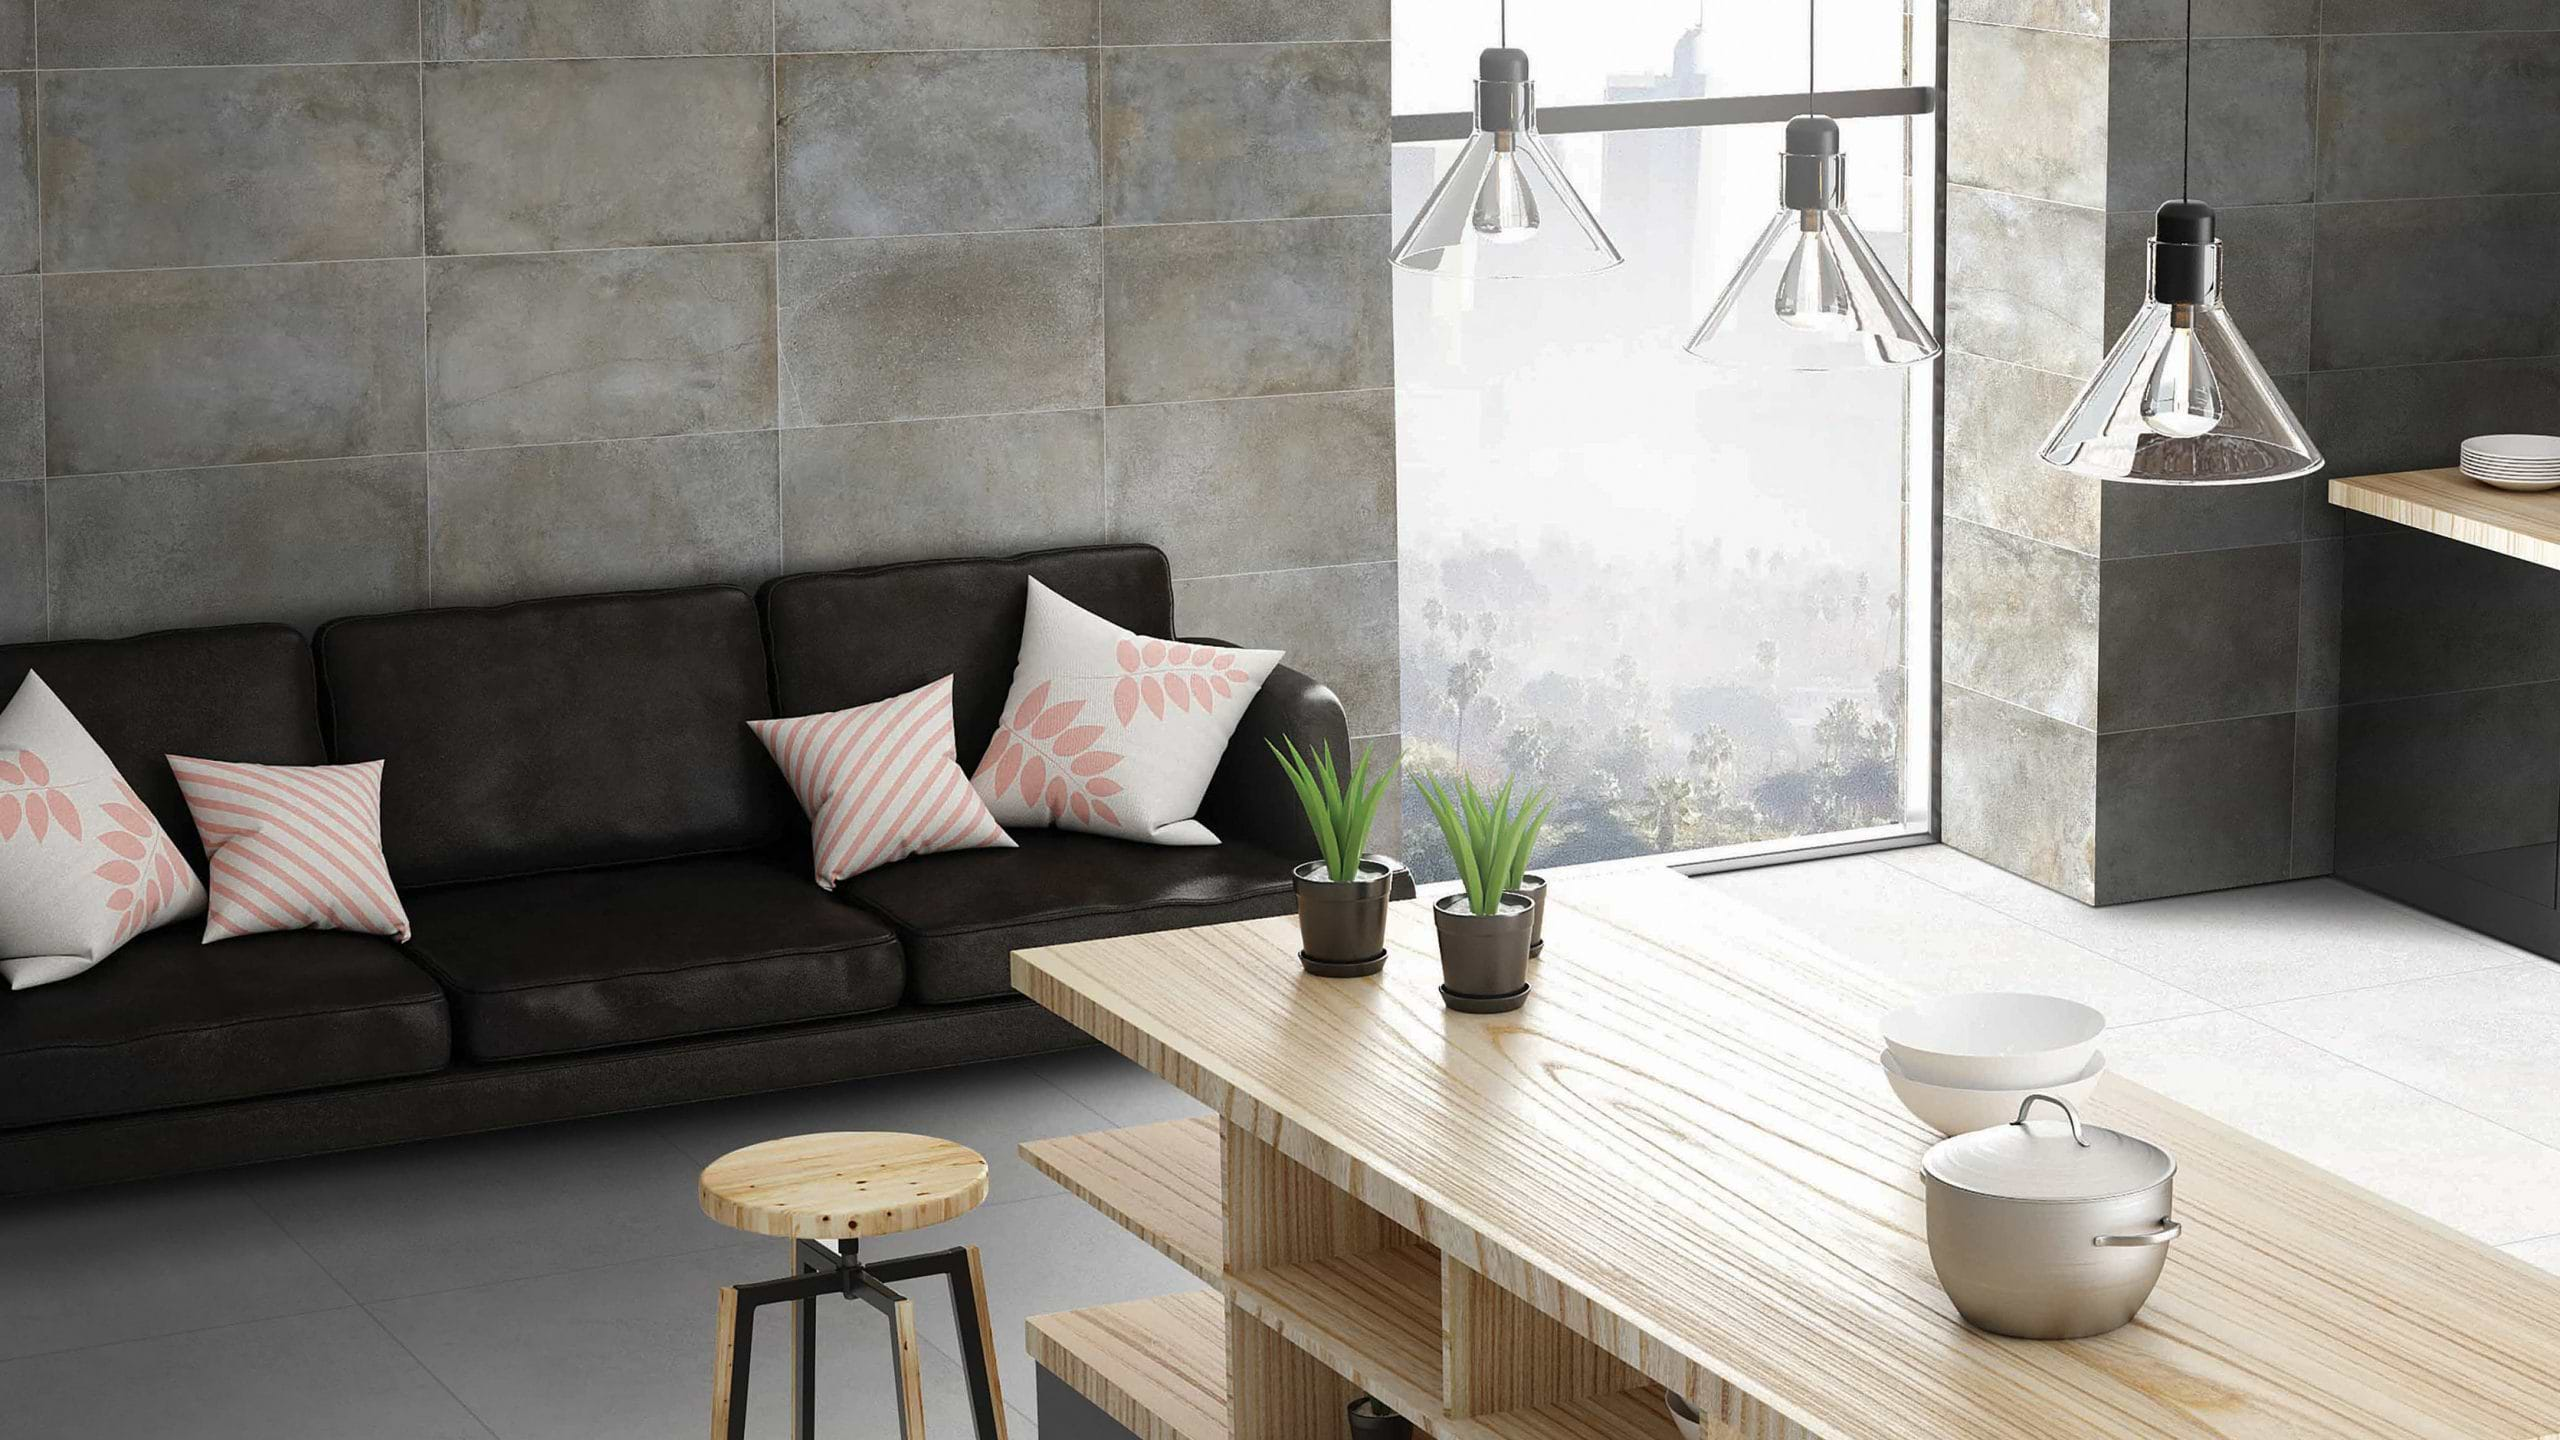
Innovations in mortar technology have made it easier to meet the specific demands of a variety of jobs. However, a mortar is only as good as its installer, and forgetting installation fundamentals can result in callbacks and job failures. Help avoid costly mortar missteps with the following four basic – but crucial – techniques.
Technique 1. Prepare the substrate.
Help achieve a proper bond and reduce callbacks by properly preparing your substrate before installation begins. Surface preparation can be as easy as sweeping the floor or wiping it with a damp, clean sponge before beginning to set tile. If your substrate’s variation exceeds acceptable flatness tolerances, its preparation will require more than a surface cleaning. In these cases, use a patching mortar or self-leveling under layment as needed. Properly preparing your substrate doesn’t have to mean lengthening your installation timeline. Some fast-setting patches allow tile installation as soon as 1 to 1-1/2 hours after application.
Technique 2. Select the correct mortar for the job.
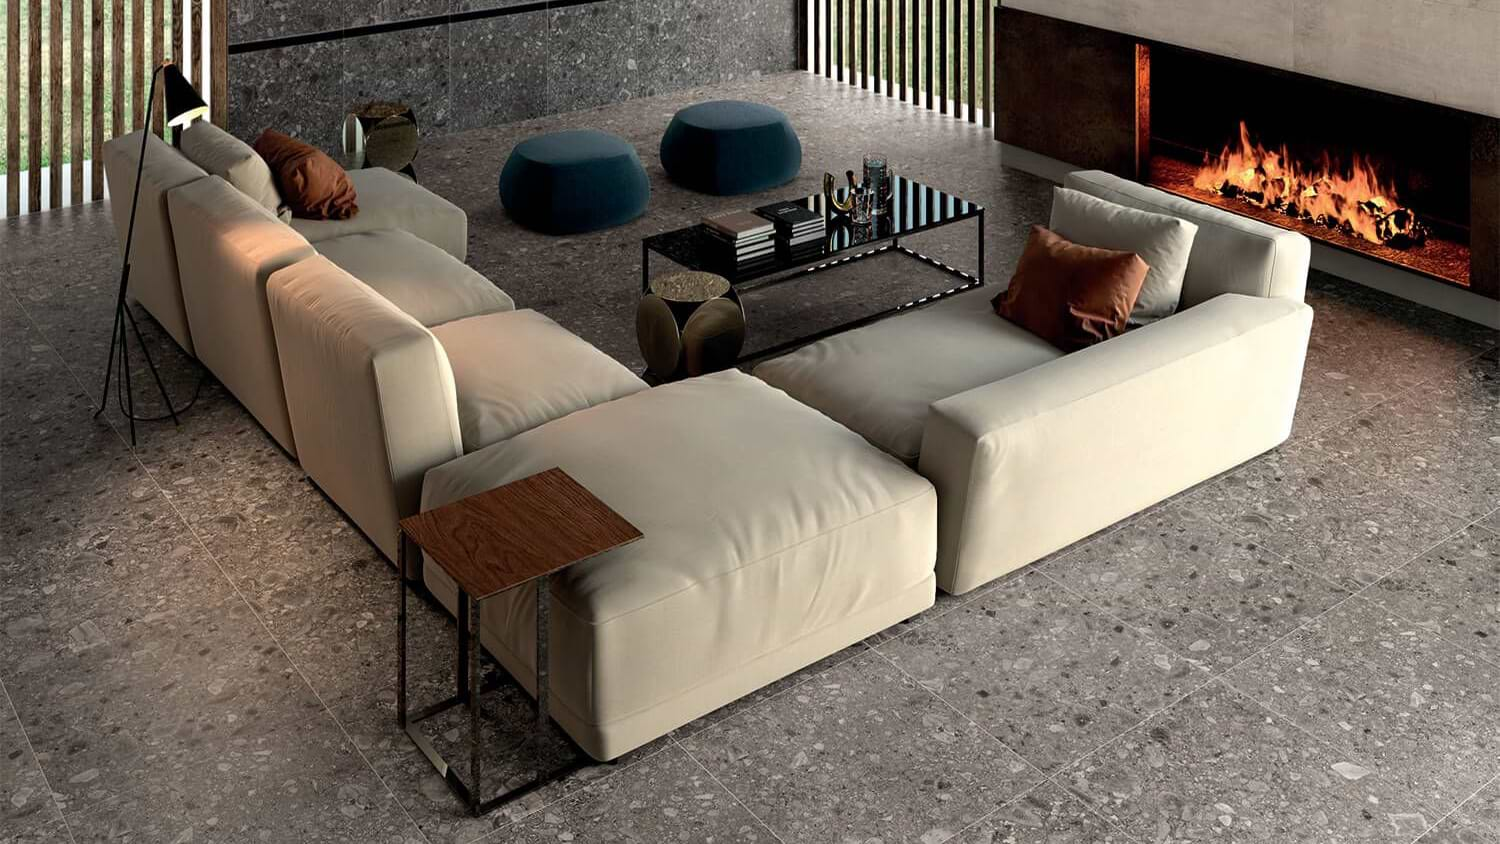
You have a vast array of mortars at your trowel tips. Too often, mortars are selected based on cost factors alone. But choosing the wrong mortar can ultimately result in installation failures whose costs far exceed any initial savings. For example, installers may run into trouble when they use a modified thin-set mortar, rather than a large-and-heavy-tile mortar (LHT), to install large-format tile. For large-format tile installations, don’t settle for trying to build a standard modified mortar up to 1/2” thick. Standard mortar, unlike a LHT mortar, is not designed to maintain a 1/2” thickness after the tile is embedded. For that reason, it may shrink and cause lippage when used with large-format tile. Use a LHT mortar when your tile job meets the below requirements, provided by the TCNA Handbook for Ceramic, Glass and Stone Tile Installation.
- You’re installing a “large” tile that’s at least one side 15” or greater.
- You’re installing “heavy” tile that weighs over five pounds per square foot.
- The bond coat thickness after the tile is embedded is intended to be 3/32” to 1/2”.
- You intend to use the LHT mortar to directly bond adhesives and don’t intend to use it for truing or leveling underlying substrates.
Technique 3. Control the Climate.
Outdoor installations in four-season regions present a particular set of installation challenges. If left under the hot summer sun, thin-set mortar will set up too fast – as if you had mixed it with warm water. Direct sunlight on hot, dry days can cause mortar to lose its moisture to the atmosphere. The result is a weakened mortar that may not hold up over time. For better results, protect the installation from direct sunlight by tenting. Cold temperatures present the opposite problem. Optimal temperatures are between 50-70 degrees prior to install, and for 48 hours after. Don’t install if freezing is imminent or cannot be protected against. Whenever installing in cooler temperatures, be sure to keep the extended cure time in mind during and after installation.
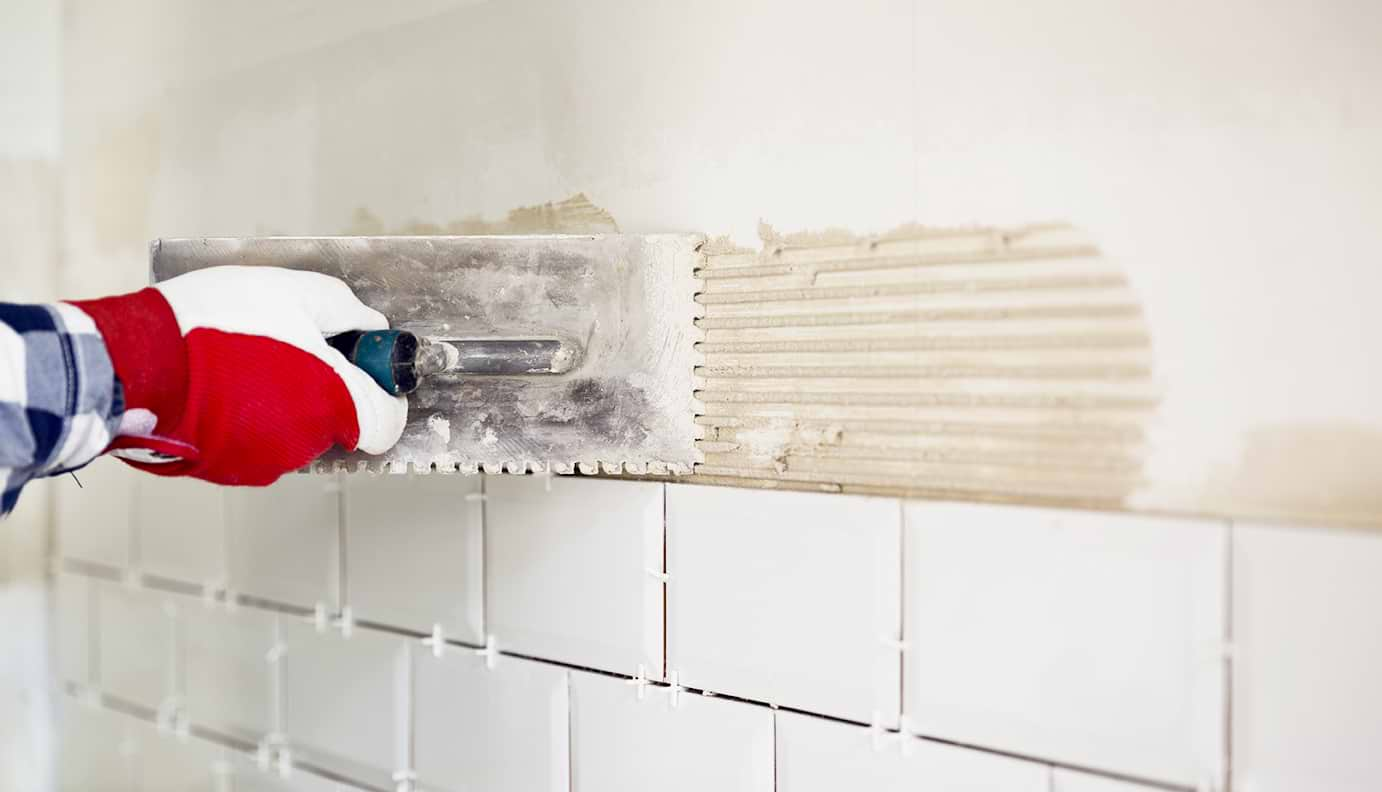
Technique 4. Achieve Proper Coverage.
If you’ve prepared your substrate, selected the proper mortar and taken climate into account, you’re ready to begin troweling. Remember, average contact area for tile should be at least 80% generally and increases to 95% in exterior, shower, or wet-area installations. Natural stone, however, requires a contact area of 100%. Back-buttering is usually a good idea to achieve 100% coverage for large and heavy tile, especially with natural stone, but it does add installation time. Manufacturing guidelines help an installer choose the trowel size that will help ensure proper coverage, making back-buttering unnecessary.
When setting large-format tiles with an LHT mortar, larger trowels are needed to apply enough bonding mortar to achieve mortar coverage requirements. Remember, mortar coverage will vary with the trowel size and condition of the substrate. To check that you are achieving proper coverage, periodically pull up a tile immediately after placing it, and look at its backside to see how much contact and coverage you’ve achieved. That way, you can verify that you are using the right amount of material and notch size. In the end, every project is unique. As large-format tiles continue to grow in popularity, this is a good time to review the newest recommended installation techniques and technology on the market. The advent of LHT mortar technology brings more uniformity to the installation process and peace of mind for everyone involved.
By Tom Plaskota, TEC Technical Support Manager
The TEC® brand is offered by H.B. Fuller Construction Products Inc. – a leading provider of technologically-advanced construction materials and solutions to the commercial, industrial and residential construction industry. Headquartered in Aurora, Illinois, the company’s recognized and trusted brands – TEC®, CHAPCO®, Grout Boost®, Foster®, ProSpec® and others – are available through an extensive network of distributors and dealers, as well as home improvement retailers. For more information, visit www. hbfuller-cp.com.
In the Interior Design world? Join our VIP Trade Program and you can enjoy a ton of perks like special discounts and volume pricing, to name a few.

Reprinted with permission from TileLetter January 2017 issue. Visit TileLetter.com for more information.
Related Articles
Explore Our
Tilefinder